
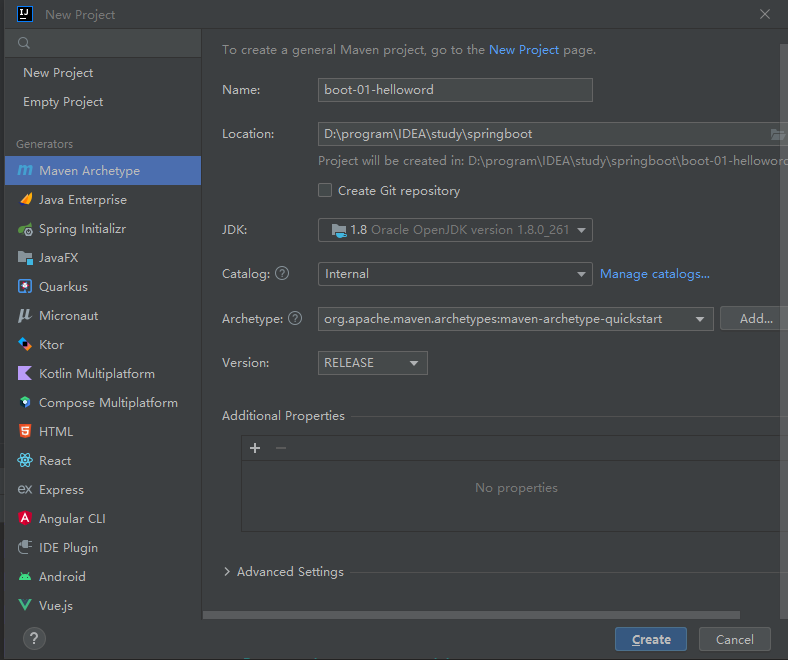
1.创建maven项目,Name填写boot-01-helloword,Archetype选择org.apache.maven.archetypes:maven-archetype-quickstart。点击create。
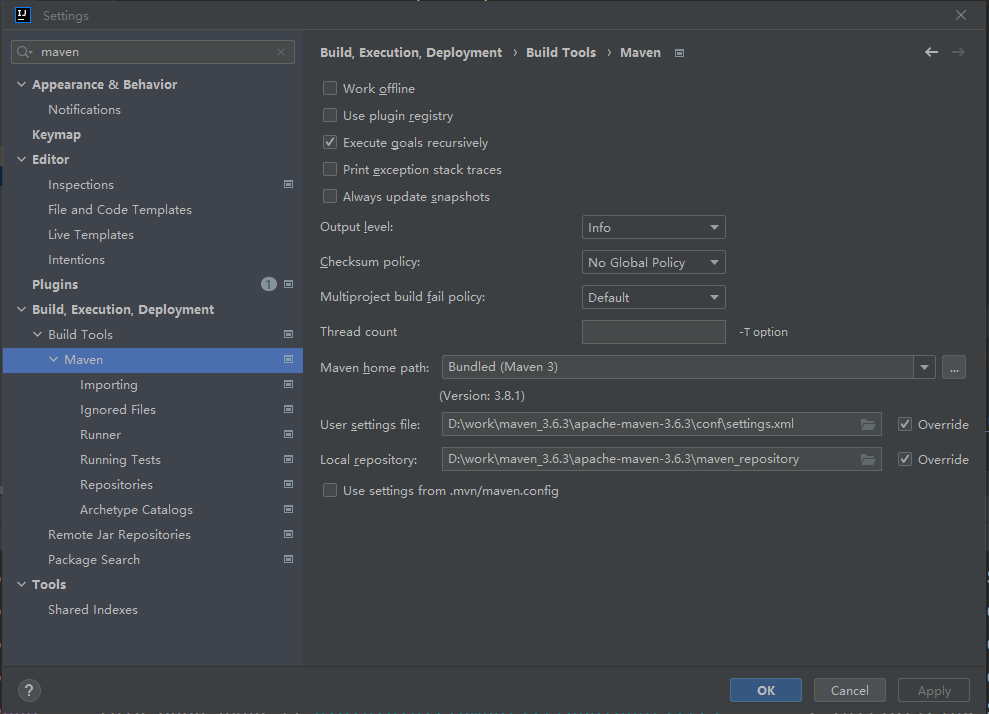
2.点击左上角File,选择Setting,搜索框中输入maven,将User Setting file后面的Override勾上,点击Override前面的文件夹,找到保存maven的文件夹,选择conf文件夹下的settings.xml文件,(最好自己创建个repository文件夹,同时覆盖掉repository。)。点击OK。
3.在pom.xml文件添加<parent></parent>标签,并使其groupId指向springboot。
<parent>
    <artifactId>spring-boot-starter-parent</artifactId>
    <groupId>org.springframework.boot</groupId>
    <version>2.7.3</version>
</parent>
4.在pom.xml文件中的<dependencies></dependencies>标签下,添加依赖。
<dependency>
    <groupId>org.springframework.boot</groupId>
    <artifactId>spring-boot-starter-web</artifactId>
</dependency>
5.点击右上角m,等待下载完成。

6.在src/main/org.example下面创建boot包,并创建类Application,用于springboot的启动。
package org.example.boot;

import org.springframework.boot.SpringApplication;
import org.springframework.boot.autoconfigure.SpringBootApplication;

//这是SpringBoot的应用
@SpringBootApplication
public class Application {
    public static void main(String[] args) {
        //启动Springboot
        SpringApplication.run(Application.class,args);
    }
}
7.org.example.boot下创建controller包,并在本包下面创建HelloController类。
package org.example.boot.controller;

import org.springframework.web.bind.annotation.RequestMapping;
import org.springframework.web.bind.annotation.RestController;

@RestController
public class HelloController {

    @RequestMapping("/hello")
    public String handle01() {
        return "Hello, World!";
    }
}
最终包结构
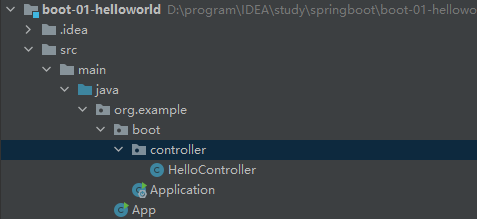
注意:SpringBoot默认扫描包是启动类所在的包以及其子包。如果把controller等放在默认扫描包外面,访问controller下面的url会报404错误。如果真的需要放在默认扫描包外面,可以通过scanBasePackages指定扫描包。
package org.example.boot;

import org.springframework.boot.SpringApplication;
import org.springframework.boot.autoconfigure.SpringBootApplication;

//这是SpringBoot的应用
@SpringBootApplication(scanBasePackages = "org.example")
public class Application {
    public static void main(String[] args) {
        //启动Springboot
        SpringApplication.run(Application.class,args);
    }
}
或者将@SpringBootApplication注解由@SpringBootConfiguration、@EnableAutoConfiguration和@ComponentScan三个注解替换,并在@ComponentScan注解上指定扫描包。
package org.example.boot;

import org.springframework.boot.SpringApplication;
import org.springframework.boot.SpringBootConfiguration;
import org.springframework.boot.autoconfigure.EnableAutoConfiguration;
import org.springframework.context.annotation.ComponentScan;

//这是SpringBoot的应用
@SpringBootConfiguration
@EnableAutoConfiguration
@ComponentScan("org.example")
public class Application {
    public static void main(String[] args) {
        //启动Springboot
        SpringApplication.run(Application.class,args);
    }
}
8.到启动类Application中,启动main方法。
9.浏览器访问地址http://localhost:8080/hello。(一般默认端口是8080,具体可以查看控制台下

)。
版权声明:本文内容由互联网用户自发贡献,该文观点仅代表作者本人。本站仅提供信息存储空间服务,不拥有所有权,不承担相关法律责任。如发现本站有涉嫌侵权/违法违规的内容, 请发送邮件至 举报,一经查实,本站将立刻删除。
文章由极客之音整理,本文链接:https://www.bmabk.com/index.php/post/107562.html

