
SpringBoot集成Thymeleaf
项目环境
- IDEA 2019.1
- SpringBoot 2.1.5
- Gradle 4.10
技术介绍
操作步骤
添加依赖
plugins {
    id 'org.springframework.boot' version '2.1.5.RELEASE'
    id 'java'
}

apply plugin: 'io.spring.dependency-management'

group = 'org.virtue'
version = '0.0.1-SNAPSHOT'
sourceCompatibility = '1.8'

repositories {
    mavenCentral()
}

dependencies {
    //因为添加了log4j2的依赖,所以需要从boot-starter中去掉日志依赖,不然会jar包冲突
    compile('org.springframework.boot:spring-boot-starter-web') {
        exclude group: 'org.springframework.boot', module: 'spring-boot-starter-logging'
    }
    //log4j2jar包
    compile group: 'org.springframework.boot', name: 'spring-boot-starter-log4j2', version: '1.5.6.RELEASE'
    //模板引擎
    compile('org.springframework.boot:spring-boot-starter-thymeleaf') {
        exclude group: 'org.springframework.boot', module: 'spring-boot-starter-logging'
    }
    testImplementation 'org.springframework.boot:spring-boot-starter-test'
}
配置文件
server:
  port: 8880
  logging:
    config: classpath:logback-spring.xml
    path: logs/
spring:
  # 模板配置
  thymeleaf:
    cache: false # 这个开发配置为false,避免改了模板还要重启服务器
    prefix: classpath:/static/
    suffix: .html              # 下面3个不做解释了,可以不配置
    encoding: UTF-8
    mode: LEGACYHTML5      # 模板的模式
  mvc:
    view:
      prefix: classpath:/   # 定位模板的目录
      suffix: .html     # 给返回的页面添加后缀名
测试代码
MVC模式,进入页面需要通过视图,及View进入,我们在这里配置一个Controller用于进入页面。
@Controller
public class IndexController {

    @RequestMapping(value = "/test", method = {RequestMethod.GET})
    public String index(){
        return "test";
    }
}
我们在resources/static下新建一个test.html页面。
<!DOCTYPE html>
<html lang="en" xmlns:th="http://www.w3.org/1999/xhtml">
<head>
    <meta charset="UTF-8">
    <title>Thymeleaf</title>
</head>
<body>
test
</body>
</html>
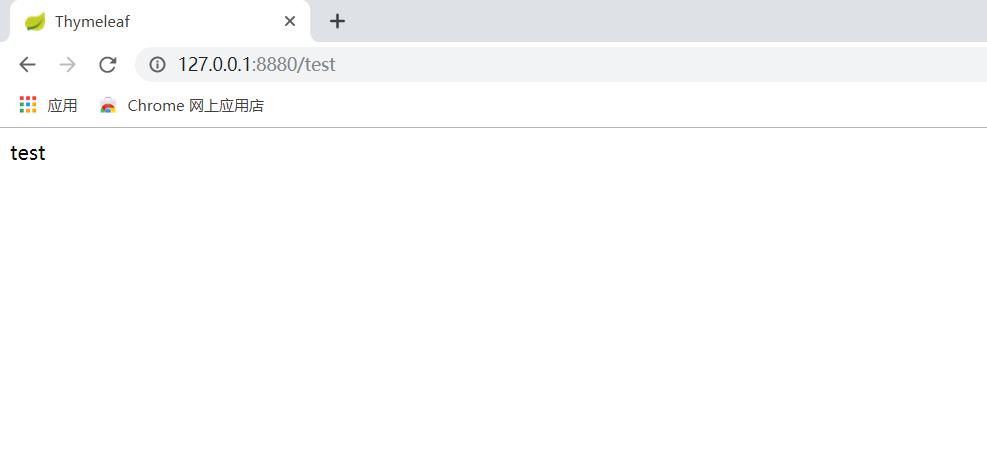
启动项目,在浏览器输入地址http://127.0.0.1:8880/test,即可进入页面,如下图所示:
我们在IndexController.java中添加一些测试数据,如下:
@Controller
public class IndexController {

    @RequestMapping(value = "/test", method = {RequestMethod.GET})
    public String index(Model model){
        model.addAttribute("name","张三");
        return "test";
    }
}
模板页面如下:
<!DOCTYPE html>
<html lang="en" xmlns:th="http://www.w3.org/1999/xhtml">
<head>
    <meta charset="UTF-8">
    <title>Thymeleaf</title>
</head>
<body>
<!--基本数据显示-->
<a th:text="${name}"></a>
<!--字符串拼接-->
<p th:text="'Hello!, ' + ${name} + '!'">3333</p>

</body>
</html>
其中必须添加xmlns:th="http://www.w3.org/1999/xhtml"才能使用th标签。
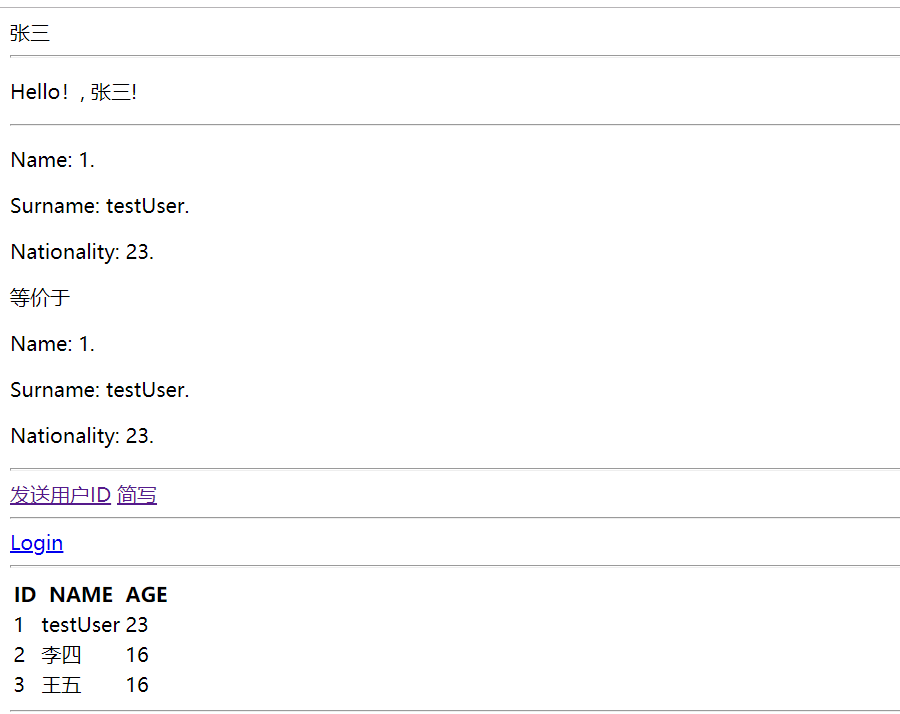
- 下图是一些测试的结果,如果想看具体代码可以参考最后的github地址:

在页面中加入样式
- 上面是没有加样式的测试结果,下面加点样式,让页面好看起来。
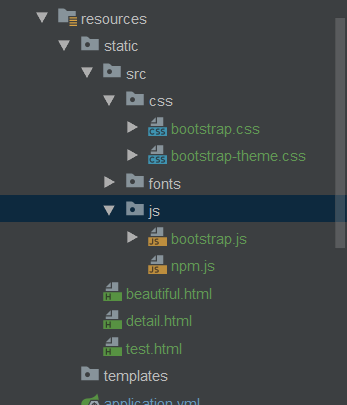
- 引入导入静态文件,结构如下图:
- 在
application.yml中指定css等资源路径
server:
  port: 8880
  logging:
    config: classpath:logback-spring.xml
    path: logs/
spring:
  # 模板配置
  thymeleaf:
    cache: false # 这个开发配置为false,避免改了模板还要重启服务器
    prefix: classpath:/static/
    suffix: .html              # 下面3个不做解释了,可以不配置
    encoding: UTF-8
    mode: LEGACYHTML5      # 模板的模式
  mvc:
    view:
      prefix: classpath:/   # 定位模板的目录
      suffix: .html     # 给返回的页面添加后缀名
  resources:
    static-locations: classpath:/static/src/
- 在html中引入资源文件
 <link rel="stylesheet" href="src/css/bootstrap-theme.css"/>
    <link rel="stylesheet" href="src/css/bootstrap.css"/>
    <script src="src/js/bootstrap.js"></script>
- 编写代码,最后页面效果如下:

本篇制作了个简单的使用介绍,过程中主要注意引入包不要冲突,详细教程请移步官网。
项目代码
- github:点击这里
版权声明:本文内容由互联网用户自发贡献,该文观点仅代表作者本人。本站仅提供信息存储空间服务,不拥有所有权,不承担相关法律责任。如发现本站有涉嫌侵权/违法违规的内容, 请发送邮件至 举报,一经查实,本站将立刻删除。
文章由极客之音整理,本文链接:https://www.bmabk.com/index.php/post/13171.html

