
踩坑还原
首先我们要在pom.xml文件中引入Druid连接池的包,版本啥的无所谓
 <dependency>
            <groupId>com.alibaba</groupId>
            <artifactId>druid</artifactId>
            <version>1.1.21</version>
 </dependency>
下面是springboot配置Druid连接池的yaml文件,这个和网上大家配置的大同小异,就这么配完应该适合绝大多数情况了。
spring:
  datasource:
    username: root
    password: 123
    url: jdbc:mysql://localhost:3306/mydb?serverTimezone=UTC&useUnicode=true&characterEncoding=utf-8&autoReconnect=true
    driver-class-name: com.mysql.cj.jdbc.Driver
    type: com.alibaba.druid.pool.DruidDataSource
  #spring boot默认是不注入下面这些属性的,需要我们手动配置
  #Druid数据源专有配置
  #数据源其他配置
    initialSize: 5
    minIdle: 5
    maxActive: 20
    maxWait: 60000
    timeBetweenEvictionRunsMillis: 60000
    minEvictableIdleTimeMillis: 300000
    validationQuery: SELECT 1 FROM DUAL
    testWhileIdle: true
    testOnBorrow: false
    testOnReturn: false
    poolPreparedStatements: true
  #配置监控统计拦截的filters,stat:监控统计,去掉后监控界面sql无法统计,'wall'用于防火墙,防止SQL注入,log4j:日志记录
    filters: stat,wall,log4j
    maxPoolPreparedStatementPerConnectionSize: 20
    useGlobalDataSourceStat: true
    connectionProperties: druid.stat.mergeSql=true;druid.stat.slowSqlMillis=500
目前Springboot中默认支持的连接池有dbcp,dbcp2, tomcat, hikari三种连接池。由于Druid暂时不在Springboot中的直接支持,故需要进行配置信息的定制:
package edu.xupt.config;
import com.alibaba.druid.pool.DruidDataSource;
import com.alibaba.druid.support.http.StatViewServlet;
import org.springframework.boot.context.properties.ConfigurationProperties;
import org.springframework.boot.web.servlet.ServletRegistrationBean;
import org.springframework.context.annotation.Bean;
import org.springframework.context.annotation.Configuration;
import javax.sql.DataSource;
import java.util.HashMap;
@Configuration
public class druidConfig {
@ConfigurationProperties(prefix = "spring.datasource")
@Bean
public DataSource druidDataSource(){
return new DruidDataSource();
}
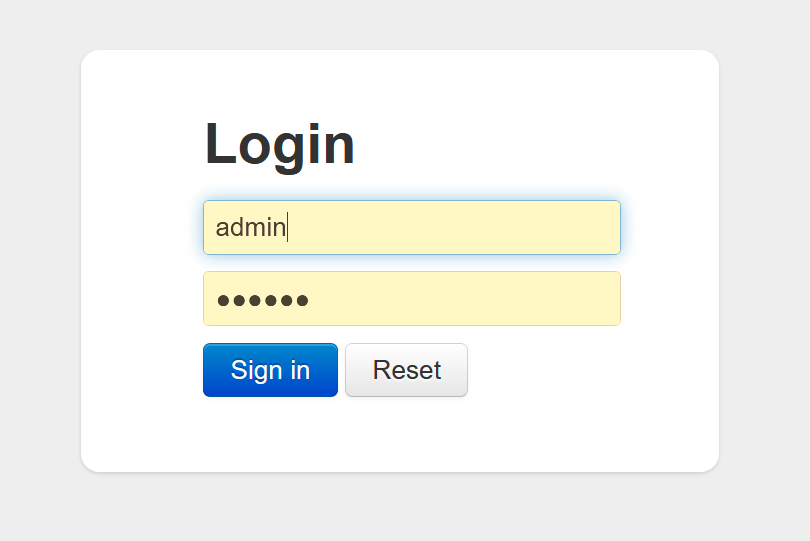
//后台监控功能
@Bean
public ServletRegistrationBean statViewServlet(){
ServletRegistrationBean<StatViewServlet> bean = new ServletRegistrationBean<>(new StatViewServlet(), "/druid/*");
//后台需要有人登陆,账号和密码设置
HashMap<String, String> map = new HashMap<>();
map.put("loginUsername","admin");
map.put("loginPassword","123456");
//允许谁可以访问
map.put("allow","");//都可以访问
bean.setInitParameters(map);
return bean;
}
}
在配置这个Druid连接池之前,我们还需要连接上数据库,这里我用的是MySQL数据库,连接上数据库之后,检测一下自己写的增删改查能否被springboot代理,JDBCController
package edu.xupt.controller;

import org.springframework.beans.factory.annotation.Autowired;
import org.springframework.jdbc.core.JdbcTemplate;
import org.springframework.web.bind.annotation.GetMapping;
import org.springframework.web.bind.annotation.PathVariable;
import org.springframework.web.bind.annotation.RestController;

import java.util.List;
import java.util.Map;

@RestController
public class JDBCController {
    @Autowired
    JdbcTemplate jdbcTemplate;

    //查询
    @GetMapping("/userList")
    public List<Map<String,Object>> usrList(){
        String sql ="select * from user";
        List<Map<String, Object>> maps = jdbcTemplate.queryForList(sql);
        return maps;
    }
    //增加
    @GetMapping("/addUser")
    public String addUser(){
        String sql = "insert into user(name,age,id) values('max',18,1) ";
        jdbcTemplate.update(sql);
        return "add-ok";
    }
    //改
    @GetMapping("/updateUser/{id}")
    public String updateUser(@PathVariable("id") int id){
        String sql ="update user set name = ?,age=? where id="+id;
        //封装
        Object[] objects = new Object[2];
        objects[0]="Chrysanthemum";
        objects[1]=18;
        jdbcTemplate.update(sql,objects);
        return "update-ok";
    }
    //删除
    @GetMapping("/deleteUser/{id}")
    public String deleteUser(@PathVariable("id") int id){
        String sql = "delete from user where id = ?";
        jdbcTemplate.update(sql,id);
        return "delete-ok";
    }
}
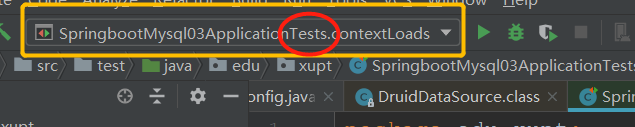
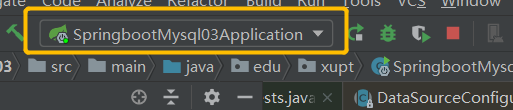
到这里之后,我首先还是检查了一下,springboot是否从默认连接池 hikari转化为Druid,所以,在测试类中我 进行了下面的测试
package edu.xupt;

import org.junit.jupiter.api.Test;
import org.springframework.beans.factory.annotation.Autowired;
import org.springframework.boot.test.context.SpringBootTest;

import javax.sql.DataSource;
import java.sql.Connection;
import java.sql.SQLException;

@SpringBootTest
class SpringbootMysql03ApplicationTests {
    @Autowired
    DataSource dataSource;
    @Test
    void contextLoads() throws SQLException {
        System.out.println(dataSource.getClass());
        //获得数据库连接
        Connection connection = dataSource.getConnection();
        System.out.println(connection);
        //关闭
        connection.close();
    }

}
到这里问题就出来了,虽然我的springboot已经代理了Druid连接池,但是我的运行窗口就一直停留在测试这个类了
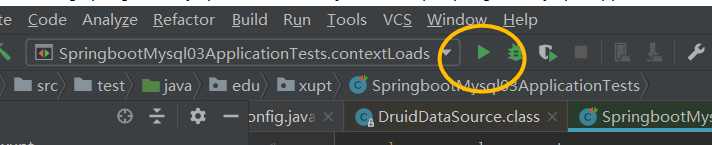
然后我配置了Druid连接池,想要测试Druid连接池的相关性能的时候,我每次都是点击运行按钮,
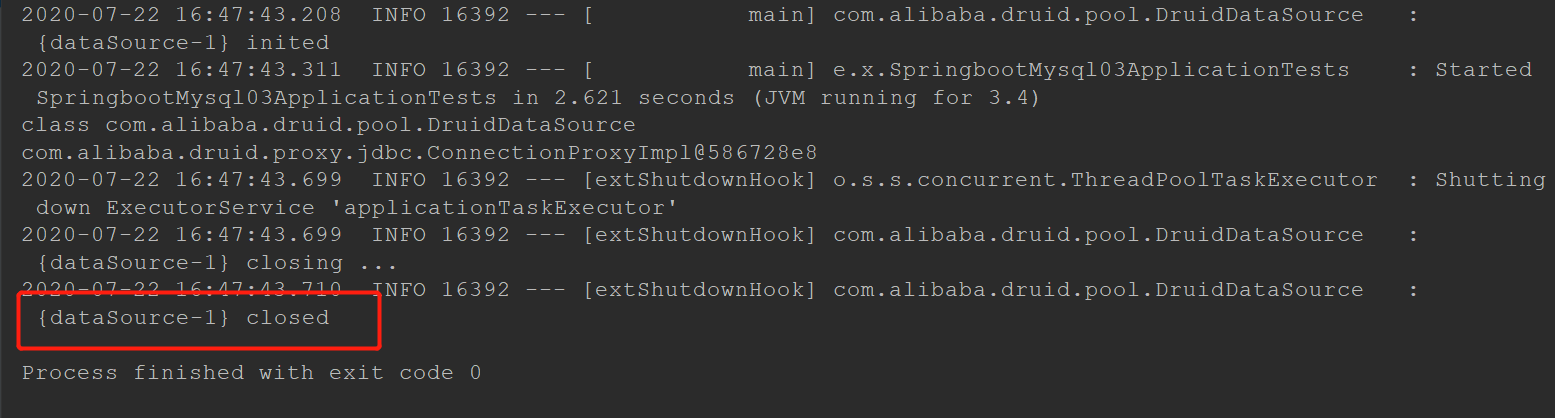
 每次运行,控制台都是运行直接结束
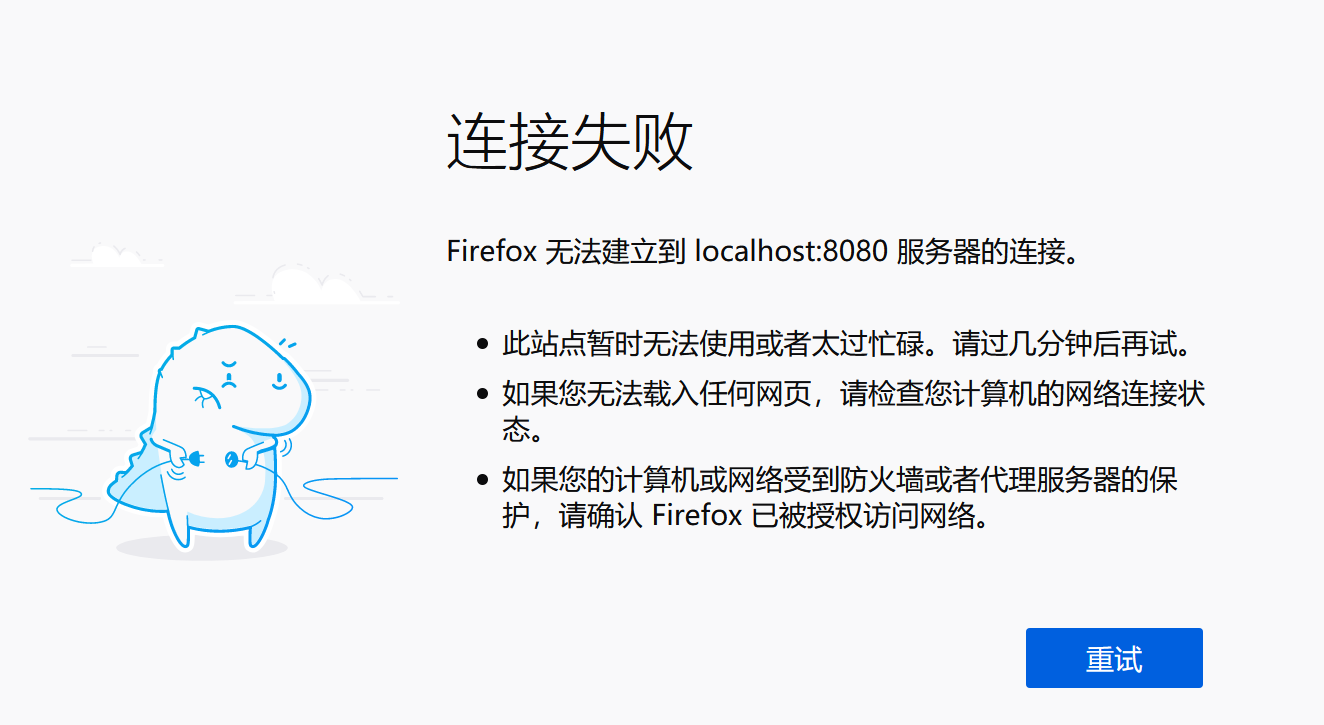
想打开localhost:8080,就一直打不开
 我在网上翻阅了一大波资料都没有找到这个问题,还是自己太粗心了,
当我换成下面这个类时,终于成功了
版权声明:本文内容由互联网用户自发贡献,该文观点仅代表作者本人。本站仅提供信息存储空间服务,不拥有所有权,不承担相关法律责任。如发现本站有涉嫌侵权/违法违规的内容, 请发送邮件至 举报,一经查实,本站将立刻删除。
文章由极客之音整理,本文链接:https://www.bmabk.com/index.php/post/14628.html

