
目录
前言
对于用户权限而言,它是不经常更改的,所以可以将用户的权限数据缓存到Redis或者Ehcache
部分摘自:https://mrbird.cc/Spring-Boot-Shiro%20cache.html
Shiro集成Redis
添加依赖
<!-- shiro-redis -->
<dependency>
    <groupId>org.crazycake</groupId>
    <artifactId>shiro-redis</artifactId>
    <version>2.4.2.1-RELEASE</version>
</dependency>
配置Redis
spring:
  redis:
    host: localhost
    port: 6379
    pool:
      max-active: 8
      max-wait: -1
      max-idle: 8
      min-idle: 0
    timeout: 0
ShiroConfig配置Redis
public RedisManager redisManager() {
    RedisManager redisManager = new RedisManager();
    //通过这里修改Redis的连接
    return redisManager;
}

public RedisCacheManager cacheManager() {
    RedisCacheManager redisCacheManager = new RedisCacheManager();
    redisCacheManager.setRedisManager(redisManager());
    return redisCacheManager;
}
最后在SecurityManager中加入RedisCacheManager:
@Bean
public SecurityManager securityManager(){
    DefaultWebSecurityManager securityManager =  new DefaultWebSecurityManager();
    ...
    securityManager.setCacheManager(cacheManager());
    return securityManager;
}
启动成功之后,后台就会自己把获得的用户权限存到Redis中,之后你就会发现和之前相比的不同,如下图:
请求完三次接口

有缓存的请求:
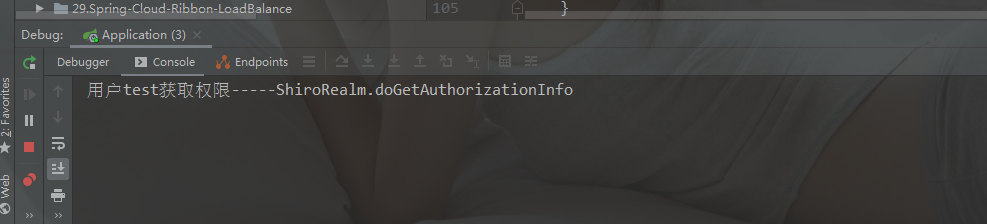
无缓存的请求:
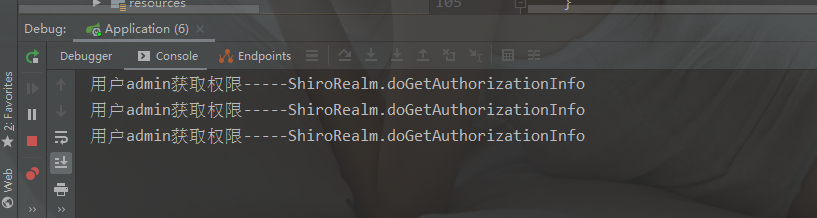
可以明显看出,他后面的请求从Redis中读取而不再去数据库了,这样的好处不再陈述!
Shiro集成Ehcache
添加依赖
<!-- shiro ehcache -->
<dependency>
    <groupId>org.apache.shiro</groupId>
    <artifactId>shiro-ehcache</artifactId>
    <version>1.3.2</version>
</dependency>
<!-- ehchache -->
<dependency>
    <groupId>org.springframework.boot</groupId>
    <artifactId>spring-boot-starter-cache</artifactId>
</dependency>
<dependency>
    <groupId>net.sf.ehcache</groupId>
    <artifactId>ehcache</artifactId>
</dependency>
配置shiro-ehcache.xml
在src/main/resource/config路径下新增一个Ehcache配置shiro-ehcache.xml:
<?xml version="1.0" encoding="UTF-8"?>
<ehcache xmlns:xsi="http://www.w3.org/2001/XMLSchema-instance"
    xsi:noNamespaceSchemaLocation="http://ehcache.org/ehcache.xsd"
    updateCheck="false">
    <diskStore path="java.io.tmpdir/Tmp_EhCache" />
    <defaultCache
        maxElementsInMemory="10000"
        eternal="false"
        timeToIdleSeconds="120"
        timeToLiveSeconds="120"
        overflowToDisk="false"
        diskPersistent="false"
        diskExpiryThreadIntervalSeconds="120" />

    <!-- 登录记录缓存锁定1小时 -->
    <cache
        name="passwordRetryCache"
        maxEntriesLocalHeap="2000"
        eternal="false"
        timeToIdleSeconds="3600"
        timeToLiveSeconds="0"
        overflowToDisk="false"
        statistics="true" />
</ehcache>
ShiroConfig配置Ehcache
接着在ShiroConfig中注入Ehcache缓存:
@Bean
public EhCacheManager getEhCacheManager() {
    EhCacheManager em = new EhCacheManager();
    em.setCacheManagerConfigFile("classpath:config/shiro-ehcache.xml");
    return em;
}
将缓存对象注入到SecurityManager中:
@Bean
public SecurityManager securityManager(){
    DefaultWebSecurityManager securityManager =  new DefaultWebSecurityManager();
    securityManager.setRealm(shiroRealm());
    securityManager.setRememberMeManager(rememberMeManager());
    securityManager.setCacheManager(getEhCacheManager());
    return securityManager;
}
测试方法同上!
如果需要,可以去参考源码:https://github.com/wuyouzhuguli/SpringAll
QQ:707409741
版权声明:本文内容由互联网用户自发贡献,该文观点仅代表作者本人。本站仅提供信息存储空间服务,不拥有所有权,不承担相关法律责任。如发现本站有涉嫌侵权/违法违规的内容, 请发送邮件至 举报,一经查实,本站将立刻删除。
文章由极客之音整理,本文链接:https://www.bmabk.com/index.php/post/16422.html

