
目录
npm install -g vue-cli npm install -g webpack
一,vue-cli构建SPA项目
前提:
搭建好NodeJS环境
node -v
npm -v1.1 什么是vue-cli?
vue-cli是vue.js的脚手架,用于自动生成vue.js+webpack的项目模板,创建命令如下:
vue init webpack xxx 注1:xxx 为自己创建项目的名称
注2:必须先安装vue,vue-cli,webpack,node等一些必要的环境
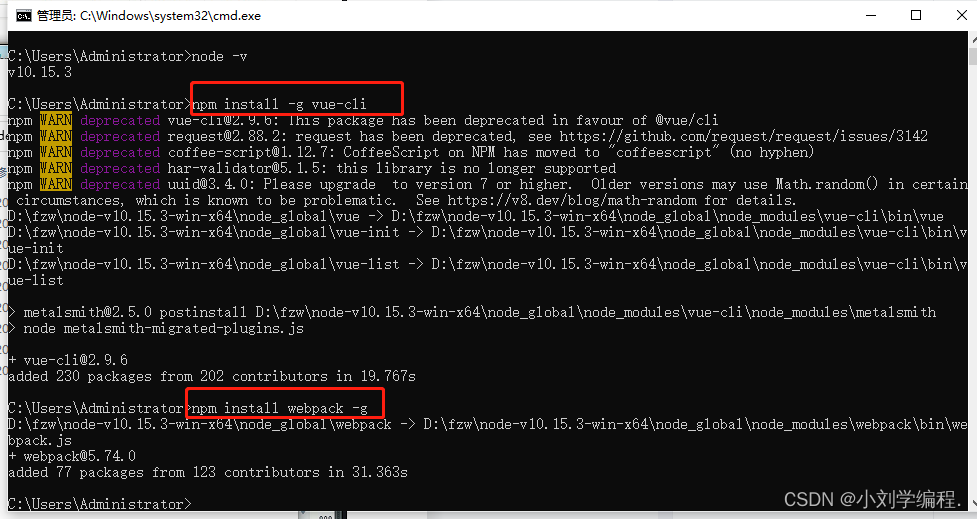
1.2. 安装vue-cli
npm install -g vue-cli
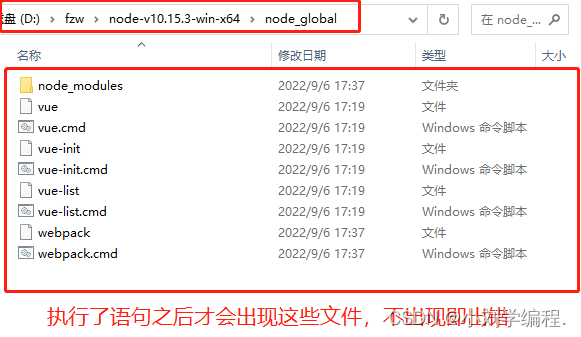
npm install -g webpack注1:安装成功后,会出现如下文件
D:\initPath
node-v10.15.3-win-x64
node_global
vue
vue.cmd
vue-init
vue-init.cmd
vue-list
vue-list.cmd
注2:安装完成之后打开命令窗口并输入 vue -V(注意这里是大写的“V”),如果出现相应的版本号,则说明安装成功。
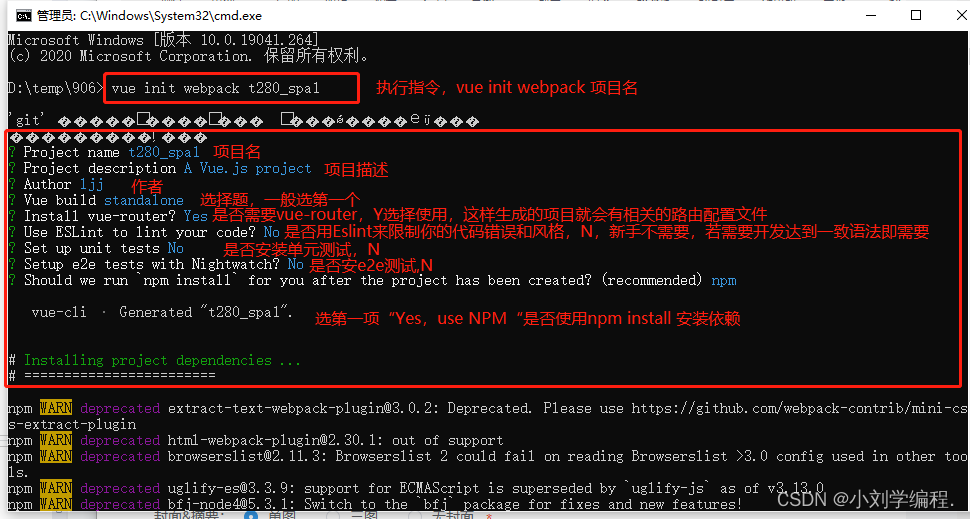
vue init webpack xxx
注1:xxx 为自己创建项目的名称
注2:必须先安装vue,vue-cli,webpack,node等一些必要的环境
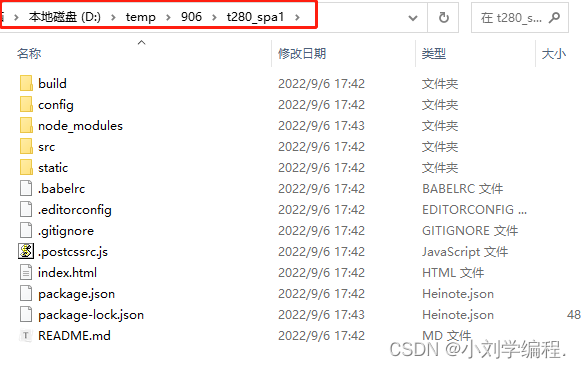
创建成功

查看项目
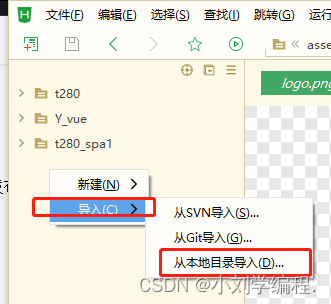
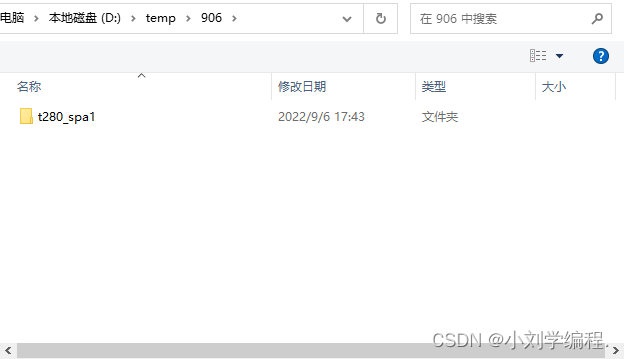
使用开发软件HBuilder x 右键导入项目
导入成功
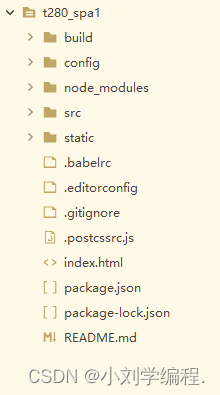
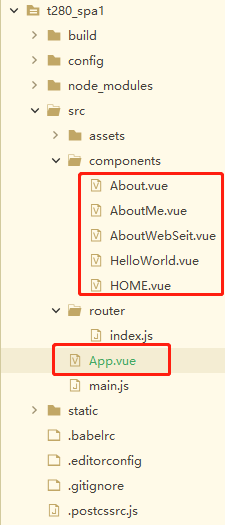
二,SPA项目结构
在项目的目录层次中打开cmd窗口来启动项目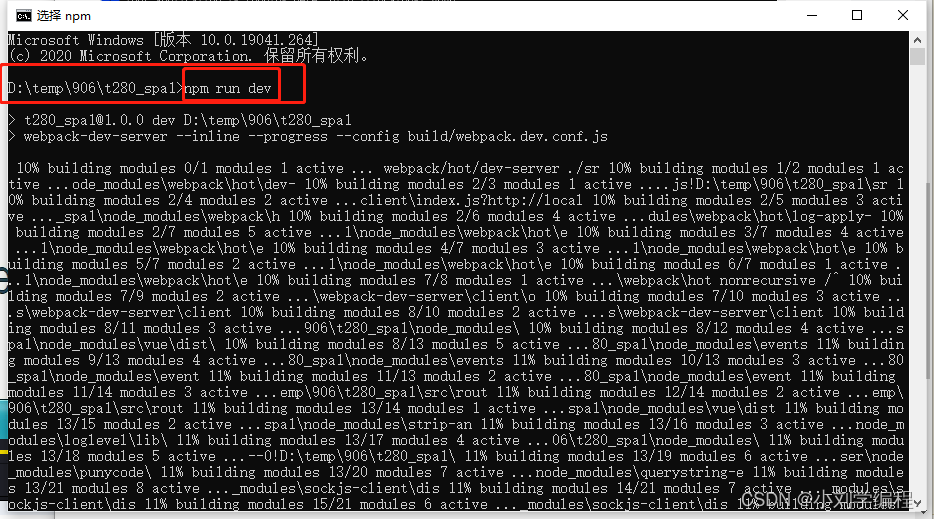

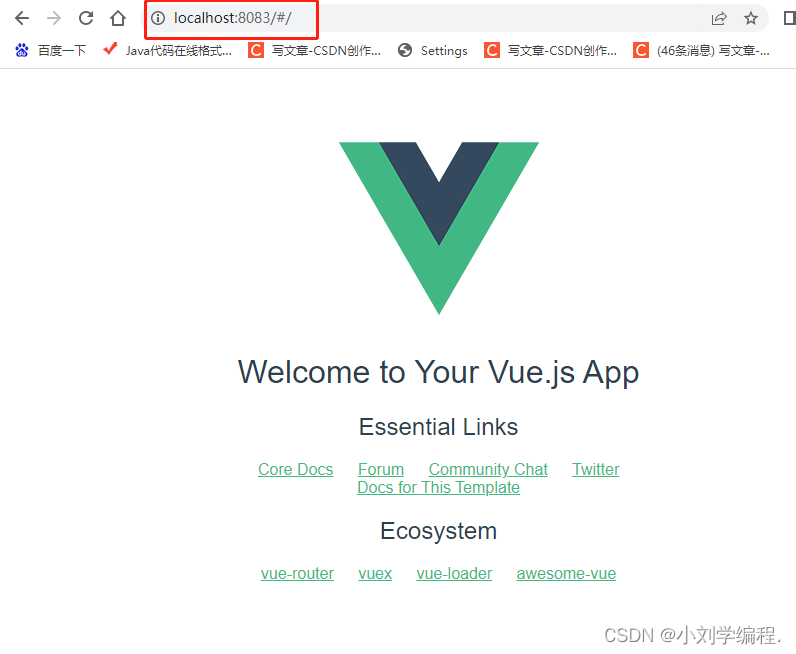
得到一个访问地址
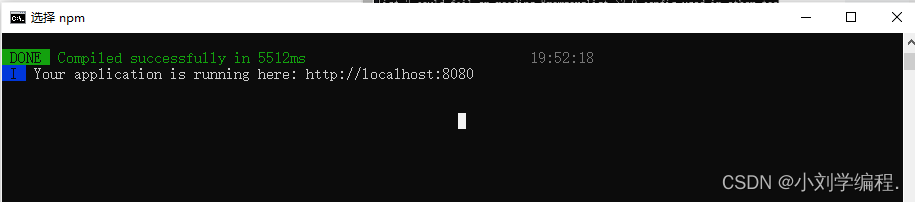
访问地址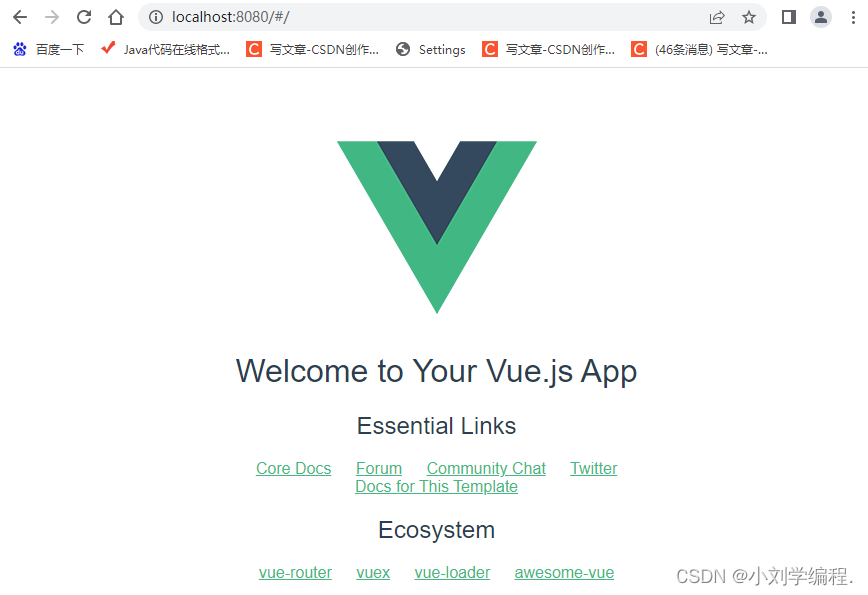
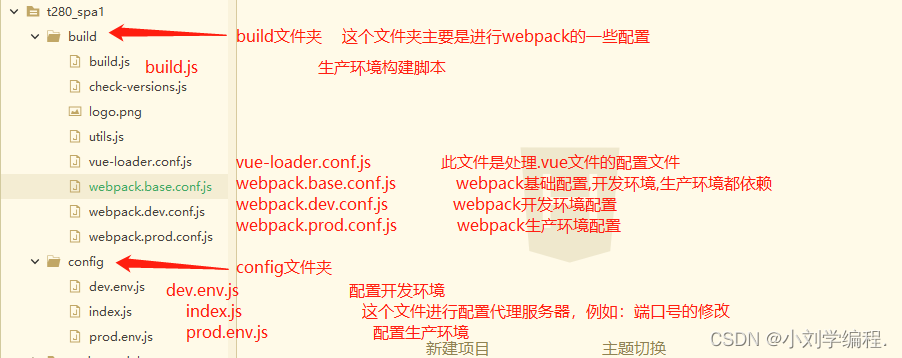
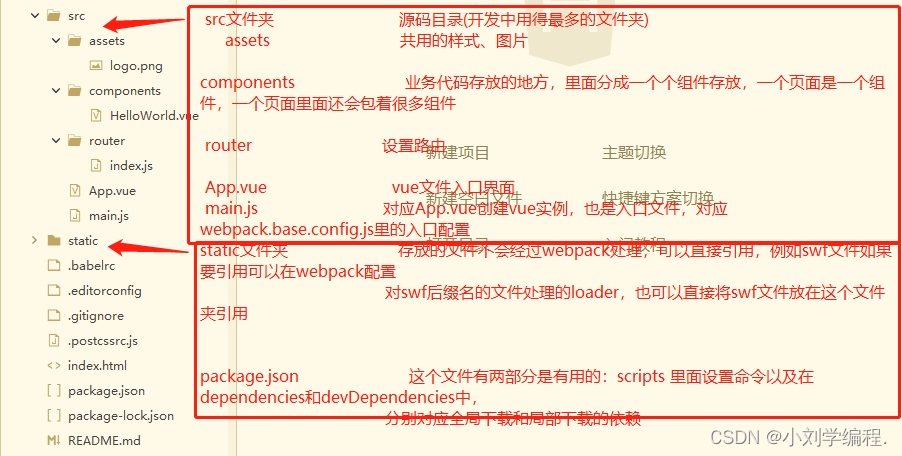
结构解析
spa的访问过程:
1.访问index.html
2.index.html通过main.js中的vue实例管理#app边界,
同时指定App.vue模板
3.App.vue中包含了logo图片以及锚点,而锚点与组件的对应关系存在router/index.js中,所有就指向了一个组件
4.最终App.vue中就显示了logo图片以及hellowrld.vue的内容

当前后端分离时会启动两个一样的端口号 此时我们需要修改端口

修改后需要重启项目
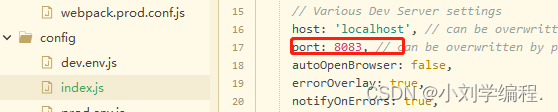
在启动项目的窗口中Ctrl+c重启项目
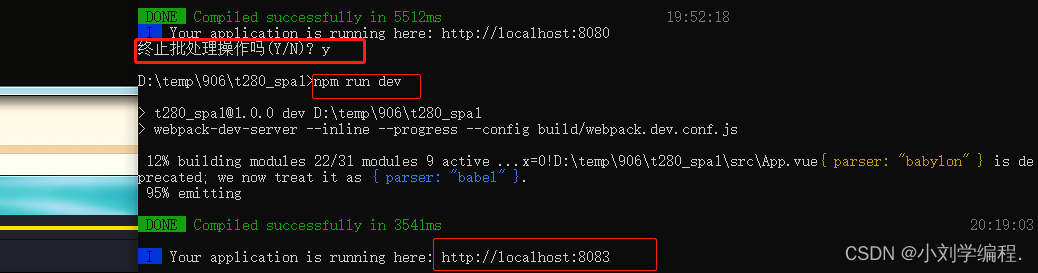
访问端口号发送改变
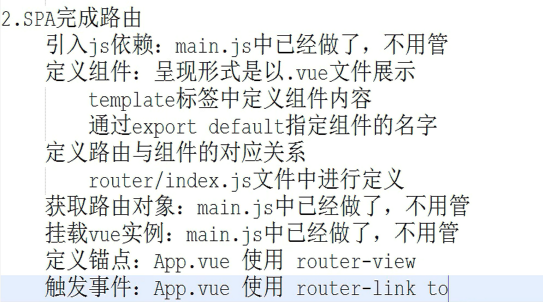
三、SPA完成路由的开发
3.1 SPA路由的流程
HOME.vue
<template>
  <div>
    这是首页内容,最新内容
  </div>
</template>

<script>
    export default{
      name:"Home",
      data(){
        return {
          msg:'Welcome to Your Vue.js App'
        };
      }
    }
</script>

<style>
</style>
About.vue
<template>
  <div>
    站长今年19岁,未婚,姓刘
  </div>
</template>

<script>
    export default{
      name:"About",
      data(){
        return {
          msg:'Welcome to Your Vue.js App'
        };
      }
    }
</script>

<style>
</style>
App.vue
<template>
  <div id="app">
   <!-- 事件 -->
   <router-link to="/Home">首页</router-link>
   <router-link to="/About">关于本站</router-link>
   <!-- 锚点 -->
    <router-view/>
  </div>
</template>

<script>
export default {
  name: 'App'
}
</script>

<style>
#app {
  font-family: 'Avenir', Helvetica, Arial, sans-serif;
  -webkit-font-smoothing: antialiased;
  -moz-osx-font-smoothing: grayscale;
  text-align: center;
  color: #2c3e50;
  margin-top: 60px;
}
</style>
index.vue
import Vue from 'vue'
import Router from 'vue-router'
import HelloWorld from '@/components/HelloWorld'
import Home from '@/components/Home'
import About from '@/components/AboutMe'


Vue.use(Router)

export default new Router({
  routes: [
    {
      path: '/Home',
      name: 'Home',
      component: Home
    },
		{
			path: '/About',
			name: 'About',
			component: About
		}
  ]
})
其中我们的挂载在main.js已经完成了
// The Vue build version to load with the `import` command
// (runtime-only or standalone) has been set in webpack.base.conf with an alias.
import Vue from 'vue'
import App from './App'
import router from './router'

Vue.config.productionTip = false

/* eslint-disable no-new */
new Vue({
  el: '#app',
  router,
  components: { App },
  template: '<App/>'
})
三、嵌套路由的使用
About.vue
<template>
  <div>
   <!-- 这是关于本站内容 -->
   <router-link to="/AboutMe">关于站长</router-link>
    <router-link to="/AboutWebSeit">关于本站</router-link>
    <!-- 锚点 -->
    <router-view></router-view>
  </div>
</template>

<script>
    export default{
      name:"About",
      data(){
        return {
          msg:'Welcome to Your Vue.js App'
        };
      }
    }
</script>

<style>
</style>
AboutMe.vue
<template>
  <div>
    站长今年19岁,未婚,姓刘
  </div>
</template>

<script>
    export default{
      name:"AboutMe",
      data(){
        return {
          msg:'Welcome to Your Vue.js App'
        };
      }
    }
</script>

<style>
</style>
AboutWebSeit.vue
<template>
  <div>
    这是本站内容,本站从此不在跟新
  </div>
</template>

<script>
    export default{
      name:"AboutWebSeit",
      data(){
        return {
          msg:'Welcome to Your Vue.js App'
        };
      }
    }
</script>

<style>
</style>
index.js
import Vue from 'vue'
import Router from 'vue-router'
import HelloWorld from '@/components/HelloWorld'
import Home from '@/components/Home'
import About from '@/components/About'
import AboutMe from '@/components/AboutMe'
import AboutSeit from '@/components/AboutSeit'

Vue.use(Router)

export default new Router({
  routes: [
    {
      path: '/Home',
      name: 'Home',
      component: Home
    },
		{
			path: '/About',
			name: 'About',
			component: About,
			children:[
				{
					path: '/AboutMe',
					name: 'AboutMe',
					component: AboutMe
				},
				{
					path: '/AboutSeit',
					name: 'AboutSeit',
					component: AboutSeit
				}
			]
		}
  ]
})
效果展示:


版权声明:本文内容由互联网用户自发贡献,该文观点仅代表作者本人。本站仅提供信息存储空间服务,不拥有所有权,不承担相关法律责任。如发现本站有涉嫌侵权/违法违规的内容, 请发送邮件至 举报,一经查实,本站将立刻删除。
文章由极客之音整理,本文链接:https://www.bmabk.com/index.php/post/51009.html

