
Spring Cloud Gateway + Alibaba Cloud Sentinel 限流
记录 Alibaba Cloud Sentinel 规则持久化到 Nacos 后,Gateway服务重启过后 网关流控规则 中 intervalSec 属性值为1导致的流控没有达到预期效果的问题,并用于记录日常开发中,使用Spring Cloud Gateway + Alibaba Cloud Sentinel 实现网关应用的限流。并本文以及后续文章均将 Spring Cloud Gateway 称为 Gateway ,Alibaba Cloud Sentinel 称为 Sentinel。
声明:本篇及后续文章所描述的 Sentinel 所遇到的问题,均为本人日常开发中由于个人新增的代码所导致的,与 Alibaba Sentinel ,Alibaba Nacos ,Spring Cloud Gateway 本身没有关系,非常感谢这些开源组件的背后开发人员
本文主要记录 Gateway 测试项目的搭建,以及将 Sentinel 作为限流框架的接入,为下一篇文章做铺垫,熟悉这部分的可以直接传送门。
技术选型
1、系统环境
- Java EE 8
2、主框架
- Spring Boot 2.3.12.RELEASE
- Spring Cloud Hoxton.SR12
- Alibaba Cloud 2.2.9.RELEASE
- Nacos 2.1.2
- Sentinel Dashboard 1.8.6
项目文件结构
spring-cloud-gateway-sentinel
|
├─gateway-service		// 网关服务
|  ├─src
│  ├─pom.xml
|
└─producer-service		// 服务提供者
|  ├─src
|  ├─pom.xml
|
└─pom.xml
数据流程
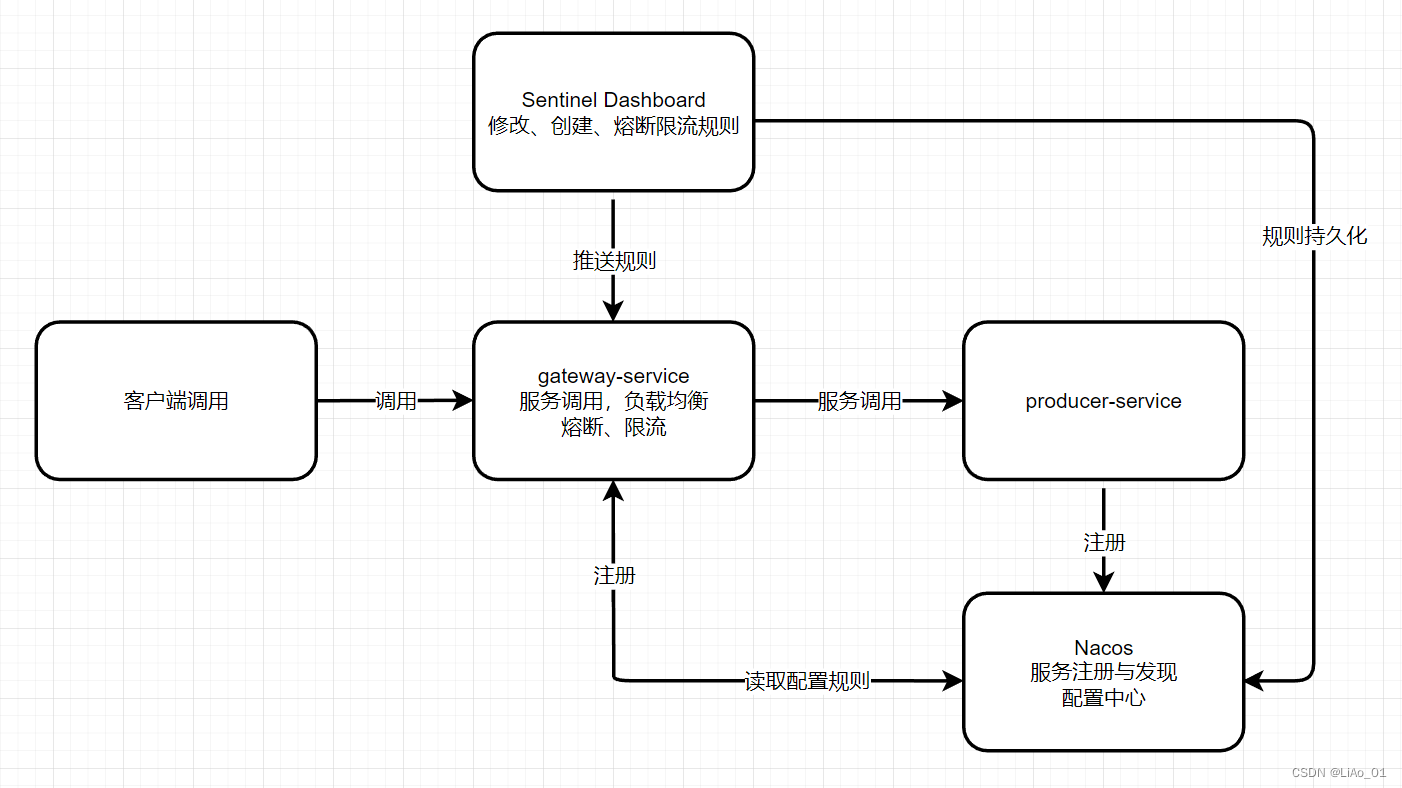

环境准备
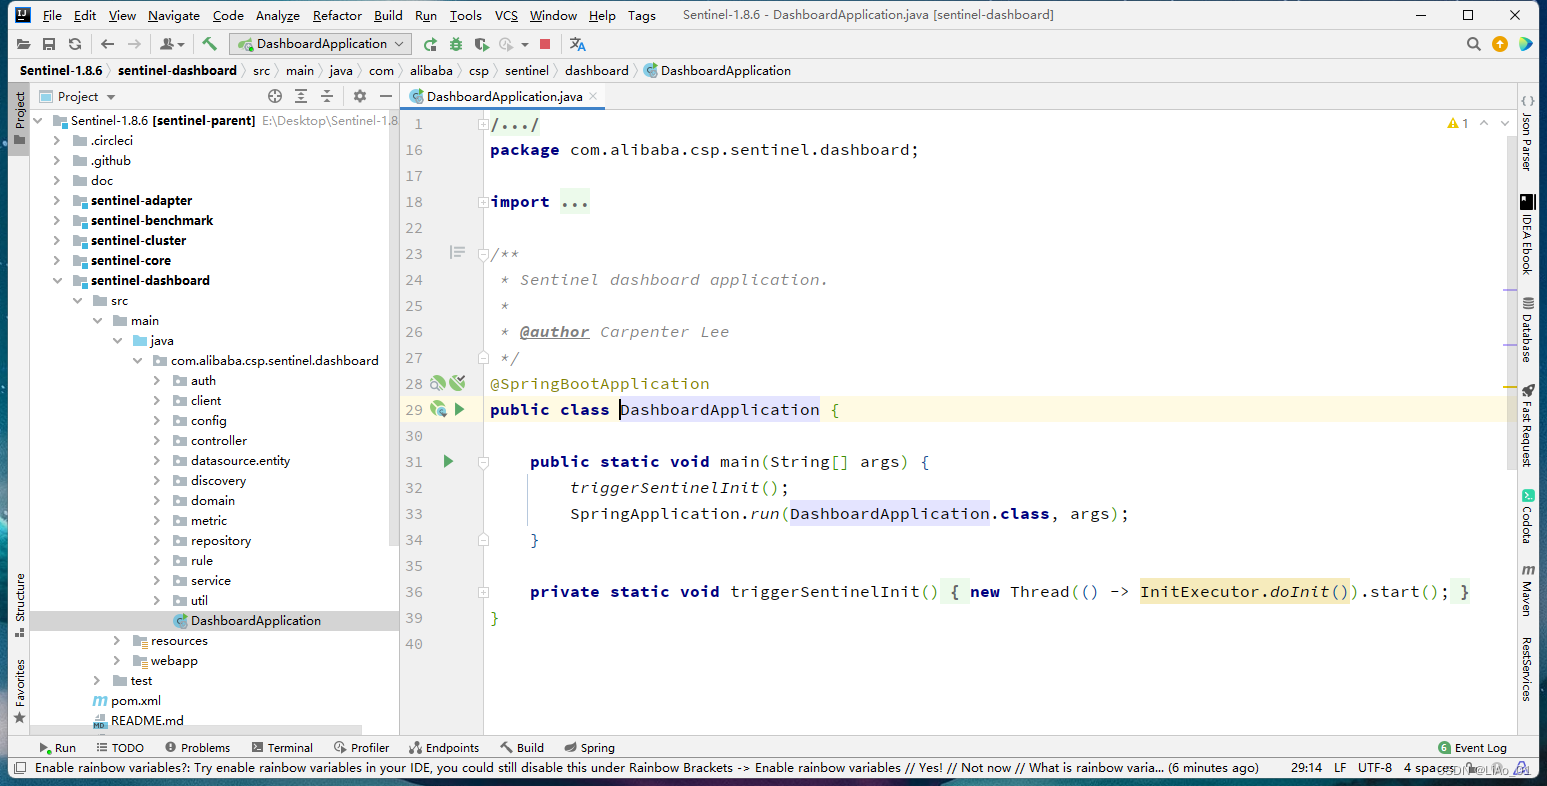
1、Sentinel
下载 Sentinel 1.8.6 的项目源码,因为后续需要修改 Sentinel dashboard 的源码,所以需要下载 Source code,将下载的源码解压后使用 IDEA 打开,然后启动项目中的 sentinel-dashboard 模块 DashboardApplication.main
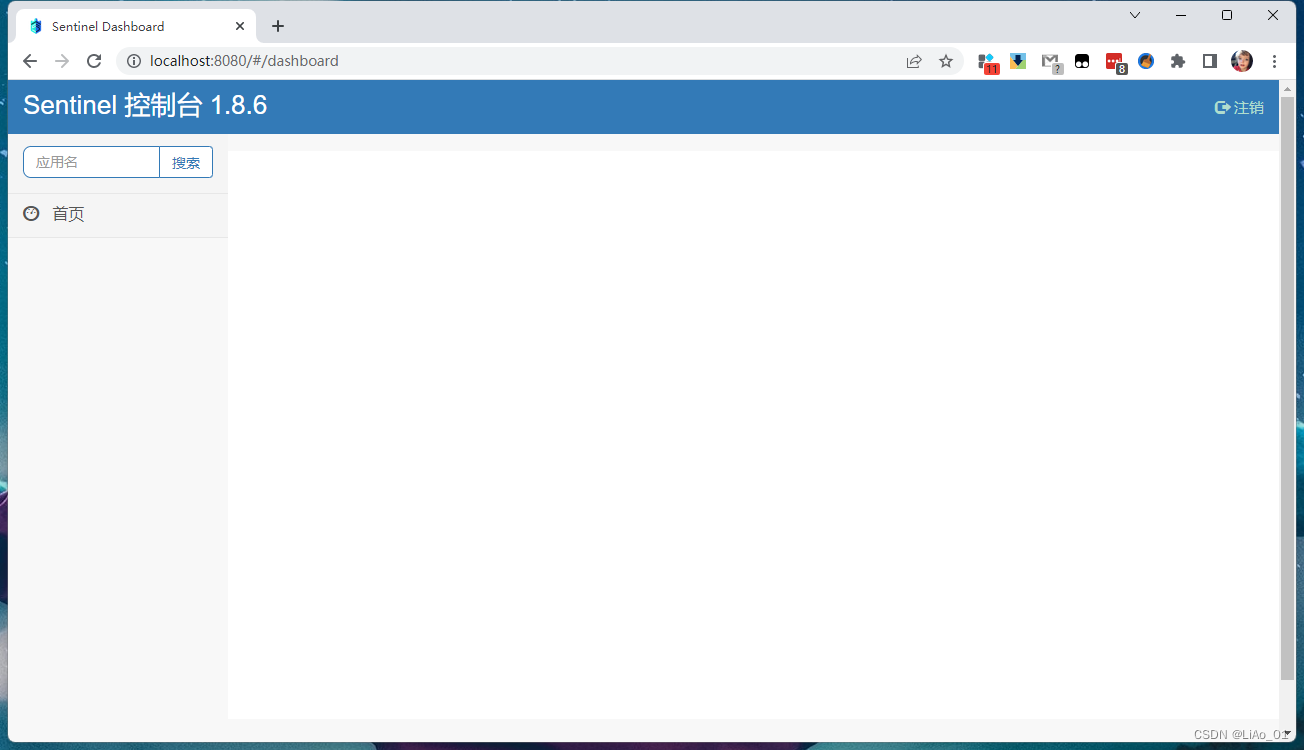
待sentinel-dashboard 启动成功,使用浏览器访问 http:localost:8080 地址,打开 Sentinel 的控制台,默认账号密码均为 sentinel
2、Nacos
下载 Nacos 2.1.2 的压缩包,进入bin 目录,使用 startup.cmd -m standalone 命令进行启动。
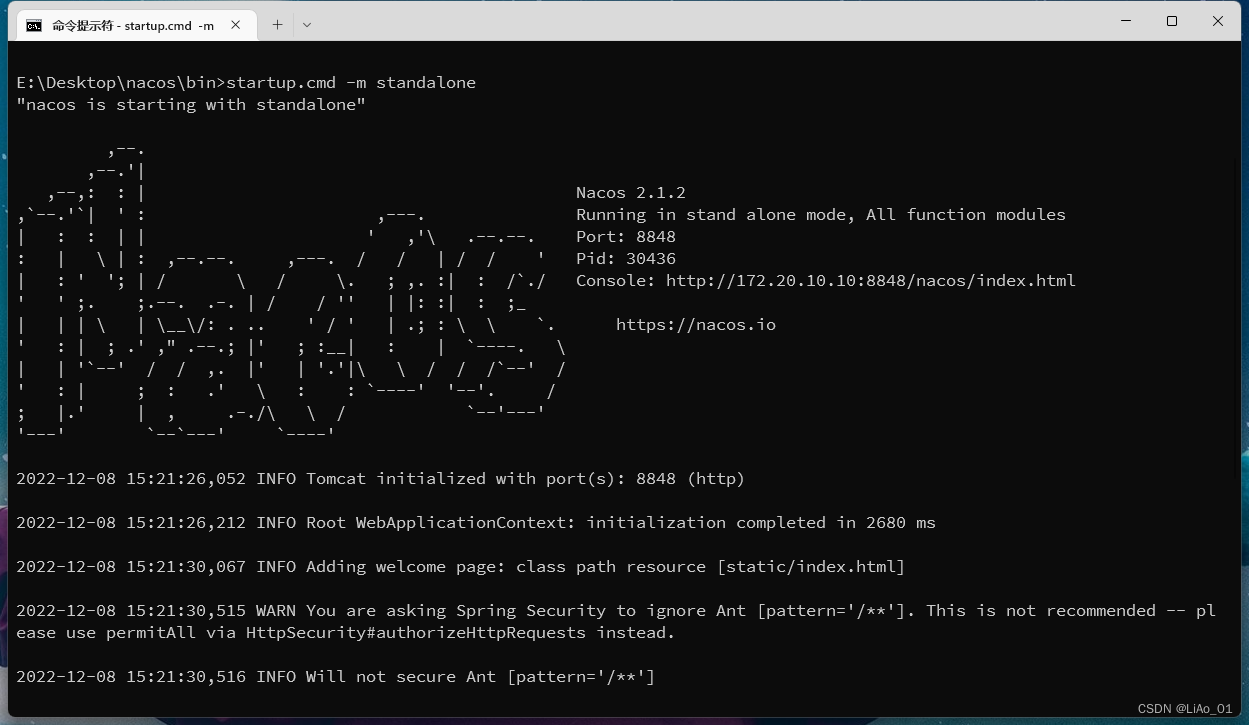
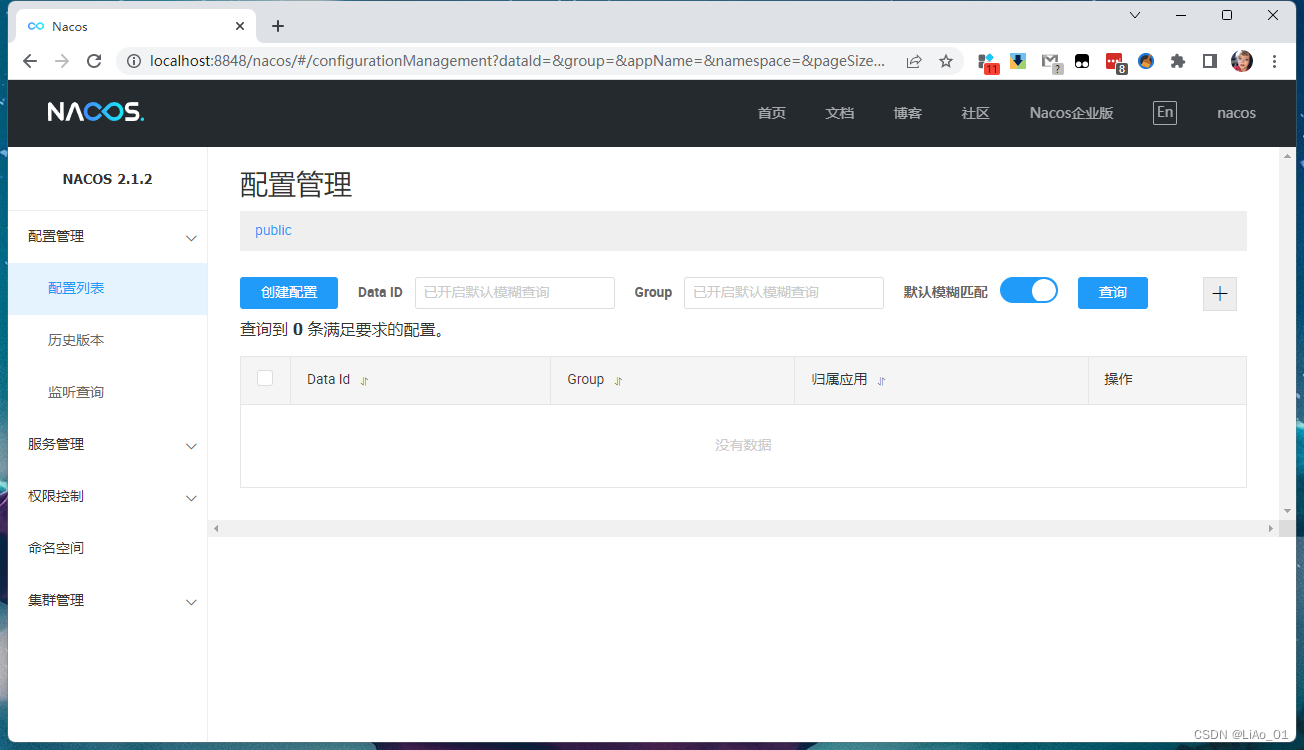
待 Nacos 启动成功后,使用浏览器访问 http:localost:8848/nacos 打开 Nacos 的控制台,默认账号密码均为 nacos
项目搭建
1、父级项目
首先创建父级项目,用于约束子级项目的依赖版本,Maven dependencyManagement如下
    <dependencyManagement>
        <dependencies>
            <!--spring boot-->
            <dependency>
                <groupId>org.springframework.boot</groupId>
                <artifactId>spring-boot-dependencies</artifactId>
                <version>2.3.12.RELEASE</version>
                <type>pom</type>
                <scope>import</scope>
            </dependency>
            <!--Spring Cloud-->
            <dependency>
                <groupId>org.springframework.cloud</groupId>
                <artifactId>spring-cloud-dependencies</artifactId>
                <version>Hoxton.SR12</version>
                <type>pom</type>
                <scope>import</scope>
            </dependency>
            <!--Spring Cloud Alibaba-->
            <dependency>
                <groupId>com.alibaba.cloud</groupId>
                <artifactId>spring-cloud-alibaba-dependencies</artifactId>
                <version>2.2.9.RELEASE</version>
                <type>pom</type>
                <scope>import</scope>
            </dependency>
        </dependencies>
    </dependencyManagement>
2、服务提供者
创建服务提供者服务 producer-service 用于测试网关的数据转发,以及后续的 Sentinel 限流和熔断的测试,pom.xml、application.yml、TestController.java 如下:
pom.xml
	<dependencies>
        <!--Nacos Discovery-->
        <dependency>
            <groupId>com.alibaba.cloud</groupId>
            <artifactId>spring-cloud-starter-alibaba-nacos-discovery</artifactId>
        </dependency>

        <!--Spring Boot Web-->
        <dependency>
            <groupId>org.springframework.boot</groupId>
            <artifactId>spring-boot-starter-web</artifactId>
        </dependency>

        <dependency>
            <groupId>org.springframework.boot</groupId>
            <artifactId>spring-boot-starter-test</artifactId>
            <scope>test</scope>
        </dependency>
    </dependencies>
application.yml
server:
  port: 8081
spring:
  application:
    name: producer-service
  cloud:
    nacos:
      discovery:
        server-addr: localhost:8848  # Nacos 连接地址
        username: nacos
        password: nacos
TestController
/**
 * <p>
 * 用于测试的接口
 * </p>
 *
 * @author LiAo
 * @since 2022-12-01
 */
@RestController
@RequestMapping
public class TestController {

    /**
     * 用于测试熔断限流
     *
     * @return hello
     */
    @GetMapping("/hello")
    public String hello() throws InterruptedException {
        // 睡眠两秒
        Thread.sleep(2000);
        return "Hello";
    }
}
3、网关服务
创建网关服务 gateway-service 用于提供服务的请求入口,并实现服务的负载以及熔断限流,pom.xml、application.yml 如下:
pom.xml
    <dependencies>
        <!--gateway-->
        <dependency>
            <groupId>org.springframework.cloud</groupId>
            <artifactId>spring-cloud-starter-gateway</artifactId>
        </dependency>

       <!--sentinel-->
        <dependency>
            <groupId>com.alibaba.cloud</groupId>
            <artifactId>spring-cloud-starter-alibaba-sentinel</artifactId>
        </dependency>

        <!--sentinel gateway-->
        <dependency>
            <groupId>com.alibaba.cloud</groupId>
            <artifactId>spring-cloud-alibaba-sentinel-gateway</artifactId>
        </dependency>

    	<!--nacos-->
        <dependency>
            <groupId>com.alibaba.cloud</groupId>
            <artifactId>spring-cloud-starter-alibaba-nacos-discovery</artifactId>
        </dependency>

        <dependency>
            <groupId>org.springframework.boot</groupId>
            <artifactId>spring-boot-starter-test</artifactId>
            <scope>test</scope>
        </dependency>
    </dependencies>
application.yml
server:
  port: 80

spring:
  application:
    name: gateway-service
  cloud:

    nacos:
      discovery:
        server-addr: localhost:8848 # Nacos 连接地址
        username: nacos
        password: nacos

    sentinel:
      eager: true
      transport:
        dashboard: localhost:8080 # 配置Sentinel dashboard地址
        port: 5201

    gateway:
      routes:
        - id: producer-service		# 服务提供者者的路由配置
          uri: lb://producer-service # lb
          predicates:
            - Path=/producer_service/**
          filters:
            # 网关转发到业务模块时候会自动截取前缀
            - StripPrefix=1
Gateway 转发测试
将项目搭建好之后,首先保证 Nacos、Sentinel 是启动状态,否则网关服务和服务提供者启动会报错,启动 producer-service 和 gateway-service ,然后打开Nacos 控制台,进入左侧菜单:服务管理 => 服务列表,可以看到已经注册到了Nacos的两个服务: producer-service 和 gateway-service。
[外链图片转存失败,源站可能有防盗链机制,建议将图片保存下来直接上传(img-h57kPCWr-1670488315692)(C:\Users\LiAo\AppData\Roaming\Typora\typora-user-images\image-20221208153712124.png)]
使用工具调用 producer-service 的测试接口,返回结果如下,证明producer-service服务是正常运行的
curl http://localhost:8081/hello
Hello
然后测试通过gateway-service网关服务进行路由转发是否正常,测试结果如下,也是可以正常返回结果的:
curl http://localhost/producer_service/hello
Hello
Sentinel 熔断与限流
项目接口测试成功之后,打开 Sentinle 控制台页面,可以看到 Sentinel 多了网关服务,并且服务菜单是 Sentinle 的 Gateway 模式,Gateway模式下的限流熔断规则都是根据网关服务中的 spring.cloud.gateway.routes.id 作为资源名称配置的,并且网关模式下的链路资源限流是不生效的。
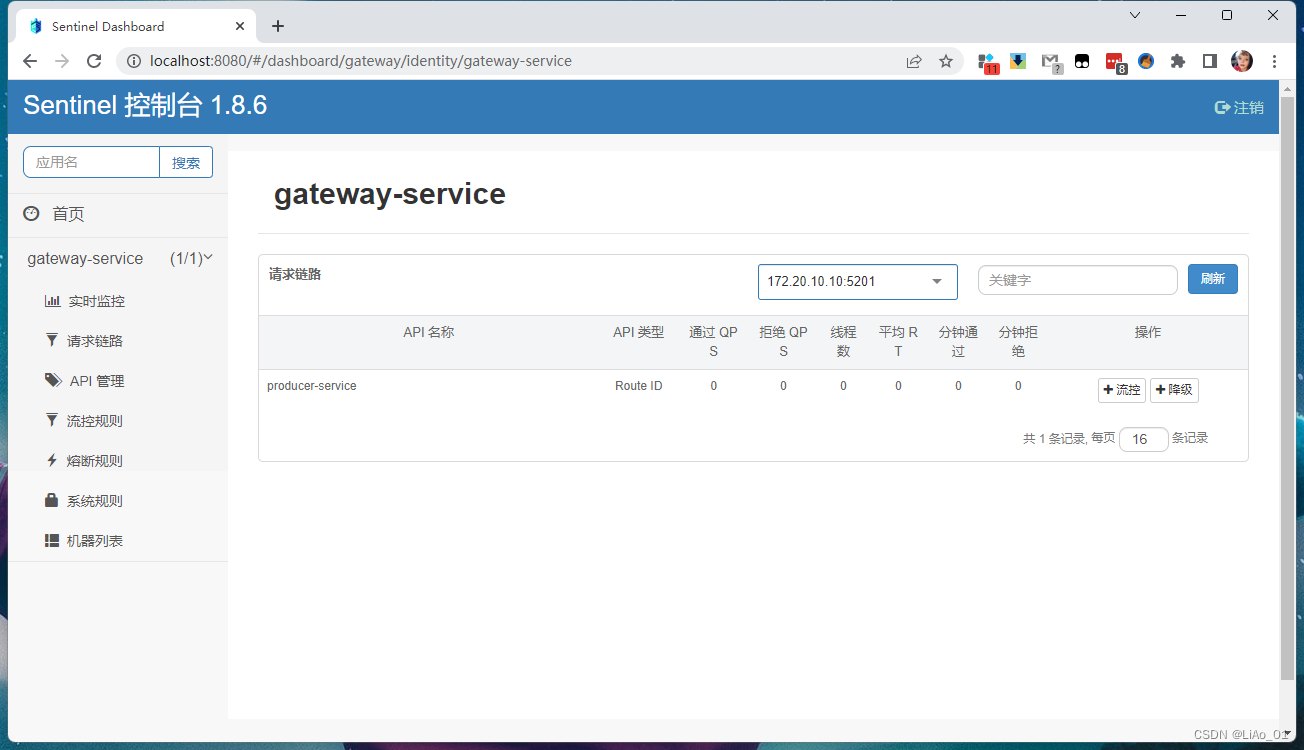
可以在控制台中的 请求链路 菜单下看到刚刚用于测试的请求,每个资源的右侧都有 流控 与 降级 这两个按钮,首先添加一个 producer-service 的降级规则,规则如下:
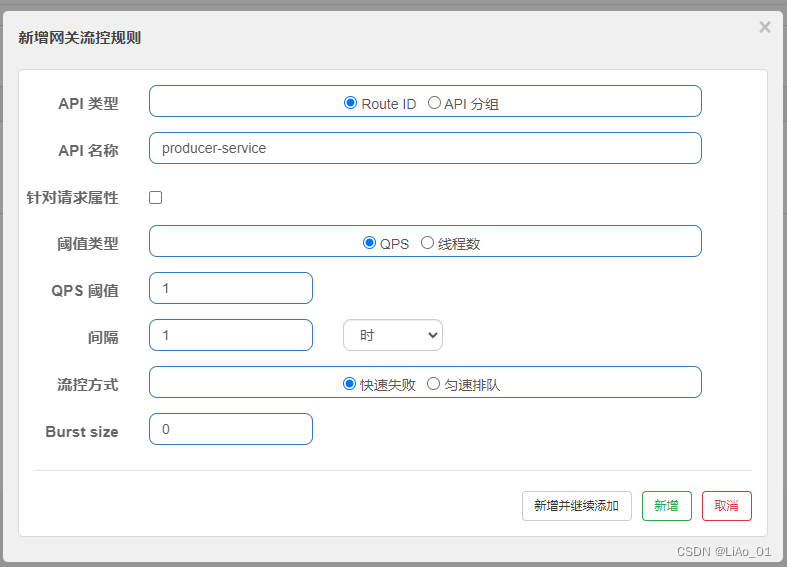
当我们多次通过网关请求 producer_service 测试接口过后,就会返回限流的结果:
curl http://localhost/producer_service/hello
Hello
curl http://localhost/producer_service/hello
{"code":429,"message":"Blocked by Sentinel: ParamFlowException"}
curl http://localhost/producer_service/hello
{"code":429,"message":"Blocked by Sentinel: ParamFlowException"}
在 流控规则 页面删除刚刚创建的流控规则,因为流控规则的触发是先于熔断规则的触发,所以我们要删除熔断规则,才可以看到熔断规则的效果。返回 请求链路 页面,为 producer-service 创建一个熔断规则如下:
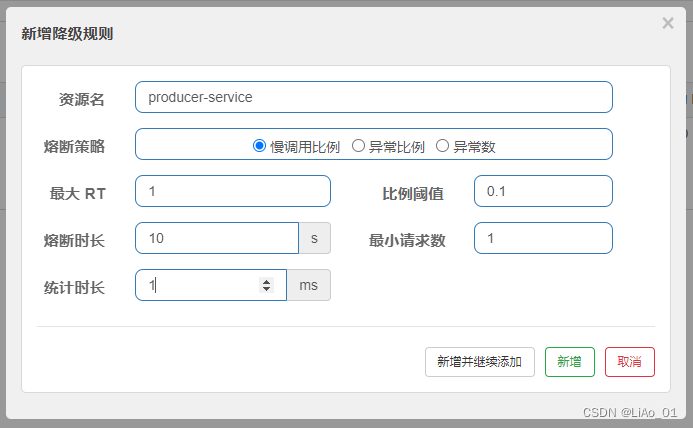
当我们多次通过网关请求 producer_service 测试接口过后,就会返回熔断限降级的结果:
curl http://localhost/producer_service/hello
Hello
curl http://localhost/producer_service/hello
{"code":429,"message":"Blocked by Sentinel: DegradeException"}
curl http://localhost/producer_service/hello
{"code":429,"message":"Blocked by Sentinel: DegradeException"}
结语
关于开头提到的,Sentinel 降级规则持久化到 Nacos 遇到的问题所需要的准备就到此为止了,下一篇文章将会介绍问题的具体描述和解决方案。
版权声明:本文内容由互联网用户自发贡献,该文观点仅代表作者本人。本站仅提供信息存储空间服务,不拥有所有权,不承担相关法律责任。如发现本站有涉嫌侵权/违法违规的内容, 请发送邮件至 举报,一经查实,本站将立刻删除。
文章由极客之音整理,本文链接:https://www.bmabk.com/index.php/post/72488.html

