
部署安装私有GItlab
前言
本篇内容主要介绍了如何在Centos7上安装Gitlab,并简单的介绍Gitlab的基础功能:用户(创建、修改、删除),组(创建、修改、删除、添加用户到组、修改组用户的权限及其失效时间等),项目(创建、删除、修改、以及详细介绍了如何从GitHub上导入项目)
注意:运行Gitlab的机器,内存至少3G以上
下载GItlab
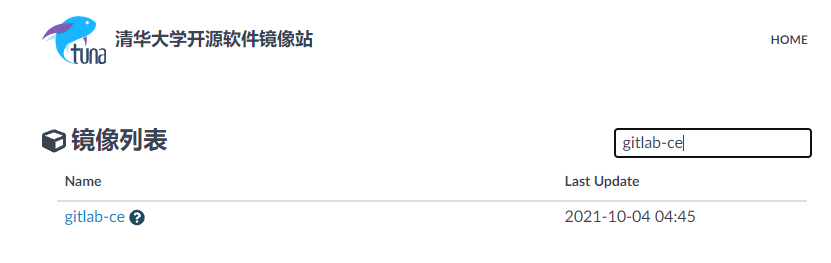
- 在 清华大学开源软件镜像站 首页进行搜索 gitlab-ce (ce是社区版,免费)。

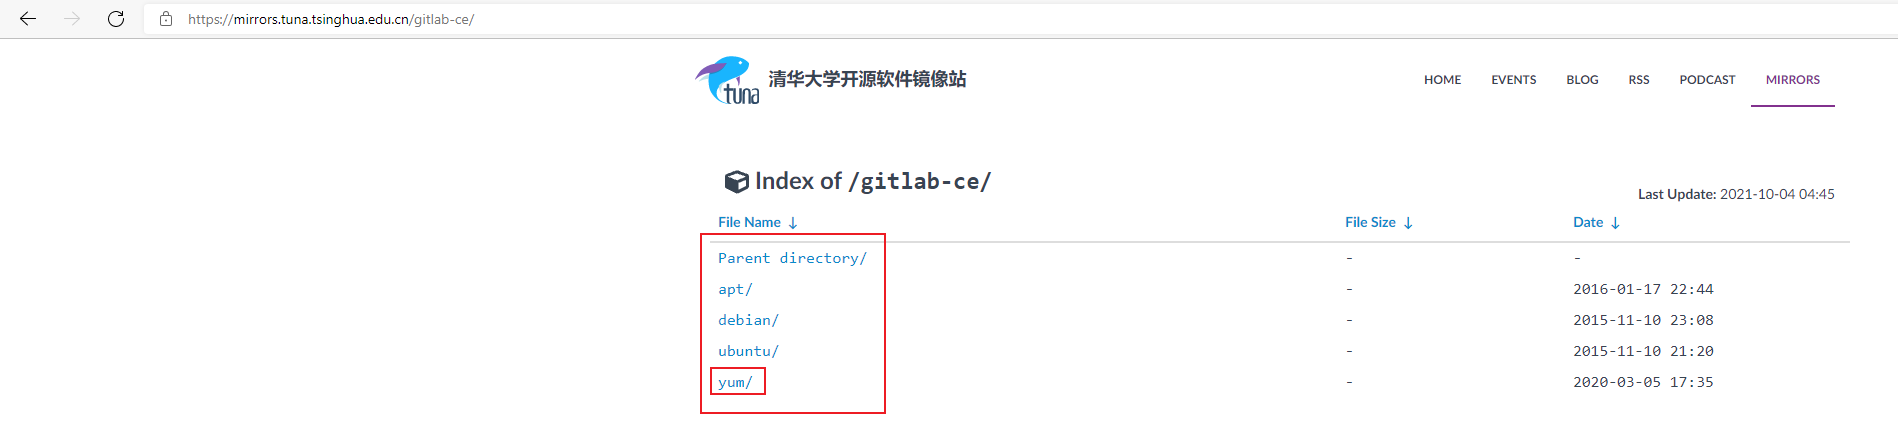
- 点击进去可以看到多种软件包供我们选择,因为我们使用的是centos,所以包管理器是使用的rpm,而yum是rpm的前端应用程序,所以再次点击 yum 进入内层
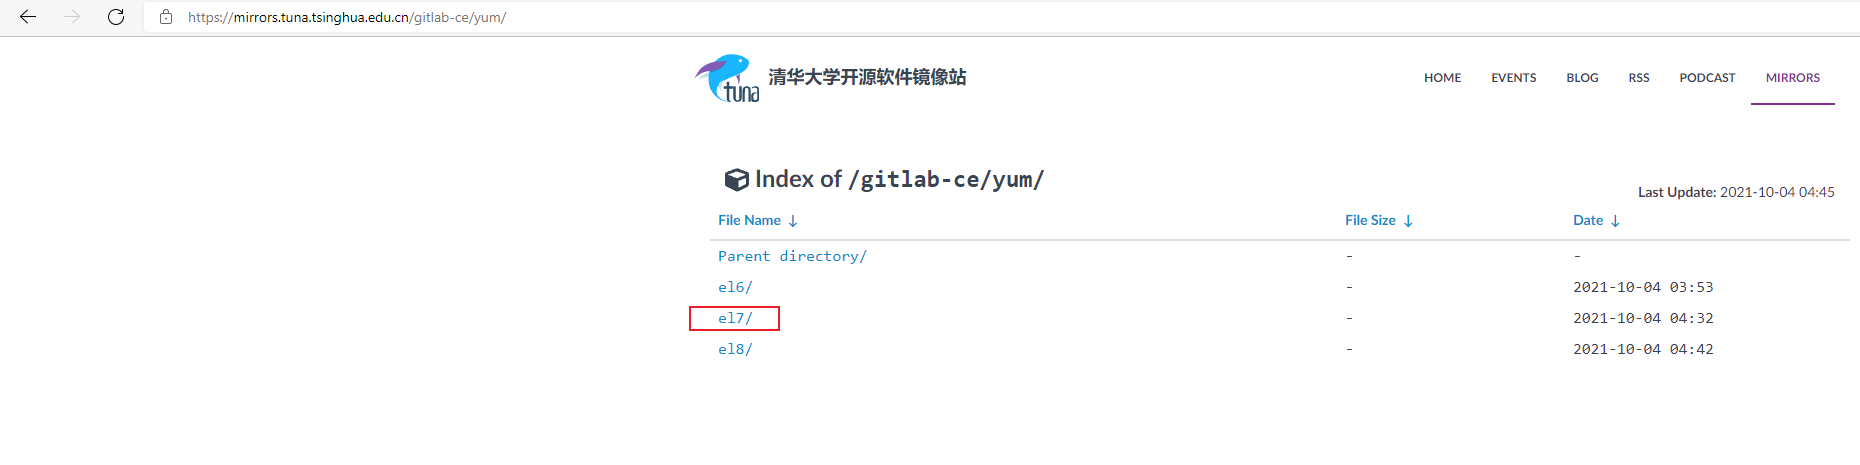
- 接下来就需要根据机器的操作系统版本,进行选择指定大版本的gitlab,这里我们演示的是centos7,所以选择el7进入。
如果是centos系统,可以使用命令
uname -a查看系统的版本
- 接下来就选择具体的版本进行安装,推荐安装最新的(根据Date降序排序,下载第一个即可)
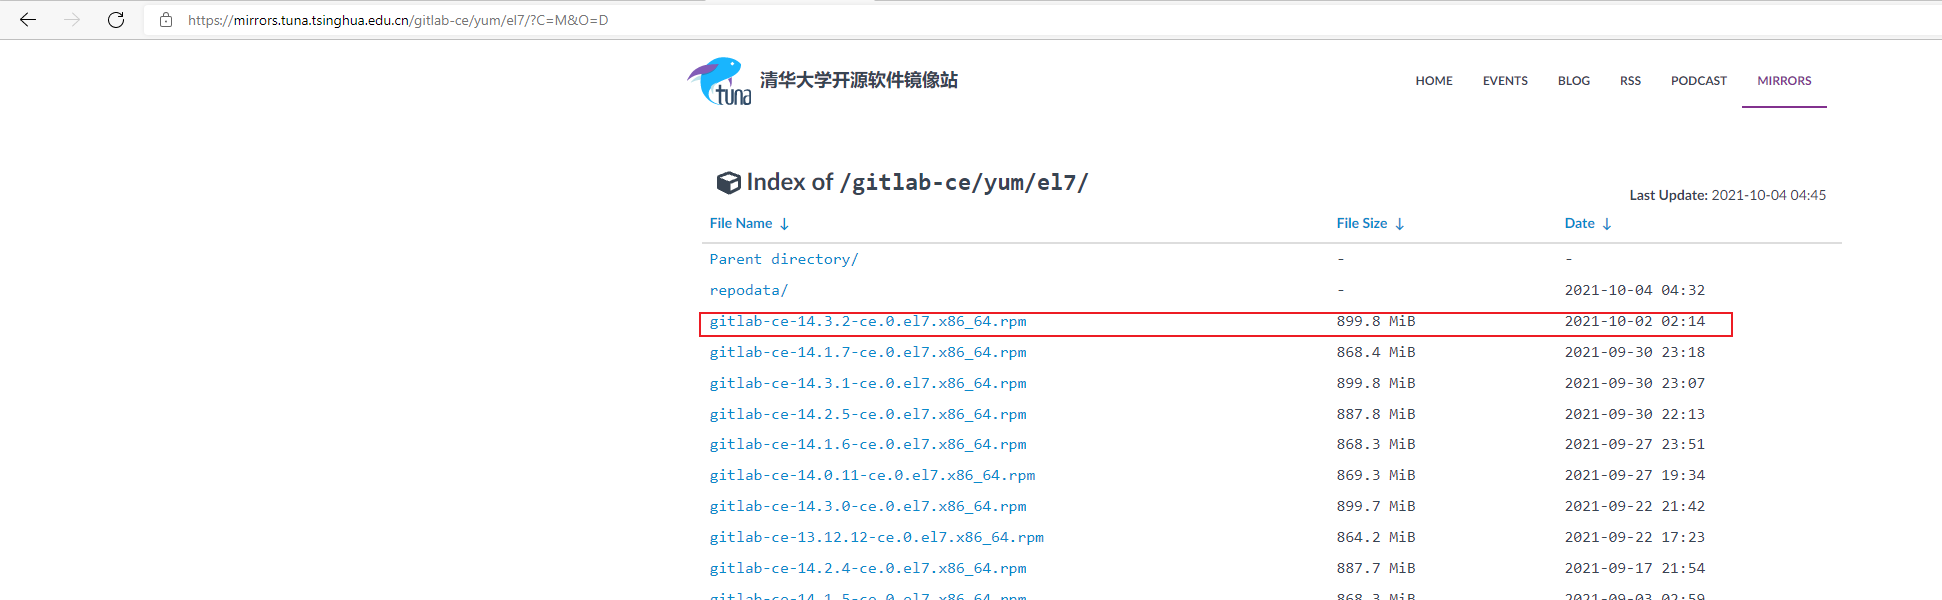
- 下载的方式很多,可以先下载到本地,再使用
rz(需要安装lrzsz:yum install lrzsz -y)推送到远程服务器。也可以使用wget直接在服务器内部下载。
$ wget https://mirrors.tuna.tsinghua.edu.cn/gitlab-ce/yum/el7/gitlab-ce-14.3.2-ce.0.el7.x86_64.rpm --no-check-certificate
安装启动Gitlab
安装
因为第一步我们下载的是rpm文件,所以使用rpm进行安装。
rpm -ivh gitlab-ce-14.3.2-ce.0.el7.x86_64.rpm
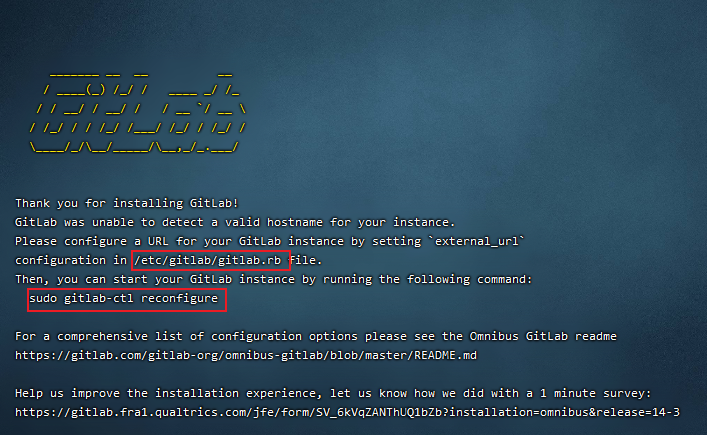
安装完后,会出现下面的提示,它告诉我们需要去修改配置文件/etc/gitlab/gitlab.rb 中的external_url值,然后再重新执行命令gitlab-ctl reconfigure 启动Gitlab实例
修改配置文件
# 编辑配置文件
vim /etc/gitlab/gitlab.rb
将external_url 'http://gitlab.example.com'的值修改成external_url 'http://192.168.42.128:82',这里的ip和端口都改成你自己的需要的即可,然后保存退出。
防火墙设置
# 查看防火墙状态
systemctl status firewalld.service
# 关闭防火墙
systemctl stop firewalld.service
# 开机禁用防火墙
systemctl disable firewalld.service
启动Gitlab
gitlab-ctl reconfigure
需要花费一定长的时间,执行的时间长短跟硬件有关。
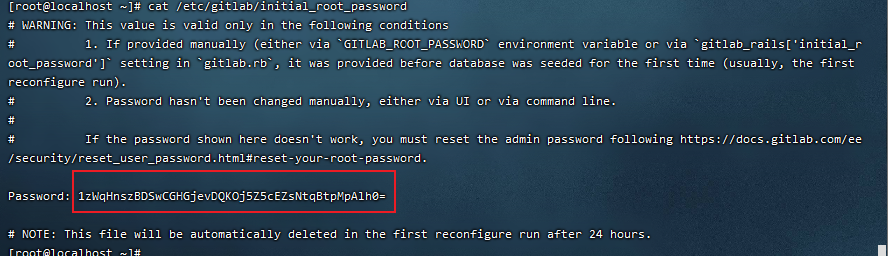
安装完成后,看见最下方输出了一些提示信息:管理员用户名是 root,密码在/etc/gitlab/initial_root_password文件中,且该文件会在24h后被清理,所以现在我们需要更改密码。
Notes:
Default admin account has been configured with following details:
Username: root
Password: You didn't opt-in to print initial root password to STDOUT.
Password stored to /etc/gitlab/initial_root_password. This file will be cleaned up in first reconfigure run after 24 hours.
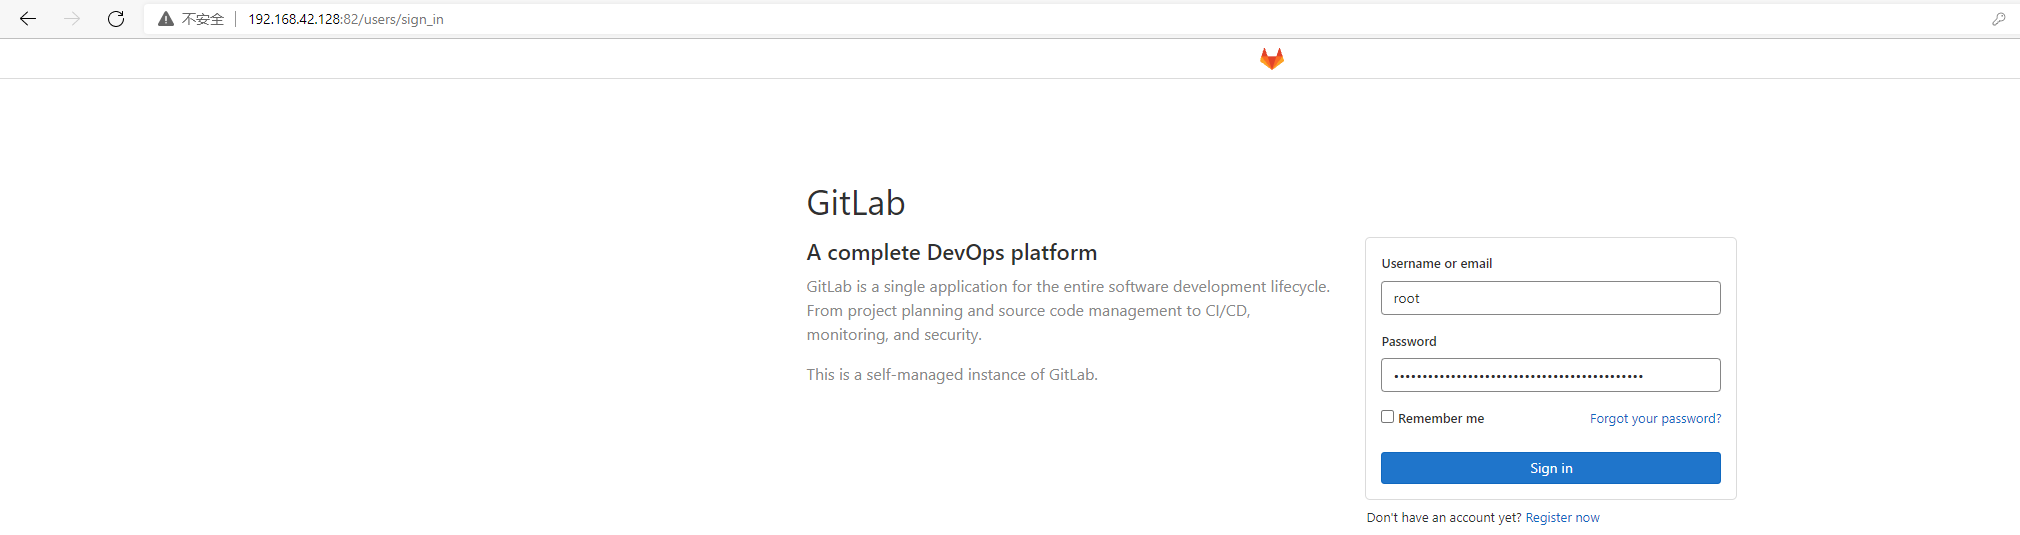
接着在浏览器上输入http://192.168.42.128:82(external_url 的值),输入用户名和密码登录即可
Gitlab的一些常见命令
在终端使用gitlab-ctl --help查看命令帮助文档
[root@localhost ~]# gitlab-ctl --help
omnibus-ctl: command (subcommand) # 子命令
check-config
  Check if there are any configuration in gitlab.rb that is removed in specified version
  #检查gitlab中是否有配置。在指定版本中删除的Rb
deploy-page
  Put up the deploy page
  #发布部署页面
diff-config
  Compare the user configuration with package available configuration
  #比较用户配置和包可用配置
get-redis-master
  Get connection details to Redis master
  #获得连接细节到Redis master
prometheus-upgrade
  Upgrade the Prometheus data to the latest supported version
  #将Prometheus数据升级到最新支持的版本
remove-accounts
  Delete *all* users and groups used by this package
  #删除此包使用的所有用户和组
reset-grafana
  Reset Grafana instance to its initial state by removing the data directory
  #通过删除数据目录将Grafana实例重置为初始状态
set-grafana-password
  Reset admin password for Grafana
  #重置Grafana的admin密码
upgrade
  Run migrations after a package upgrade
  #在包升级后运行迁移
upgrade-check
  Check if the upgrade is acceptable
  #检查升级是否可以接受
General Commands:
  cleanse
    Delete *all* gitlab data, and start from scratch.
    #删除所有gitlab数据,重新开始。
  help
    Print this help message.
  reconfigure
    Reconfigure the application.
    #重新配置应用程序。
  show-config
    Show the configuration that would be generated by reconfigure.
    #显示重新配置将生成的配置。
  uninstall
    Kill all processes and uninstall the process supervisor (data will be preserved).
    #杀死所有进程并卸载进程主管(数据将被保留)。
Service Management Commands: #服务管理命令
  graceful-kill
    Attempt a graceful stop, then SIGKILL the entire process group.
    #尝试一个优雅的停止,然后SIGKILL整个流程组。
  hup
    Send the services a HUP.
    #将服务发送HUP。
  int
    Send the services an INT.
    #发送一个INT类型的服务。
  kill
    Send the services a KILL.
    #向服务发送KILL。
  once
    Start the services if they are down. Do not restart them if they stop.
    #如果服务停止,请启动服务。如果它们停止,不要重新启动它们。
  restart
    Stop the services if they are running, then start them again.
    #如果服务正在运行,请停止它们,然后重新启动它们。
  service-list
    List all the services (enabled services appear with a *.)
    #列出所有服务(启用的服务以*显示)。
  start
    Start services if they are down, and restart them if they stop.
    #如果服务停止,则启动服务;如果服务停止,则重新启动服务。
  status
    Show the status of all the services.
    #显示所有服务的状态。
  stop
    Stop the services, and do not restart them.
    #请停止服务,不要重启服务。
  tail
    Watch the service logs of all enabled services.
    #查看所有已启用服务的业务日志。
  term
    Send the services a TERM.
    #给服务发送一个TERM。
  usr1
    Send the services a USR1.
    #发送一个USR1服务。
  usr2
    Send the services a USR2.
    #发送一个USR2服务。
Backup Commands: #备份命令
  backup-etc
    Backup GitLab configuration [options]
Let's Encrypt Commands:
  renew-le-certs
    Renew the existing Let's Encrypt certificates
Database Commands: #数据库命令
  pg-password-md5
    Generate MD5 Hash of user password in PostgreSQL format
    #生成PostgreSQL格式的用户密码MD5哈希
  pg-upgrade
    Upgrade the PostgreSQL DB to the latest supported version
    #将PostgreSQL数据库升级到最新支持的版本
  revert-pg-upgrade
    Run this to revert to the previous version of the database
    #运行此命令可恢复到数据库的以前版本
  set-replication-password
    Set database replication password
    #设置数据库复制密码
Container Registry Commands: #容器注册命令
  registry-garbage-collect
    Run Container Registry garbage collection.
    #运行容器注册表垃圾回收。
Gitlab基本使用介绍
修改密码
- 有一种方案是使用命令的方式修改,比较麻烦
#进入管理终端
gitlab-rails console production
#查询
user = User.where(id: 1).first
#设置密码
user.password='12345678'
#确认密码
user.password_confirmation = '12345678'
#保存不然不生效
user.save!
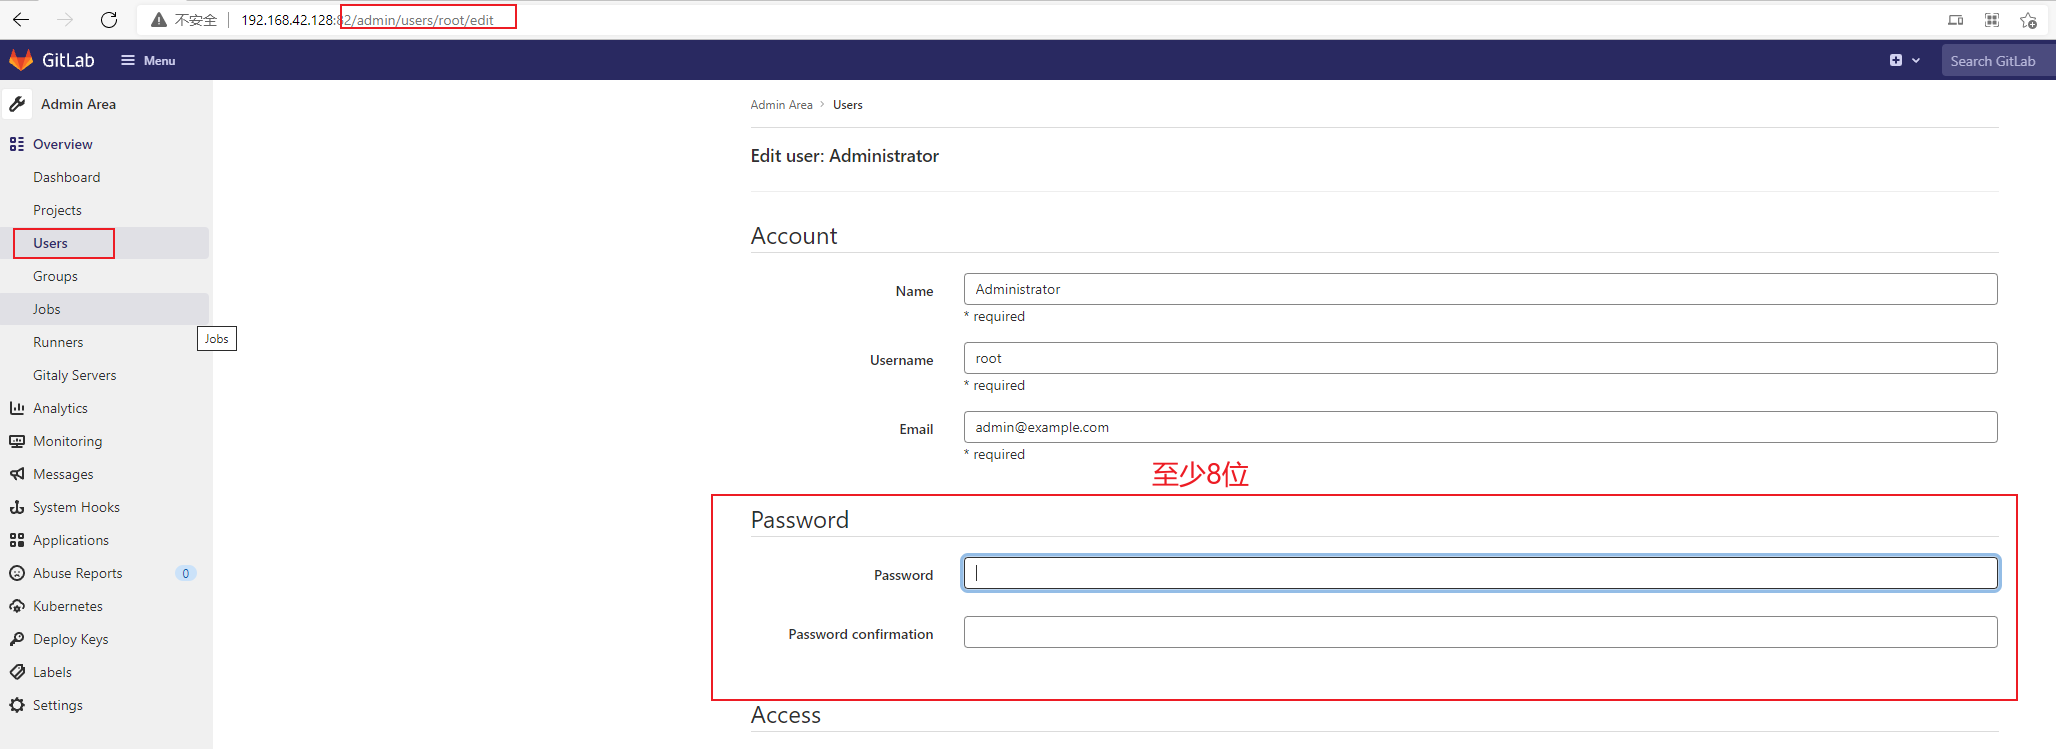
- 在前端界面上进行修改
访问http://192.168.42.128:82/admin/users/root/edit,修改密码后进行保存后重新登录即可。
Dashboard 仪表盘
这里可以查看到全局的数据总览,也可以进行快捷创建用户、组、项目

Users菜单
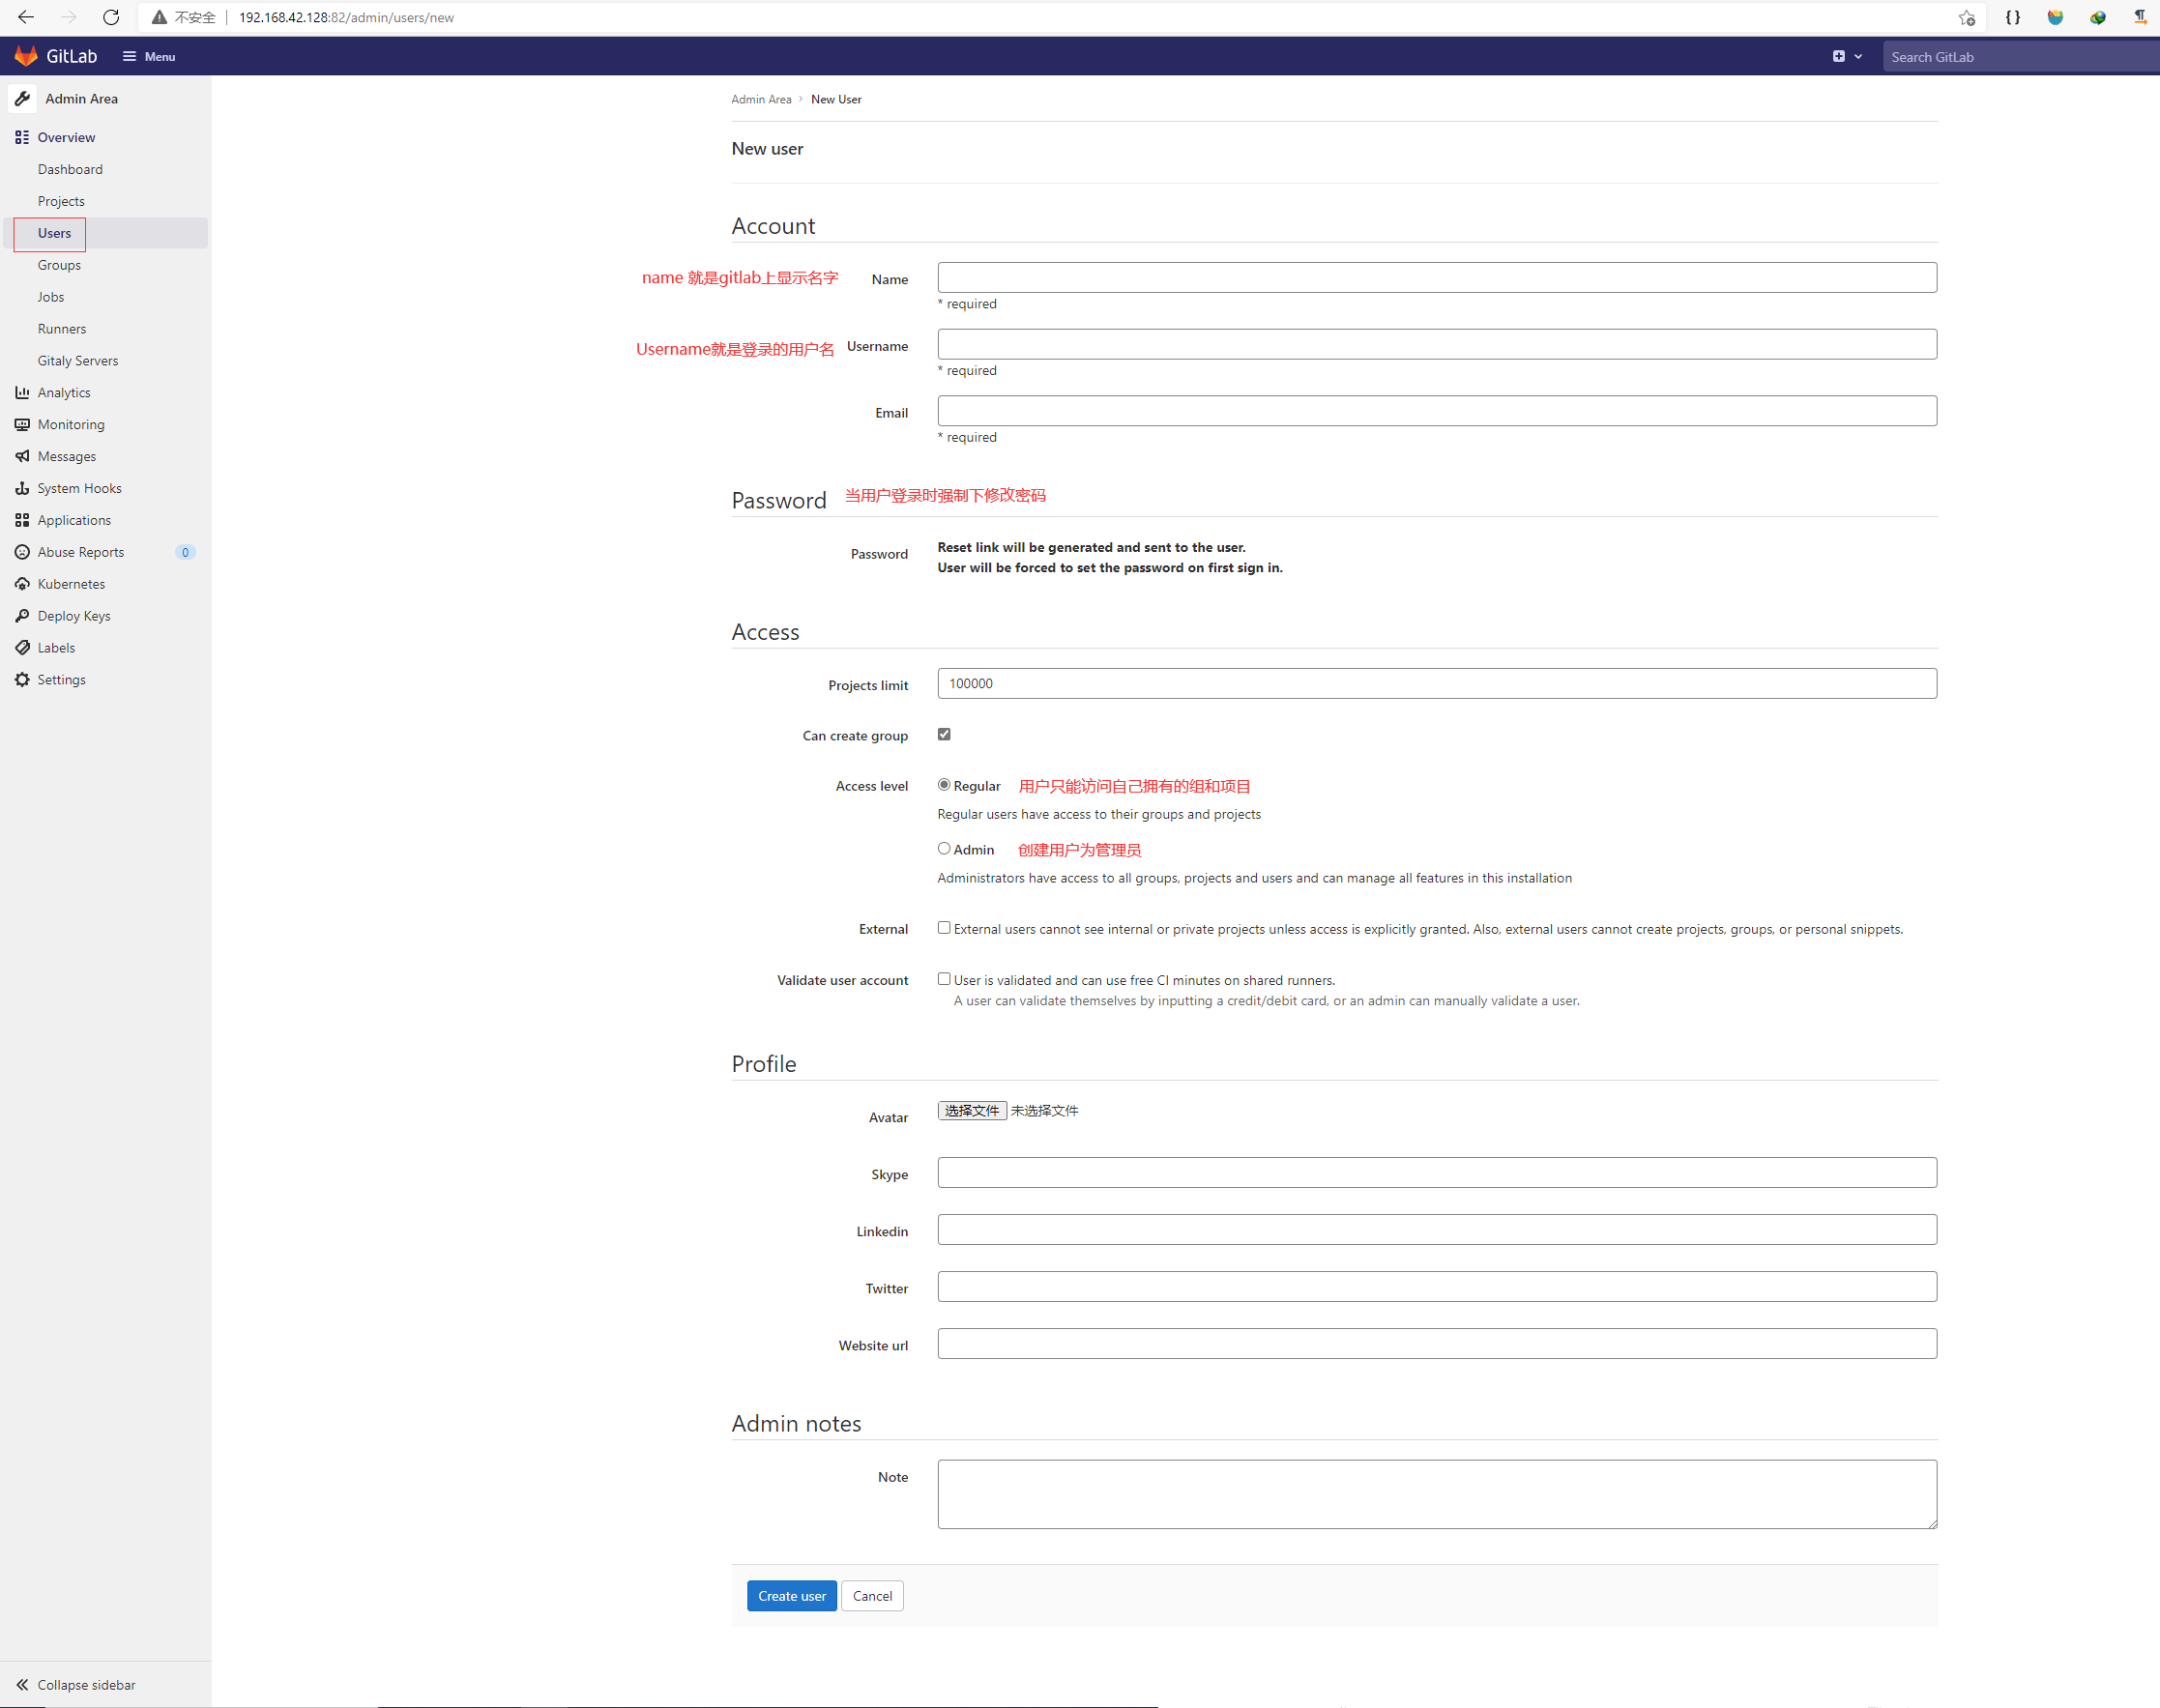
创建用户
选择Admin,然后选择菜单中的User,点击页面右侧的New user进行创建用户

查看用户信息和修改
还是进入Users菜单,找到需要修改的用户,然后点击姓名进去,中间就是该用户的基本信息,然后点击右上的Edit按钮修改即可。
如果只是修改,可以点击指定行后面的Edit直接修改。


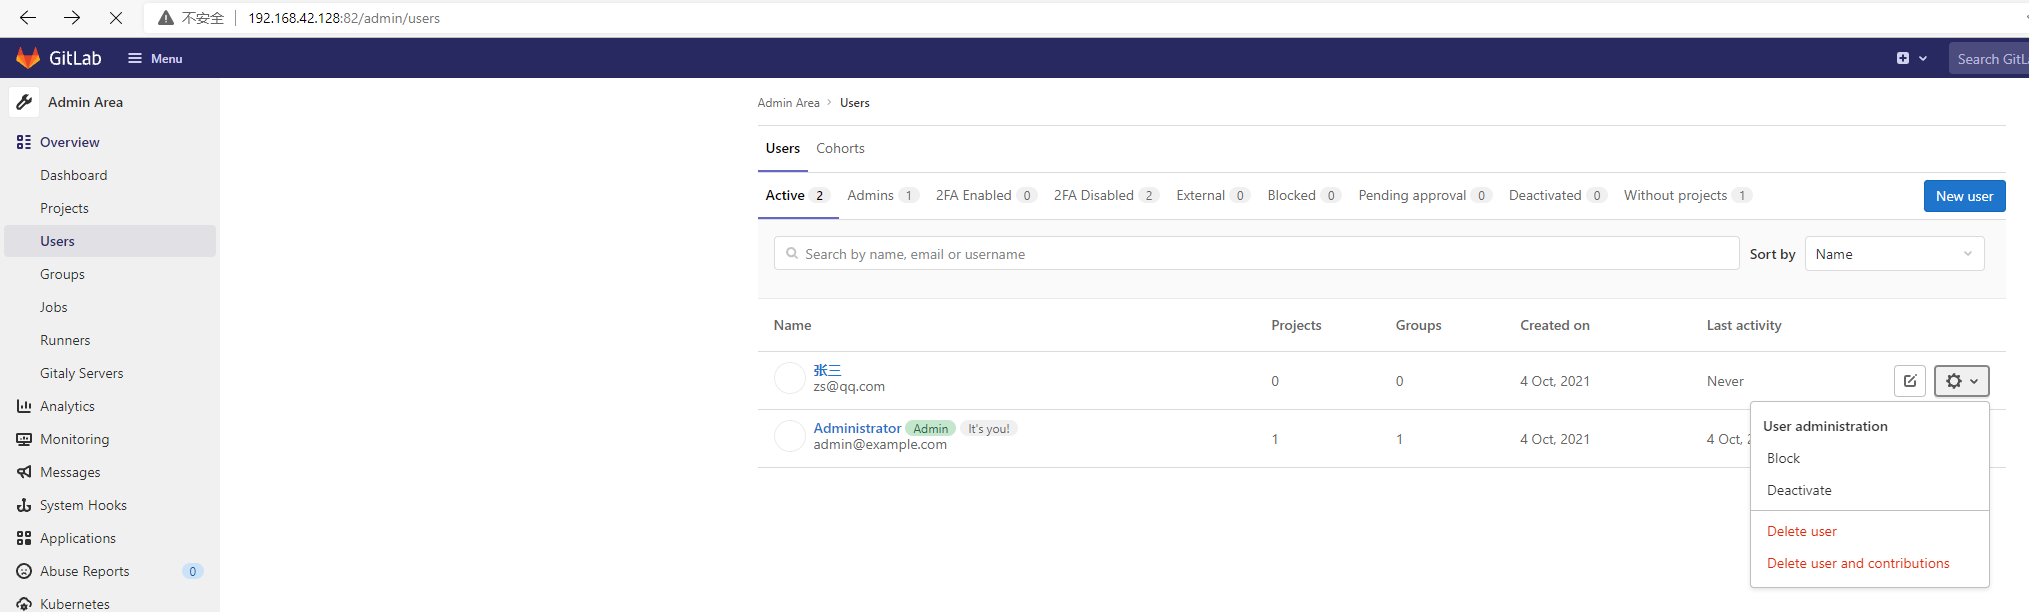
锁定/禁用/删除/完全删除
用户行末尾的设置按钮
- Blok:锁定用户
- Deactivate:禁用
- Delete user:删除
- Delete user and contributions:删除用户和贡献
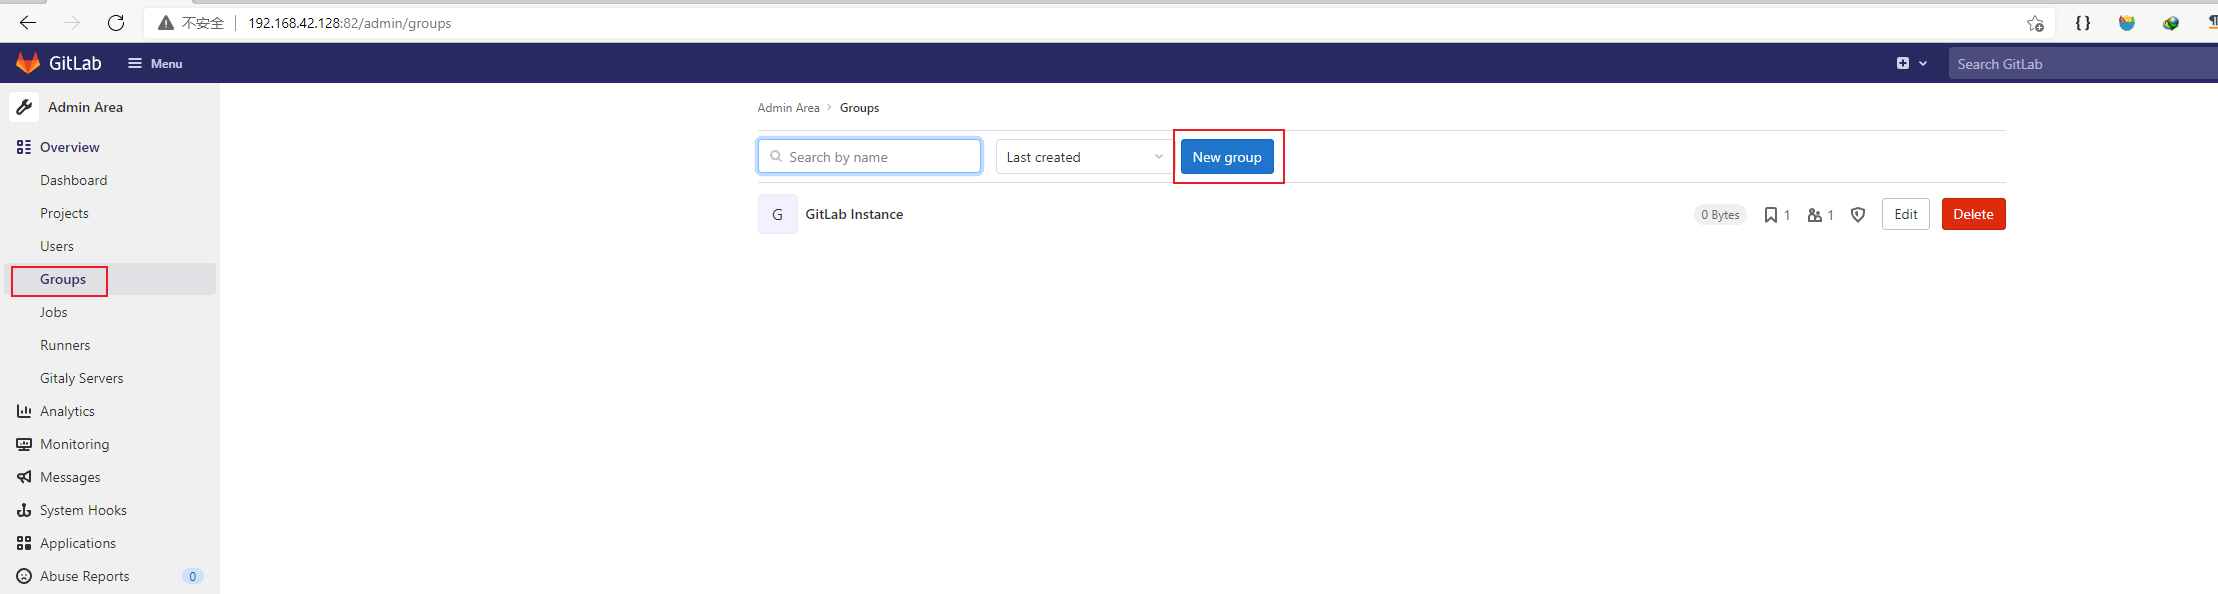
Groups 菜单
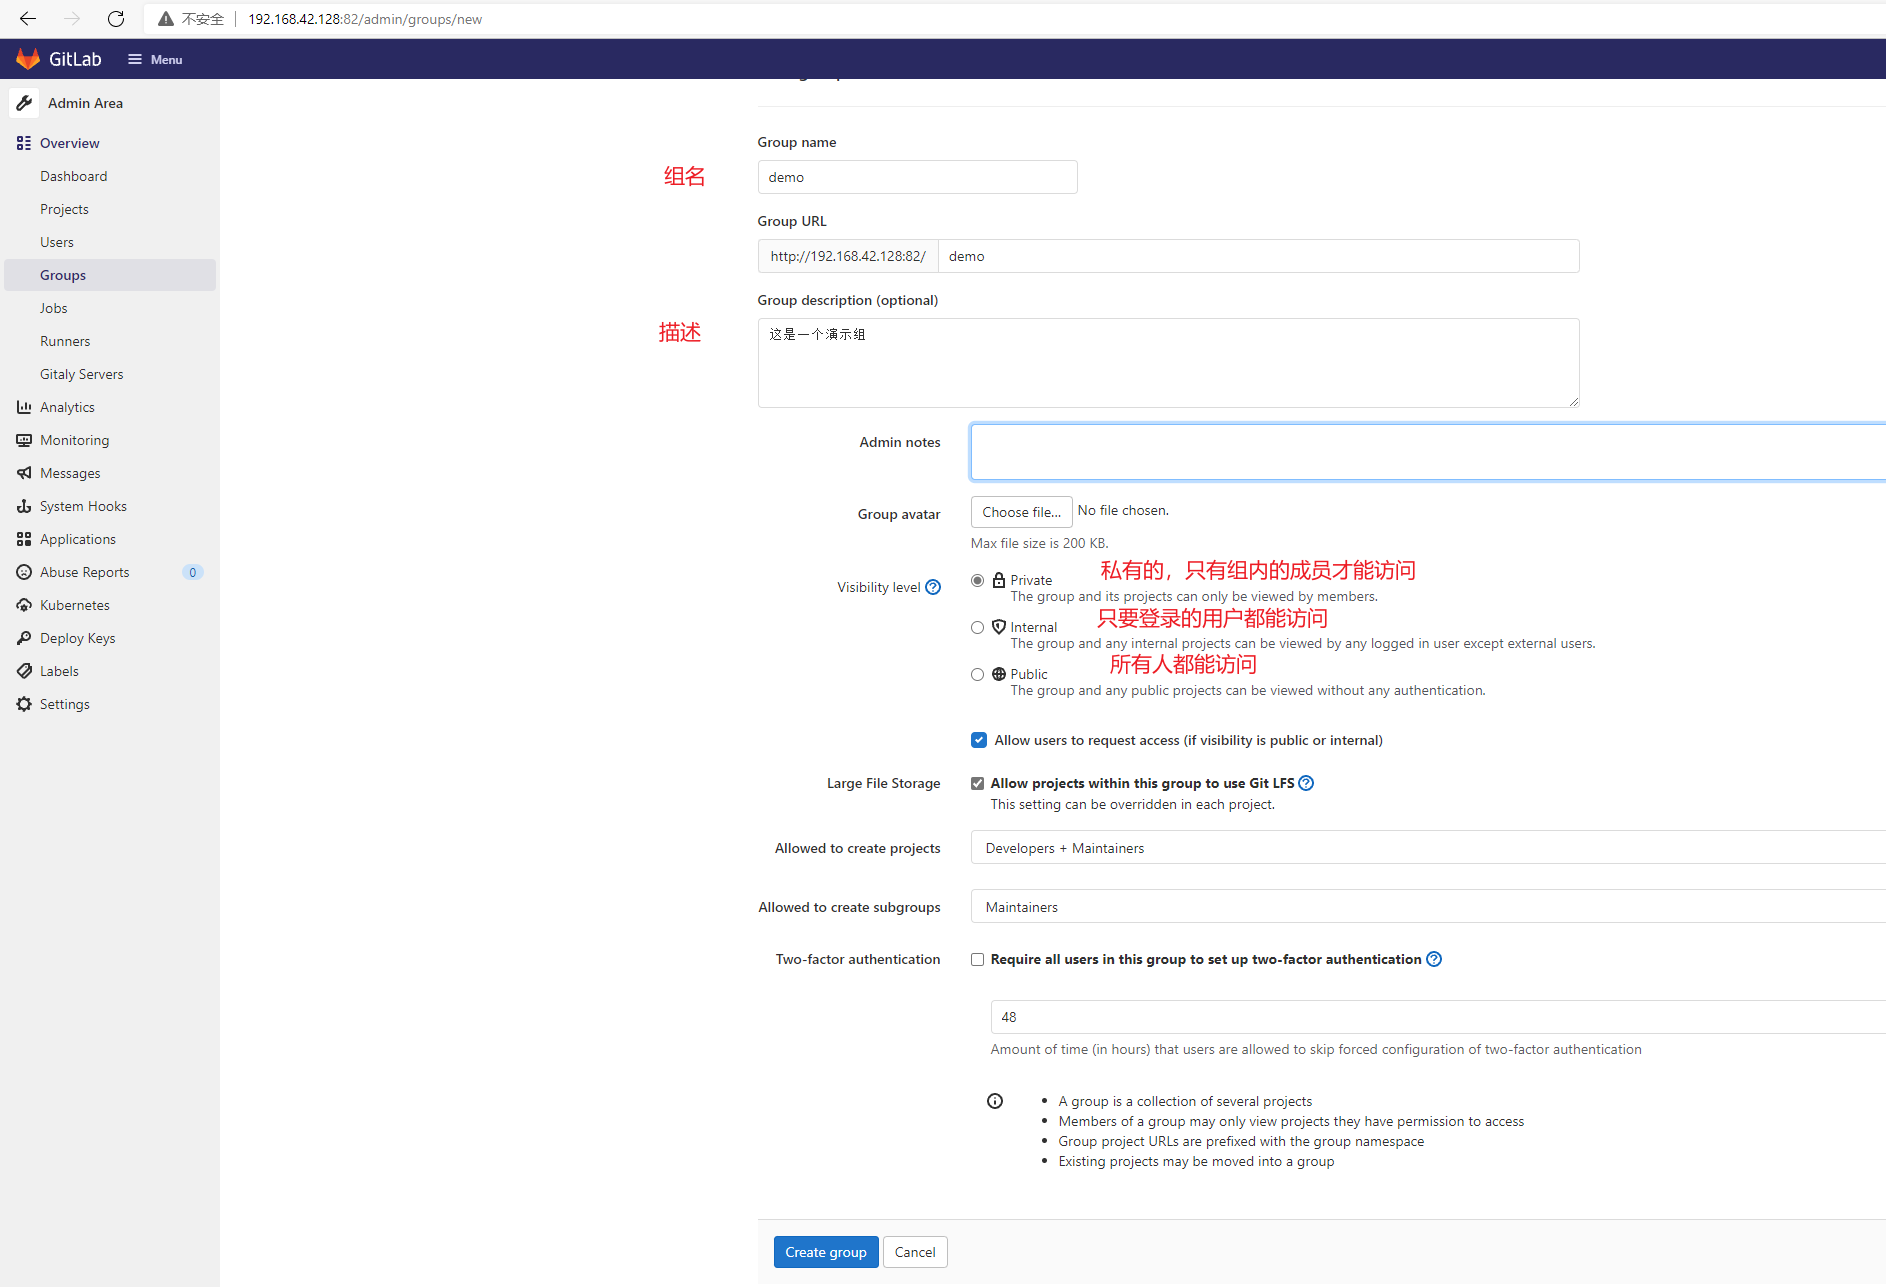
创建组
修改和删除组
添加用户到组
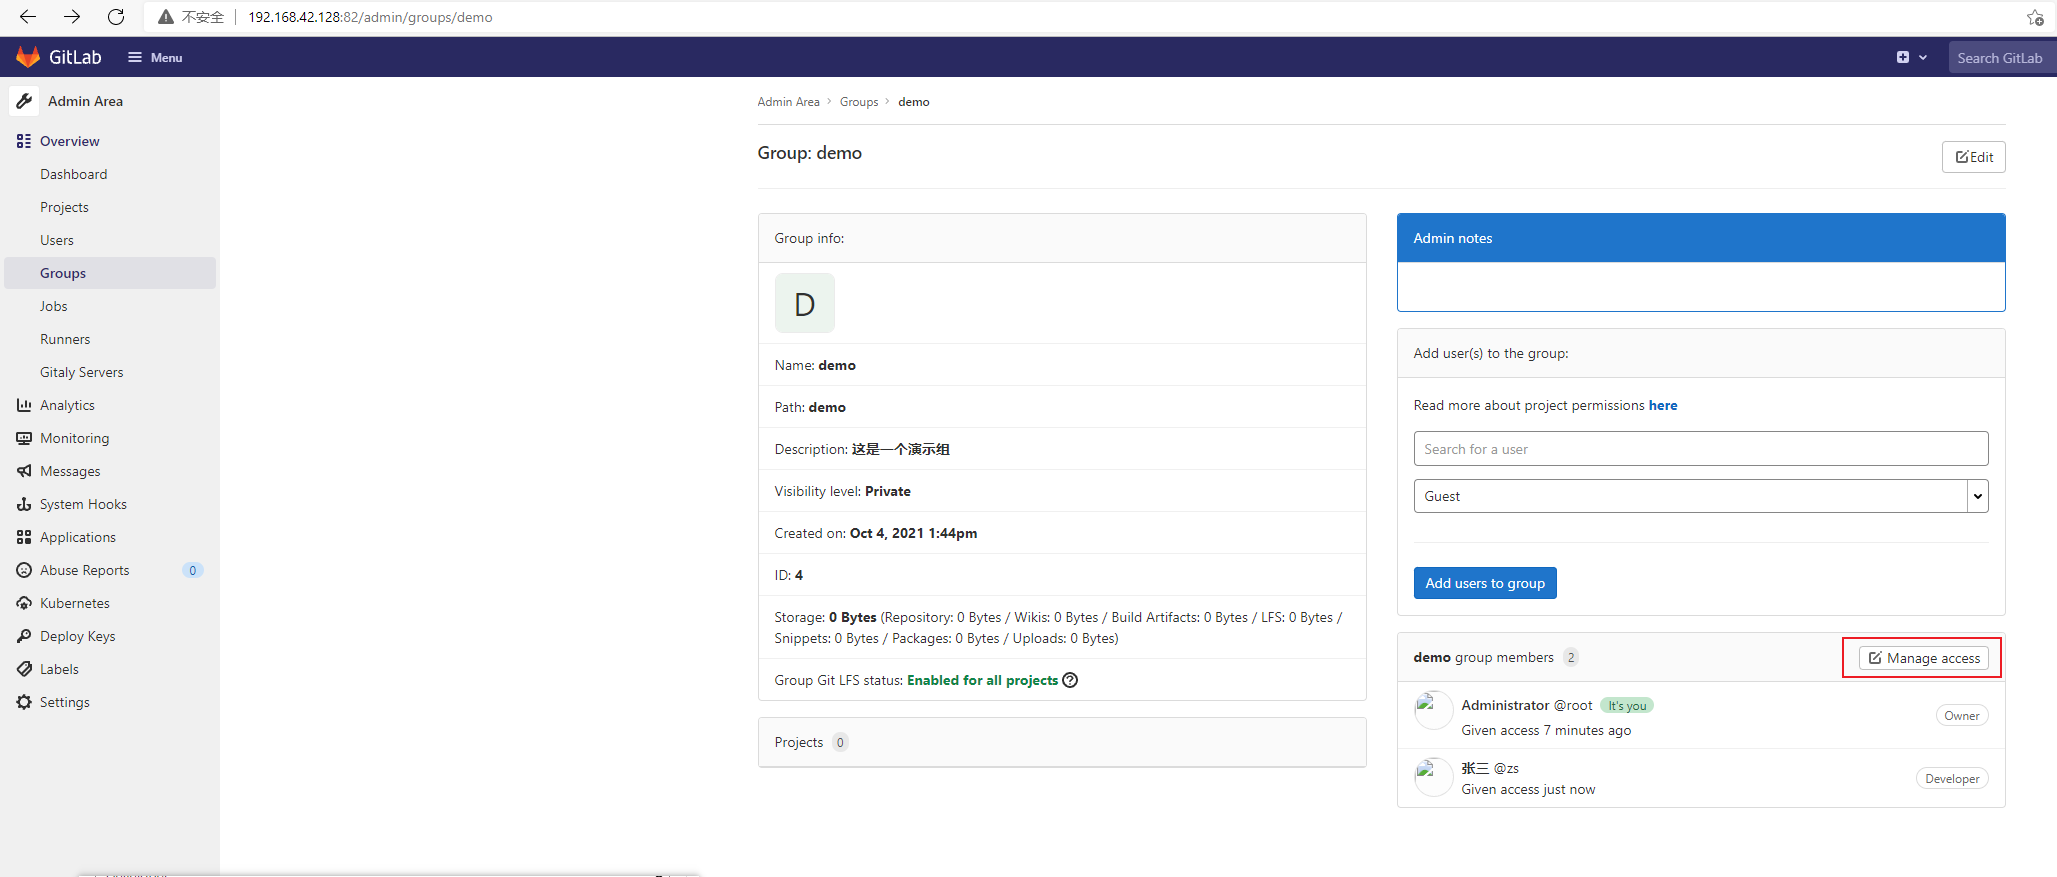
点击组名进入内部,先选择用户,然后选择其角色,最后点击添加按钮添加进组
Gitlab用户在组里面有5种不同权限:
- Guest:可以创建issue、发表评论,不能读写版本库。
- Reporter:可以克隆代码,不能提交,QA、PM可以赋予这个权限。
- Developer:可以克隆代码、开发、提交、push,普通开发可以赋予这个权限。
- Maintainer:可以创建项目、添加tag、保护分支、添加项目成员、编辑项目,核心开发可以赋予这个权限。
- Owner:可以设置项目访问权限-Visibility Level、删除项目、迁移项目、管理组成员,开发组组长可以赋予这个权限

组用户修改
点击Manage access 进去,可以在用户行进行设置权限、设置失效时间、以及删除用户

Project
创建/修改/删除
修改、删除和上面的组和用户类似就不再细说了

点击 New Project 进行创建项目

空白项目就不用说了,直接就是一个空的项目,里面什么都没有
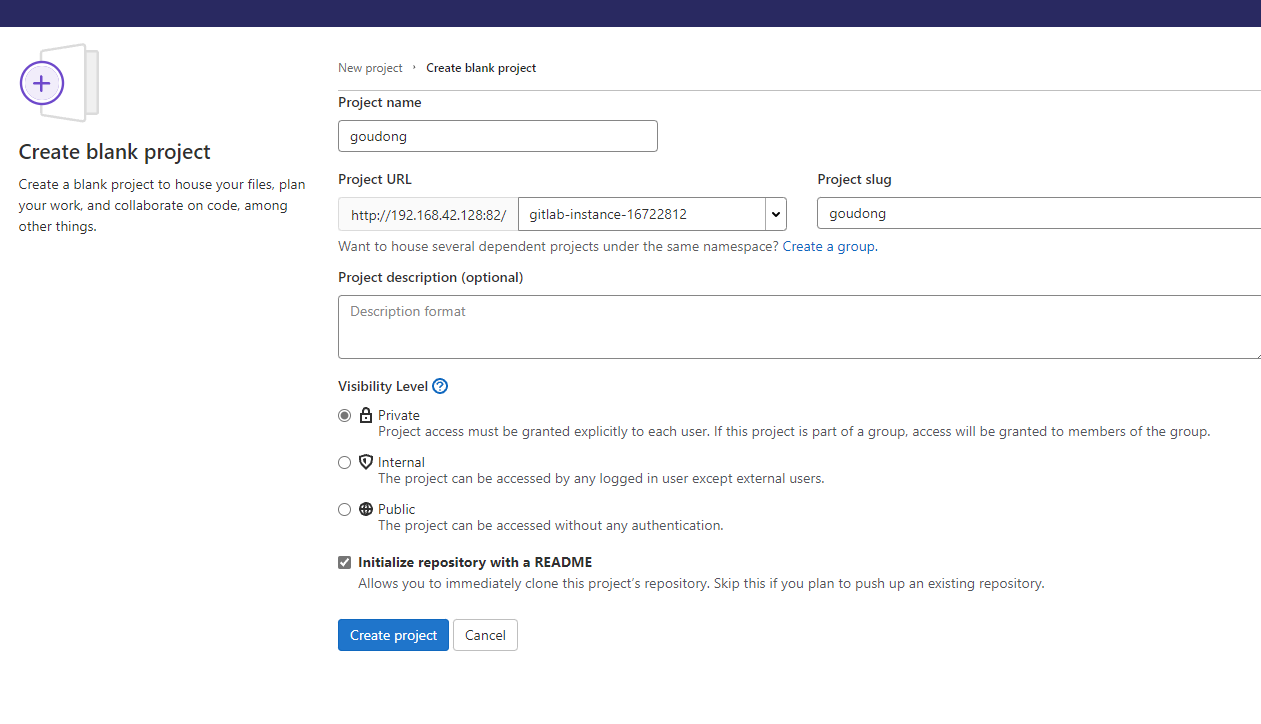
下面这个是模板项目,点击使用就会创建相关的文件到项目内部。

从其它地方导入项目:
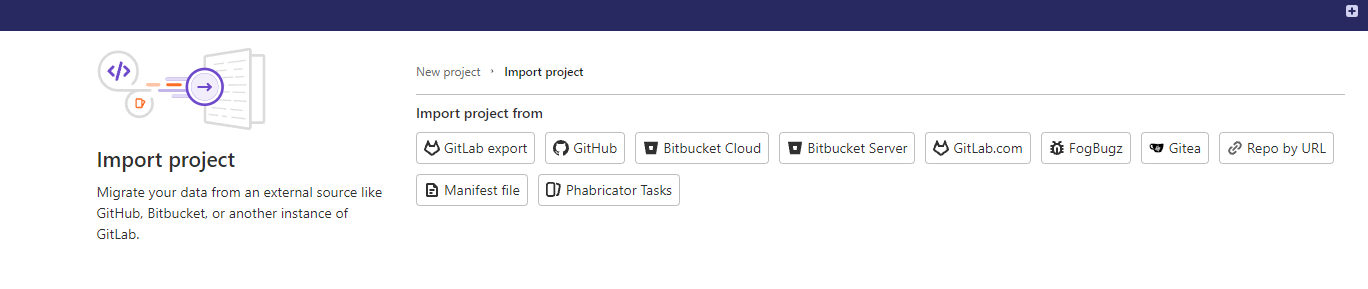
从GitHub导入到Gitlab
首先需要在GitHub上生成Token
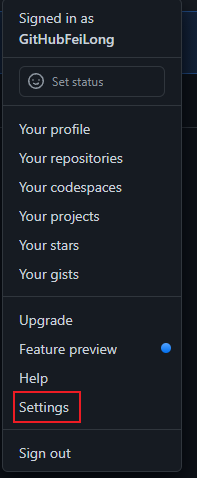


这里需要选择token的权限,及其失效时间,我们这里演示只选择repo即可
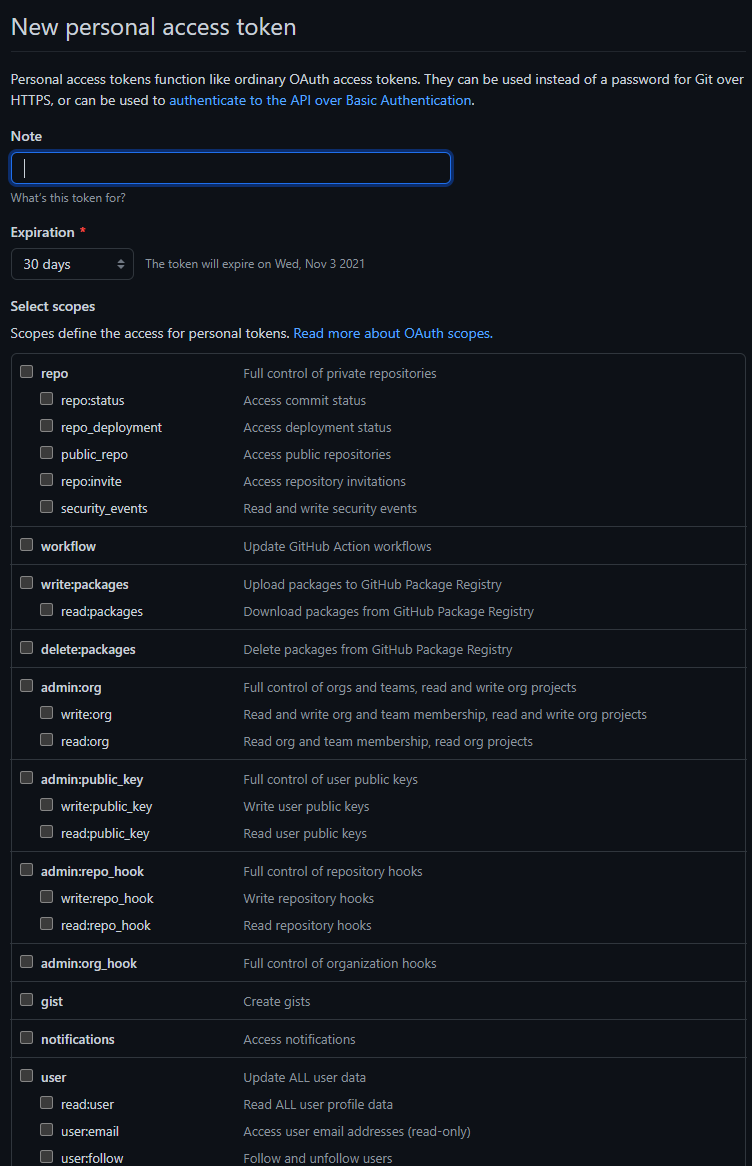
创建完token后,将其复制出来,然后切换到Gitlab,我们新建一个项目,选择使用Import Project,选择从GitHub上导入,将刚在GitHub上创建的token复制进输入框,点击确定,成功后就会列出GitHub上的项目了。

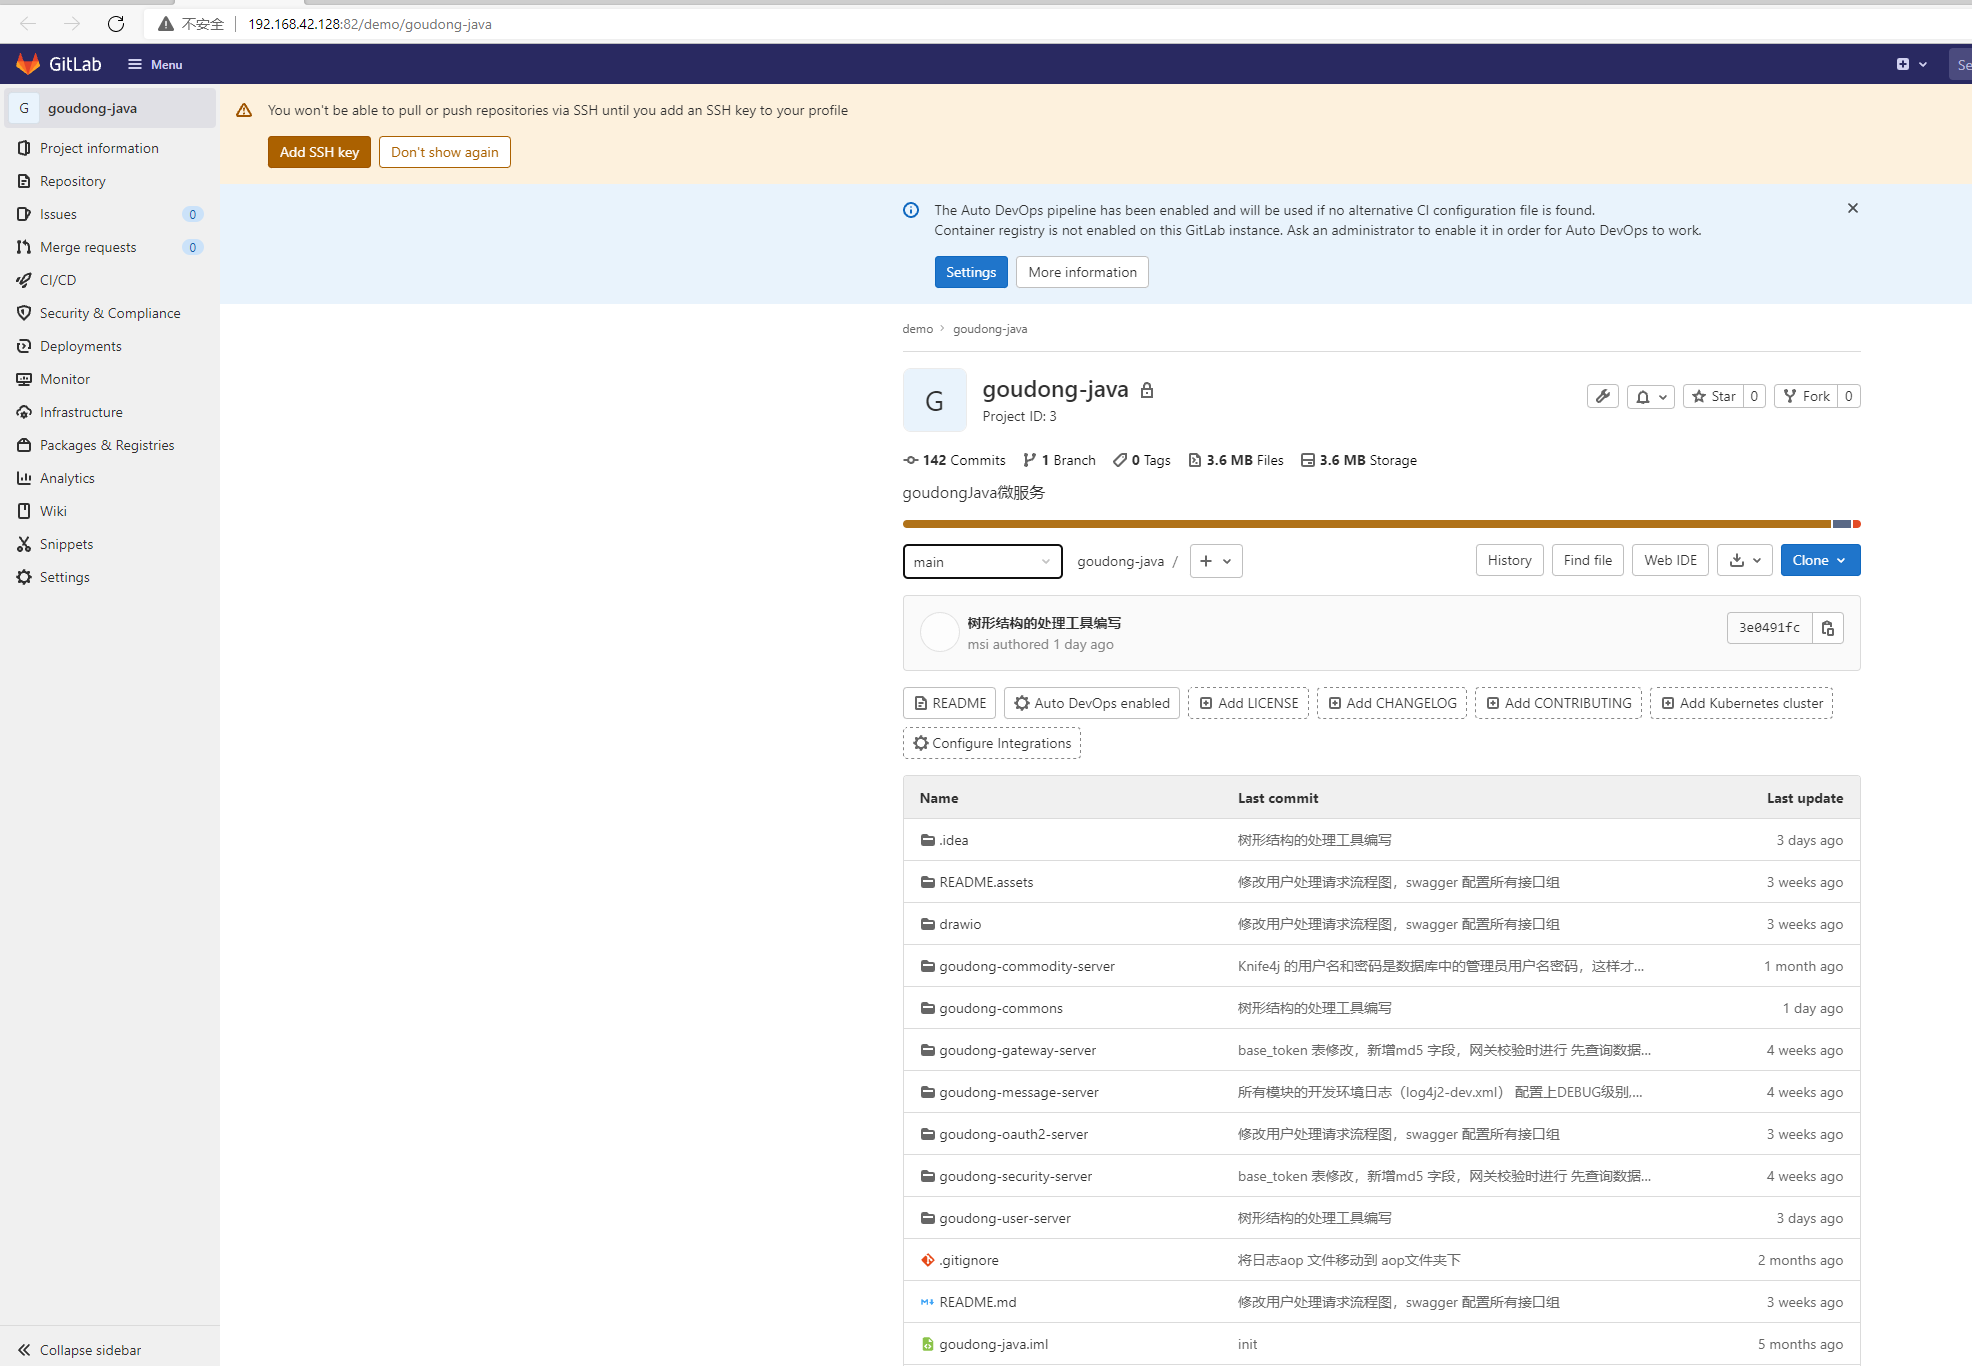
设置Gitlab的组后,点击Import即可将GitHub上的仓库导入到Gitlab中,这里等待一段时间后刷新页面,可以看到Pedding状态改为Complate即可
跳转到项目内可以看到,GitHub上的项目完整的导入到了Gitlab中
版权声明:本文内容由互联网用户自发贡献,该文观点仅代表作者本人。本站仅提供信息存储空间服务,不拥有所有权,不承担相关法律责任。如发现本站有涉嫌侵权/违法违规的内容, 请发送邮件至 举报,一经查实,本站将立刻删除。
文章由极客之音整理,本文链接:https://www.bmabk.com/index.php/post/78254.html

