
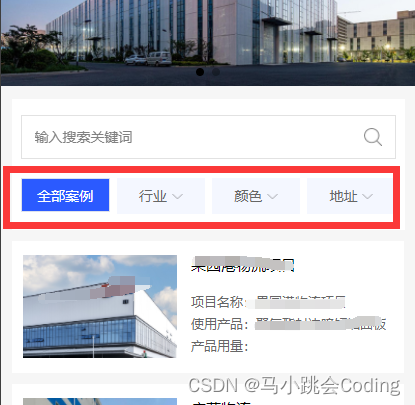
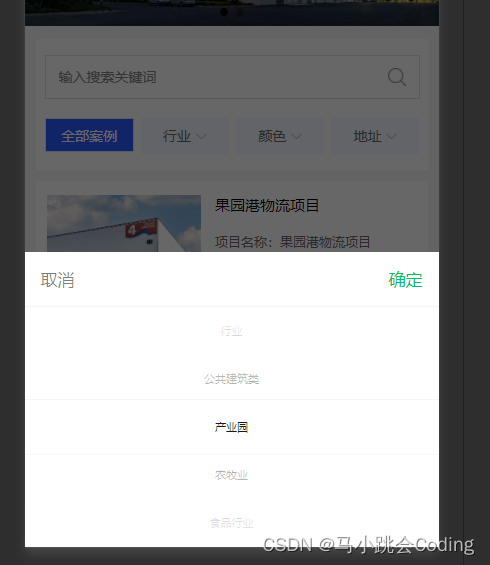
一、要实现的效果,如下图所示:
二、代码:
<template>
	<view>
		//mode : selector是最普通的选择器,[具体可参考文档。](https://uniapp.dcloud.io/component/picker.html)
		//range  :想绑定的数组。
		//range-key  :想在弹出框中显示数组的哪个key值。比如我想显示数组中color title的值,就不能写成id。
		//@change :点击选择时会触发这个回调函数。

		<picker
			 @change="colorChange"
			 :value="colorIndex"
			 :range="colorList"
			 range-key="title">
			<view class="uni-input">{{colorList[colorIndex].title}}</view>
		 </picker>
	</view>
</template>
<script>
	export default {
		data() {
			return {
				//选中的颜色下标
				colorIndex:0,
				//在picker列表所选中项的颜色id
				color_id: '',

				//颜色列表数据(假数据,可以在接口函数里面发请求获取真实的后台数据)
				colorList:[
					{id: 1, title: '红色'},
					{id: 2, title: '绿色'},
					{id: 3, title: '蓝色'}
				],

			}
		},
		onLoad() {
			this.getCaseList()
		},
		methods: {
			// 颜色筛选
			colorChange(e){
				this.colorIndex = e.detail.value
				this.getCaseList()
			},


			//案例列表-接口
			getCaseList() {
				var that = this;
				that.page = 1;
				var params = {
					//颜色id
					color_id: that.colorList.length>0? that.colorList[that.colorIndex].id:'',
					page: that.page,
					limit: that.limit
				}
				this.$api.appPlateForm('POST', 'example/index', params, function(res) {
					if (res.code == 200) {

						that.colorList = res.data.color //颜色
						that.colorList.unshift({id:'',title:'颜色'});

						if(res.data.data.length>0){
							that.caselist = res.data.data;
							that.page++
						}else{
							that.caselist =[];
						}

						that.$forceUpdate();
					}
				}, function(err) {
					uni.showToast({
						icon: 'none',
						title: err.msg
					})
				});
			},

		},
	}
</script>
ending~
版权声明:本文内容由互联网用户自发贡献,该文观点仅代表作者本人。本站仅提供信息存储空间服务,不拥有所有权,不承担相关法律责任。如发现本站有涉嫌侵权/违法违规的内容, 请发送邮件至 举报,一经查实,本站将立刻删除。
文章由极客之音整理,本文链接:https://www.bmabk.com/index.php/post/96020.html

