
1.第一步安装nginx
yum -y install wget
wget http://nginx.org/download/nginx-1.18.0.tar.gz
yum -y install git
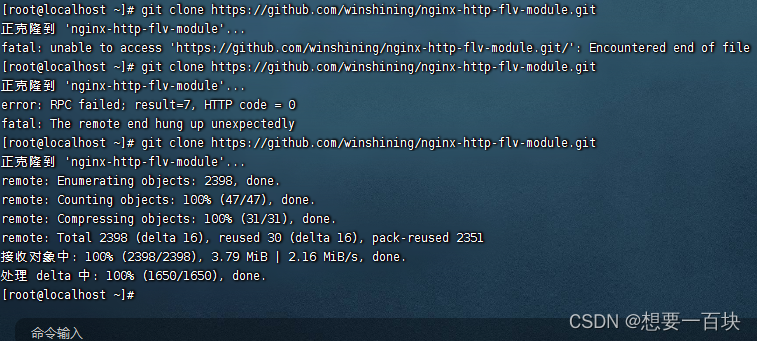
git clone https://github.com/winshining/nginx-http-flv-module.git

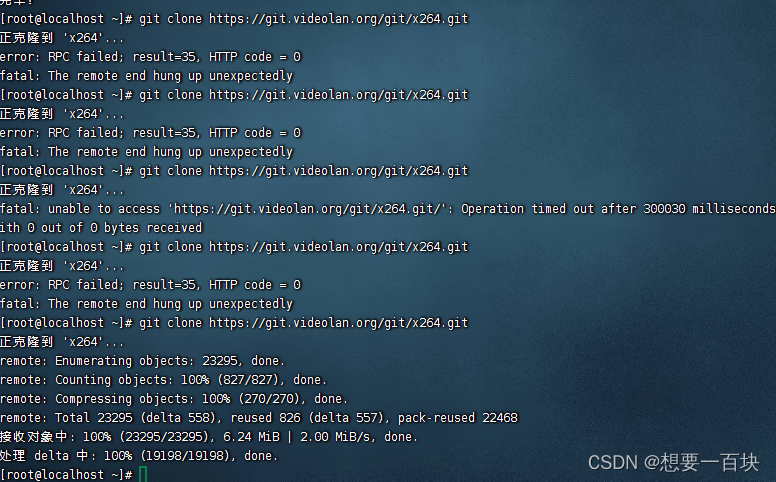
报错多执行几遍
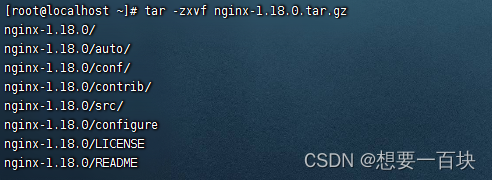
2.解压nginx
tar -zxvf ×××.tar.gz
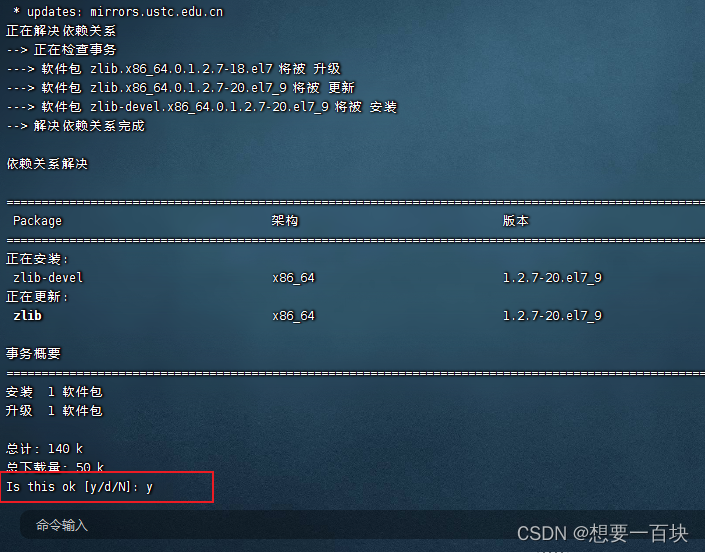
3.安装以下依赖,否则nginx configure报错
yum install pcre-devel
yum install zlib zlib-devel
yum install openssl openssl-devel
也可用一条命令代替
yum install pcre-devel zlib zlib-devel openssl openssl-devel
4.下载c++编译器
yum -y install gcc-c++
5.进入nginx目录,安装编译 nginx-http-glv
cd nginx-1.18.0/
./configure --prefix=/usr/local/nginx --add-module=../nginx-http-flv-module
make && make install
–add-module=/nginx-http-flv-module目录 –prefix=/nginx安装路径

下面是我的nginx.conf 配置,按需修改。
#user  nobody;
worker_processes  1;

#error_log  logs/error.log;
#error_log  logs/error.log  notice;
#error_log  logs/error.log  info;

#pid        logs/nginx.pid;


events {
    worker_connections  1024;
}


# 添加RTMP服务
rtmp {
    server {
        listen 1935; # 监听端口

        chunk_size 1024;
        application hls {
        live on;
        meta off;
	    gop_cache on; #打开GOP缓存,减少首屏等待时间
        allow play all;
        }
    }
}


http {
    include       mime.types;
    default_type  application/octet-stream;

    #log_format  main  '$remote_addr - $remote_user [$time_local] "$request" '
    #                  '$status $body_bytes_sent "$http_referer" '
    #                  '"$http_user_agent" "$http_x_forwarded_for"';

    #access_log  logs/access.log  main;

    sendfile        on;
    #tcp_nopush     on;

    #keepalive_timeout  0;
    keepalive_timeout  65;

    #gzip  on;

   server {
        listen       80;
        server_name  localhost;

        #charset koi8-r;

        #access_log  logs/host.access.log  main;

        location / {
            root   html;
            index  index.html index.htm;
        }

        #error_page  404              /404.html;

        # redirect server error pages to the static page /50x.html
        #
        error_page   500 502 503 504  /50x.html;
        location = /50x.html {
            root   html;
        }

        # proxy the PHP scripts to Apache listening on 127.0.0.1:80
        #
        #location ~ \.php$ {
        #    proxy_pass   http://127.0.0.1;
        #}

        # pass the PHP scripts to FastCGI server listening on 127.0.0.1:9000
        #
        #location ~ \.php$ {
        #    root           html;
        #    fastcgi_pass   127.0.0.1:9000;
        #    fastcgi_index  index.php;
        #    fastcgi_param  SCRIPT_FILENAME  /scripts$fastcgi_script_name;
        #    include        fastcgi_params;
        #}

        # deny access to .htaccess files, if Apache's document root
        # concurs with nginx's one
        #
        #location ~ /\.ht {
        #    deny  all;
        #}
    }


	server {
        listen    9001; # 监听端口
        server_name localhost;

        location /live {
            flv_live on; #打开HTTP播放FLV直播流功能
            chunked_transfer_encoding off; #支持'Transfer-Encoding: chunked'方式回复
            add_header 'Access-Control-Allow-Origin' '*'; #添加额外的HTTP头
            add_header 'Access-Control-Allow-Credentials' 'true'; #添加额外的HTTP头
        }

        location /stat.xsl {
            root html;
        }
    	location /stat {
            rtmp_stat all;
            rtmp_stat_stylesheet stat.xsl;
        }
    	location / {
            root html;
        }
    }
}
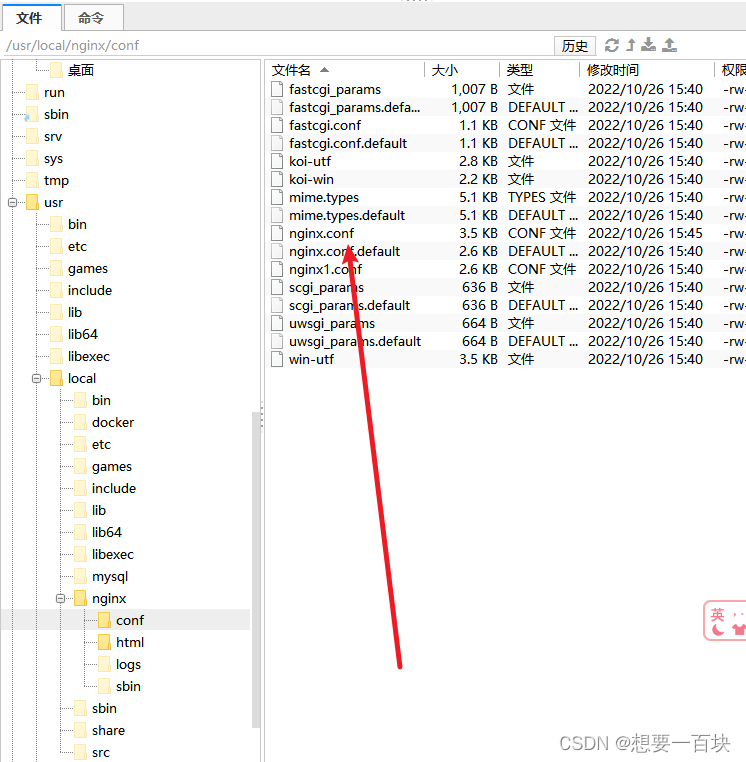
把stat 文件上传到 图片上的这个路径
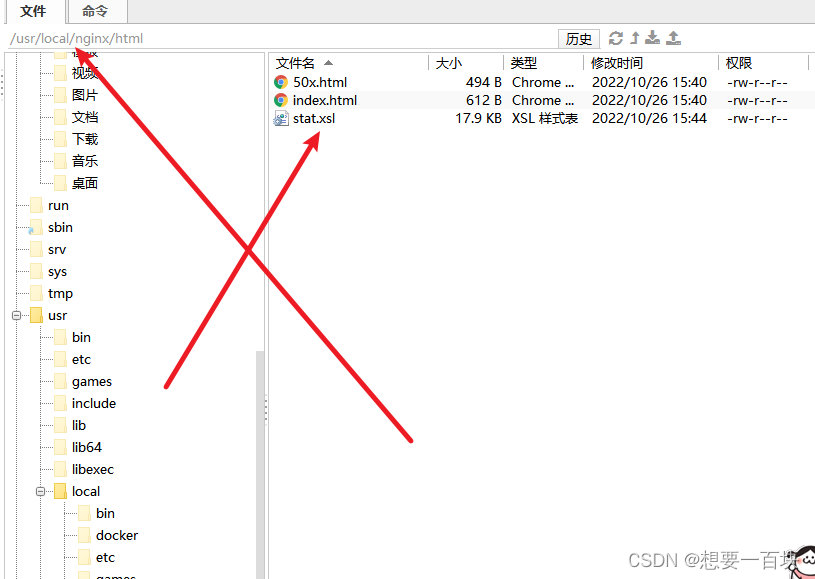
把nginx.conf 替换掉
6.配置nginx环境变量 编辑/etc/profile 增加如下内容:(等号左右不要加空格)

//编辑配置文件
vim /etc/profile
//在配置文件中加入如下配置后保存文件
export NGINX_HOME=/usr/local/nginx
export PATH=$PATH:$NGINX_HOME/sbin
//执行命令使文件生效 刷新环境变量
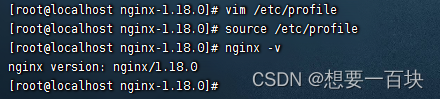
source /etc/profile
//验证
nginx -v
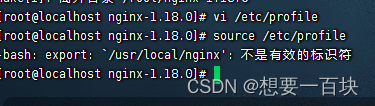
检查=两边是否加了空格
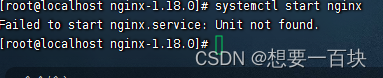
systemctl start nginx
1.关闭防火墙 systemctl stop firewalld.service
2.把关闭防火墙设置为系统服务
vim /usr/lib/systemd/system/nginx.service
把以下内容复制进去
[Unit]
Description=nginx - web server
After=network.target remote-fs.target nss-lookup.target
[Service]
Type=forking
PIDFile=/usr/local/nginx/logs/nginx.pid
ExecStartPre=/usr/local/nginx/sbin/nginx -t -c /usr/local/nginx/conf/nginx.conf
ExecStart=/usr/local/nginx/sbin/nginx -c /usr/local/nginx/conf/nginx.conf
ExecReload=/usr/local/nginx/sbin/nginx -s reload
ExecStop=/usr/local/nginx/sbin/nginx -s stop
ExecQuit=/usr/local/nginx/sbin/nginx -s quit
PrivateTmp=true
[Install]
WantedBy=multi-user.target
3. 重新加载系统服务 systemctl daemon-reload
4. 查看运行端口 ps -ef|grep nginx
5. 启动服务 systemctl start nginx.service
6. 查看服务 systemctl status nginx
7. 开机启动 systemctl enable nginx.service

7.安装ffmpeg
wget https://github.com/FFmpeg/FFmpeg/archive/n4.2.tar.gz #太慢
下载必要依赖
yum install autoconf automake bzip2 cmake freetype-devel gcc gcc-c++ git libtool make mercurial pkgconfig zlib-devel harfbuzz-devel
yasm
yum install -y epel-release; yum install yasm
x264
#下载
git clone https://git.videolan.org/git/x264.git
#安装
./configure --enable-shared --enable-static --disable-asm
#编译
make && make install
ffmepg
#安装ffmpeg
 tar -zxvf n4.2.tar.gz
./configure --prefix=/usr/local/ffmpeg --enable-shared --enable-swscale --enable-gpl --enable-nonfree --enable-pic --enable-version3 --enable-postproc --enable-pthreads --enable-static --enable-libx264
#编译  这一步完成时间大概需要10分钟左右  耐心等待
 make && make install
执行不成功就多执行几遍吧 如果在windows下载 传上来的话 解压会出问题
vim /etc/profile
export PATH="/usr/local/ffmpeg/bin:${PATH}"
export LD_LIBRARY_PATH=/usr/local/ffmpeg/lib/
source /etc/profile
进入ffmpeg的bin: ldd ffmpeg 查看ffmpeg缺少的依赖
复制缺少的libx264.so.164(x264的安装位置,默认在/usr/locla/lib/下)到ffmpeg下的lib
cd /usr/local/lib
cp libx264.so.164 /usr/local/ffmpeg/lib/
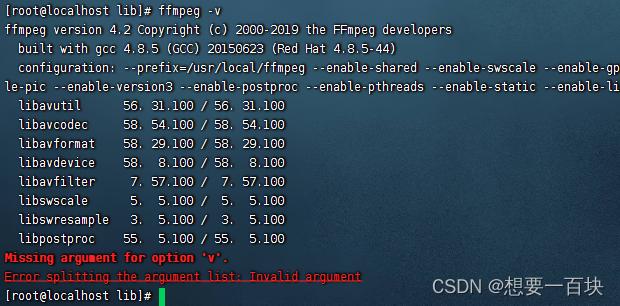
ffmpeg -v
8.打开防火墙
firewall-cmd --zone=public --add-port=9000/tcp --permanent
firewall-cmd --reload
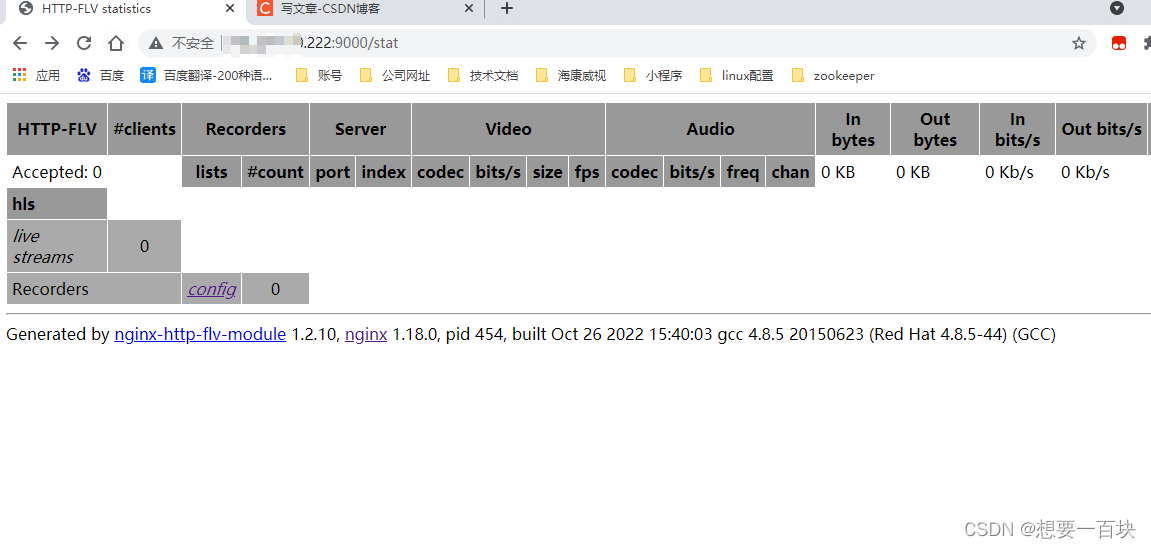
访问你nginx配置的端口 加/stat 出现下面的页面 就是部署成功了
后续发布 java读取海康摄像头的实时预览 文章
版权声明:本文内容由互联网用户自发贡献,该文观点仅代表作者本人。本站仅提供信息存储空间服务,不拥有所有权,不承担相关法律责任。如发现本站有涉嫌侵权/违法违规的内容, 请发送邮件至 举报,一经查实,本站将立刻删除。
文章由极客之音整理,本文链接:https://www.bmabk.com/index.php/post/115954.html

