
springboot自动装配原理
链接: SpringBoot:认认真真梳理一遍自动装配原理.
链接: 使用springboot自定义starter
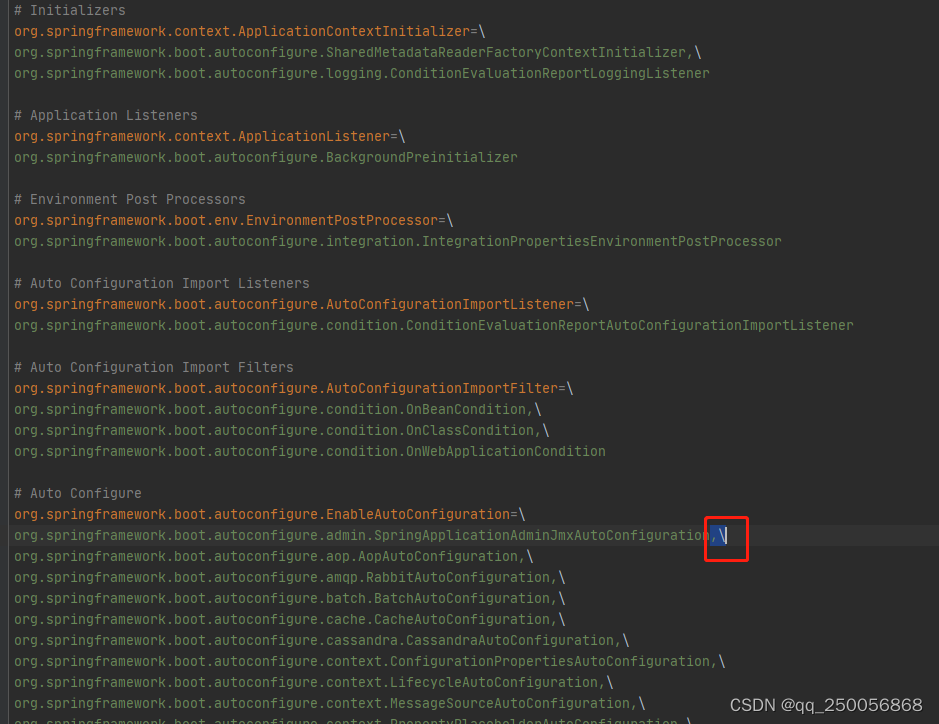
SpringBoot所有自动配置类都是在启动的时候进行扫描并加载,通过spring.factories可以找到自动配置类的路径,但是不是所有存在于spring,factories中的配置都进行加载,而是通过@ConditionalOnClass注解进行判断条件是否成立(只要导入相应的stater,条件就能成立),如果条件成立则加载配置类,否则不加载该配置类。
创建项目zm-map-spring-boot-starter
pom.xml
<?xml version="1.0" encoding="UTF-8"?>
<project xmlns="http://maven.apache.org/POM/4.0.0" xmlns:xsi="http://www.w3.org/2001/XMLSchema-instance"
         xsi:schemaLocation="http://maven.apache.org/POM/4.0.0 https://maven.apache.org/xsd/maven-4.0.0.xsd">
    <modelVersion>4.0.0</modelVersion>
    <parent>
        <groupId>org.springframework.boot</groupId>
        <artifactId>spring-boot-starter-parent</artifactId>
        <version>2.3.4.RELEASE</version>
        <relativePath/> <!-- lookup parent from repository -->
    </parent>
    <groupId>com.zm</groupId>
    <artifactId>zm-map-spring-boot-starter</artifactId>
    <version>1.0-SNAPSHOT</version>
    <name>zm-map-spring-boot-starter</name>
    <description>整合各大地图web-API</description>
    <properties>
        <java.version>1.8</java.version>
    </properties>
    <dependencies>
        <dependency>
            <groupId>org.springframework.boot</groupId>
            <artifactId>spring-boot-starter</artifactId>
        </dependency>
        <dependency>
            <groupId>org.springframework.boot</groupId>
            <artifactId>spring-boot-configuration-processor</artifactId>
            <optional>true</optional>
        </dependency>
    </dependencies>
</project>
package com.zm.map.sdk.properties;

import org.springframework.boot.context.properties.ConfigurationProperties;

/**
 * 高德地图web-API配置
 */
@ConfigurationProperties(prefix = "zm.map.amap")
public class AmapKeyProperty {

    /**
     * 开发秘钥
     */
    private String key;

    /**
     * 签名秘钥
     */
    private String sign;

    public String getKey() {
        return key;
    }

    public void setKey(String key) {
        this.key = key;
    }

    public String getSign() {
        return sign;
    }

    public void setSign(String sign) {
        this.sign = sign;
    }
}
package com.zm.map.sdk.clent;

import com.zm.map.sdk.properties.AmapKeyProperty;

/**
 * 高德web-API实现类
 */
public class AmapClent {

    private AmapKeyProperty amapKeyProperty;

    public AmapClent(AmapKeyProperty amapKeyProperty) {
        this.amapKeyProperty = amapKeyProperty;
    }

    public String sayHello() {
        System.out.println(amapKeyProperty.getKey());
        System.out.println(amapKeyProperty.getSign());
        return "高德地图:"+amapKeyProperty.getKey() + ","+amapKeyProperty.getSign();
    }

    // 高德各个web-API在这里编写.....

}
package com.zm.map.sdk.configuration;

import com.zm.map.sdk.clent.AmapClent;
import com.zm.map.sdk.properties.AmapKeyProperty;
import org.springframework.boot.autoconfigure.condition.ConditionalOnMissingBean;
import org.springframework.boot.context.properties.EnableConfigurationProperties;
import org.springframework.context.annotation.Bean;
import org.springframework.context.annotation.Configuration;

/**
 * 如果@ConfigurationProperties是在第三方包中,那么@component是不能注入到容器的。
 * 只有@EnableConfigurationProperties才可以注入到容器。
 */
@EnableConfigurationProperties(AmapKeyProperty.class)
@Configuration
public class AmapConfiguration {

    @Bean
    @ConditionalOnMissingBean(AmapClent.class) //仅仅在当前上下文中不存在某个对象时,才会实例化一个Bean
    public AmapClent amapClient(AmapKeyProperty amapKeyProperty) {
    	// 将实现类注入到spring容器中,这样就能调用了
        return new AmapClent(amapKeyProperty);
    }

}
resources目录下新建 META-INF/spring.factories
# Auto Configure
org.springframework.boot.autoconfigure.EnableAutoConfiguration=\
com.zm.map.sdk.configuration.AmapConfiguration
clean后install 进行打包

配置多个
就可以在项目中导入自己的启动器了
<dependency>
    <groupId>com.zm</groupId>
    <artifactId>zm-map-spring-boot-starter</artifactId>
    <version>1.0-SNAPSHOT</version>
</dependency>
可以使用yml配置
zm:
  map:
    amap:
      key: 222
      sign: 333
也可以使用javaConfig配置
package com.zm.web.Config;

import com.zm.map.sdk.clent.AmapClent;
import com.zm.map.sdk.clent.BmapClent;
import com.zm.map.sdk.properties.AmapKeyProperty;

import com.zm.map.sdk.properties.BmapKeyProperty;
import org.springframework.context.annotation.Bean;
import org.springframework.context.annotation.Configuration;

@Configuration
public class AmapConfig {

    @Bean
    public AmapClent amapClient() {
        AmapKeyProperty amapKeyProperty = new AmapKeyProperty();
        amapKeyProperty.setKey("111");
        amapKeyProperty.setSign("2222");
        return new AmapClent(amapKeyProperty);
    }

}
@SpringBootTest
class WebApplicationTests {

    @Autowired
    private AmapClent amapClent;

    @Test
    void test() {
        System.out.println(amapClent.sayHello());
    }

}
版权声明:本文内容由互联网用户自发贡献,该文观点仅代表作者本人。本站仅提供信息存储空间服务,不拥有所有权,不承担相关法律责任。如发现本站有涉嫌侵权/违法违规的内容, 请发送邮件至 举报,一经查实,本站将立刻删除。
文章由极客之音整理,本文链接:https://www.bmabk.com/index.php/post/133944.html

