
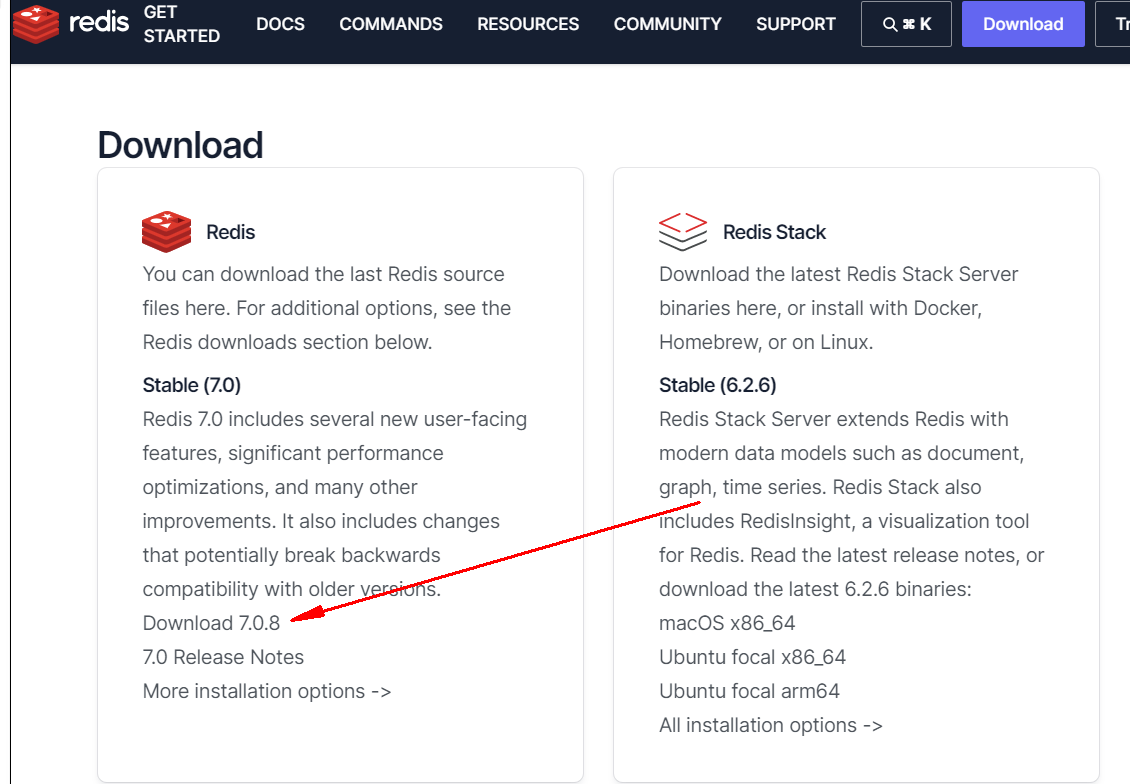
首先我们去Redis的官网点击download下载tar的压缩包
https://redis.io/download/#redis-downloads
用xftp将安装包上传到你的liunx服务器本地地址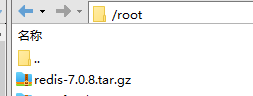
解压
tar -xvf /root/redis-7.0.8.tar.gz
cd进入你刚才解压的文件夹中
cd /root/redis-7.0.8
执行make进行编译
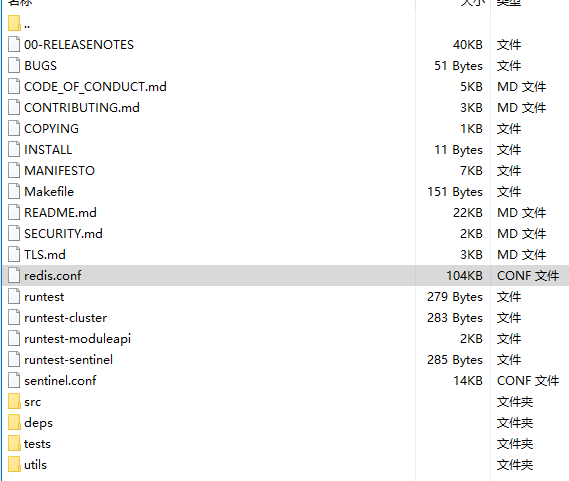
编译·完成后cd进入刚才安装好的src文件夹中
cd /root/redis-7.0.8/src
然后./redis-server启动redis服务
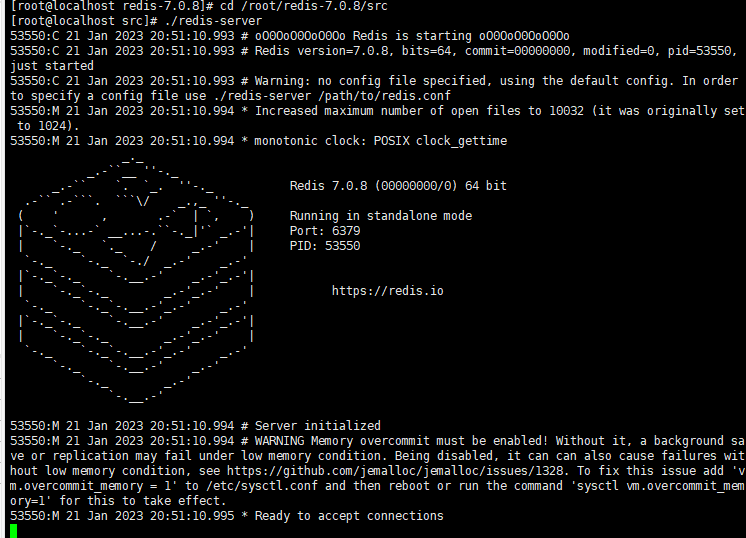
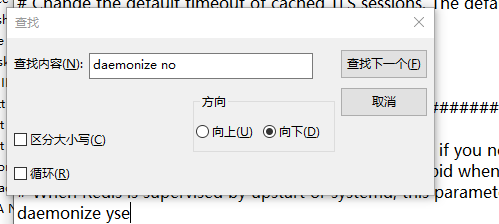
虽然redis目前是成功启动,但是如果是上图那样的话,我们是无法继续进行操作,所以需要修改一下配置,用xftp找到redis.conf这个文件
ctrl+F搜索daemonize no将no改成yes
然后再保存文件,重启服务后使用
./redis-server …/redis.conf
命令启动
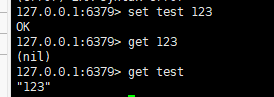
使用./redis-cli与 redis 服务交互出现本地端口号即代表连接成功
然后我们随便定义一个键能够看到返回值就代表安装成功
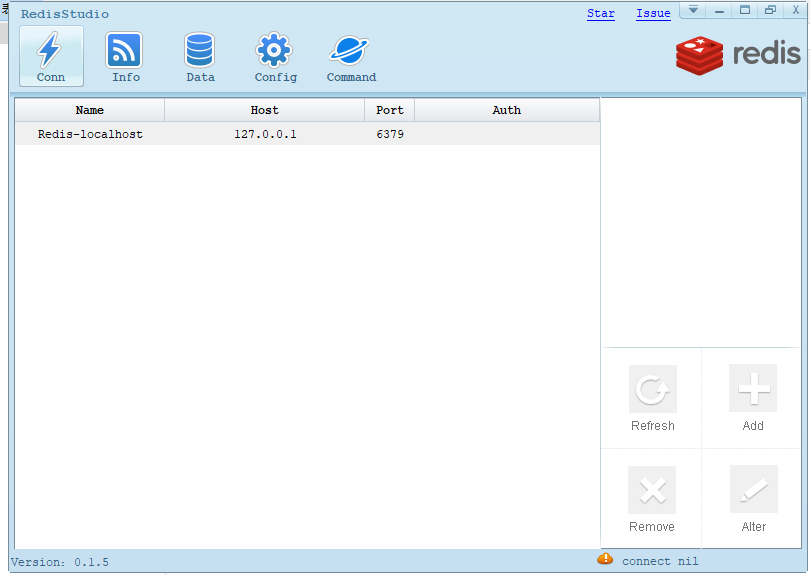
我们需要用到图形化管理,这里我建议用RedisStudio可以自行搜索一下,但是目前为止redis数据库我们是无法在win10中进行连接
找到redis.conf
将这里的127.0.0.1前面加个#注释掉

同时关闭保护模式将之前的yes改成protected-mode no
然后保存退出重新启动一下redis
#bind 0.0.0.0

# By default, outgoing connections (from replica to master, from Sentinel to
# instances, cluster bus, etc.) are not bound to a specific local address. In
# most cases, this means the operating system will handle that based on routing
# and the interface through which the connection goes out.
#
# Using bind-source-addr it is possible to configure a specific address to bind
# to, which may also affect how the connection gets routed.
#
# Example:
#
# bind-source-addr 10.0.0.1

# Protected mode is a layer of security protection, in order to avoid that
# Redis instances left open on the internet are accessed and exploited.
#
# When protected mode is on and the default user has no password, the server
# only accepts local connections from the IPv4 address (127.0.0.1), IPv6 address
# (::1) or Unix domain sockets.
#
# By default protected mode is enabled. You should disable it only if
# you are sure you want clients from other hosts to connect to Redis
# even if no authentication is configured.
protected-mode no
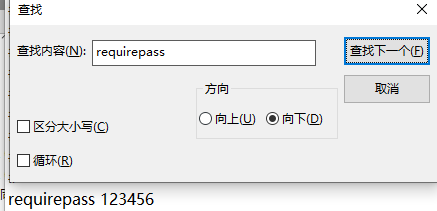
修改密码
用ps检查redis进程
ps -ef|grep redis
出现*表示都可以连接

然后我们再关闭防火墙
systemctl stop firewalld
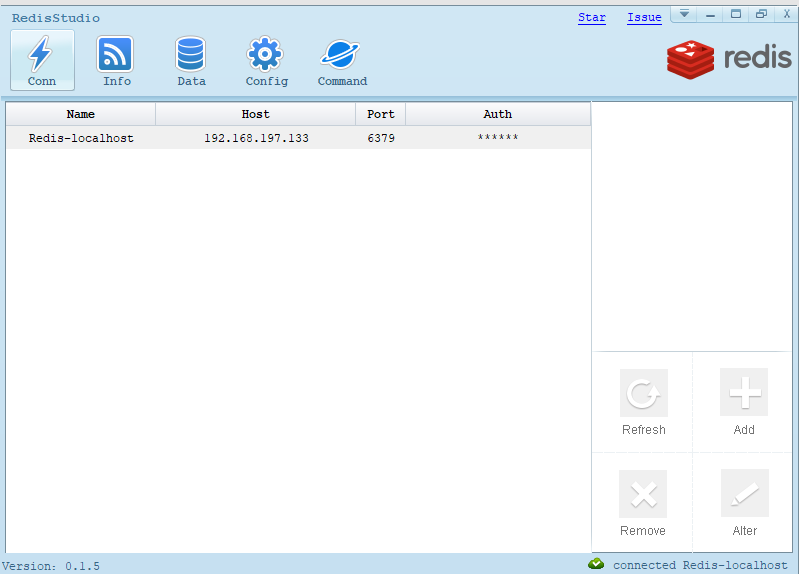
我们打开RedisStudio输入你的虚拟机ip地址端口号和密码就会出现绿色连接成功
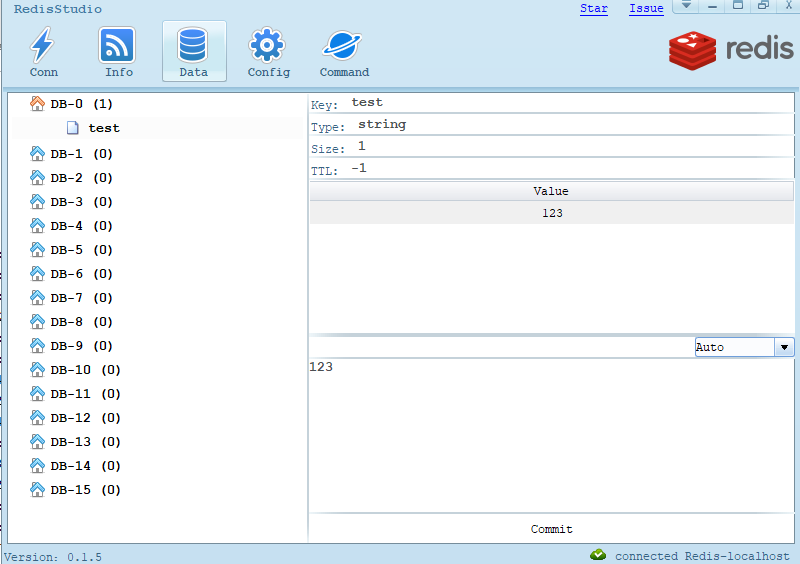
点击Data就会出现一个我们刚开始输入的test的value值
版权声明:本文内容由互联网用户自发贡献,该文观点仅代表作者本人。本站仅提供信息存储空间服务,不拥有所有权,不承担相关法律责任。如发现本站有涉嫌侵权/违法违规的内容, 请发送邮件至 举报,一经查实,本站将立刻删除。
文章由极客之音整理,本文链接:https://www.bmabk.com/index.php/post/134091.html

