
Spring Boot之入门使用与基础配置
一、Spring Boot快速入门
SpringBoot是整合Spring技术栈的一站式框架,是简化Spring技术栈的快速开发脚手架。
Spring Boot官网:https://spring.io/
Spring的生态:https://spring.io/projects/spring-boot
查看版本新特性:https://github.com/spring-projects/spring-boot/wiki#release-notes
特性:
创建独立Spring应用

内嵌web服务器

自动starter依赖,简化构建配置

自动配置Spring以及第三方功能

提供生产级别的监控、健康检查及外部化配置

无代码生成、无需编写XML
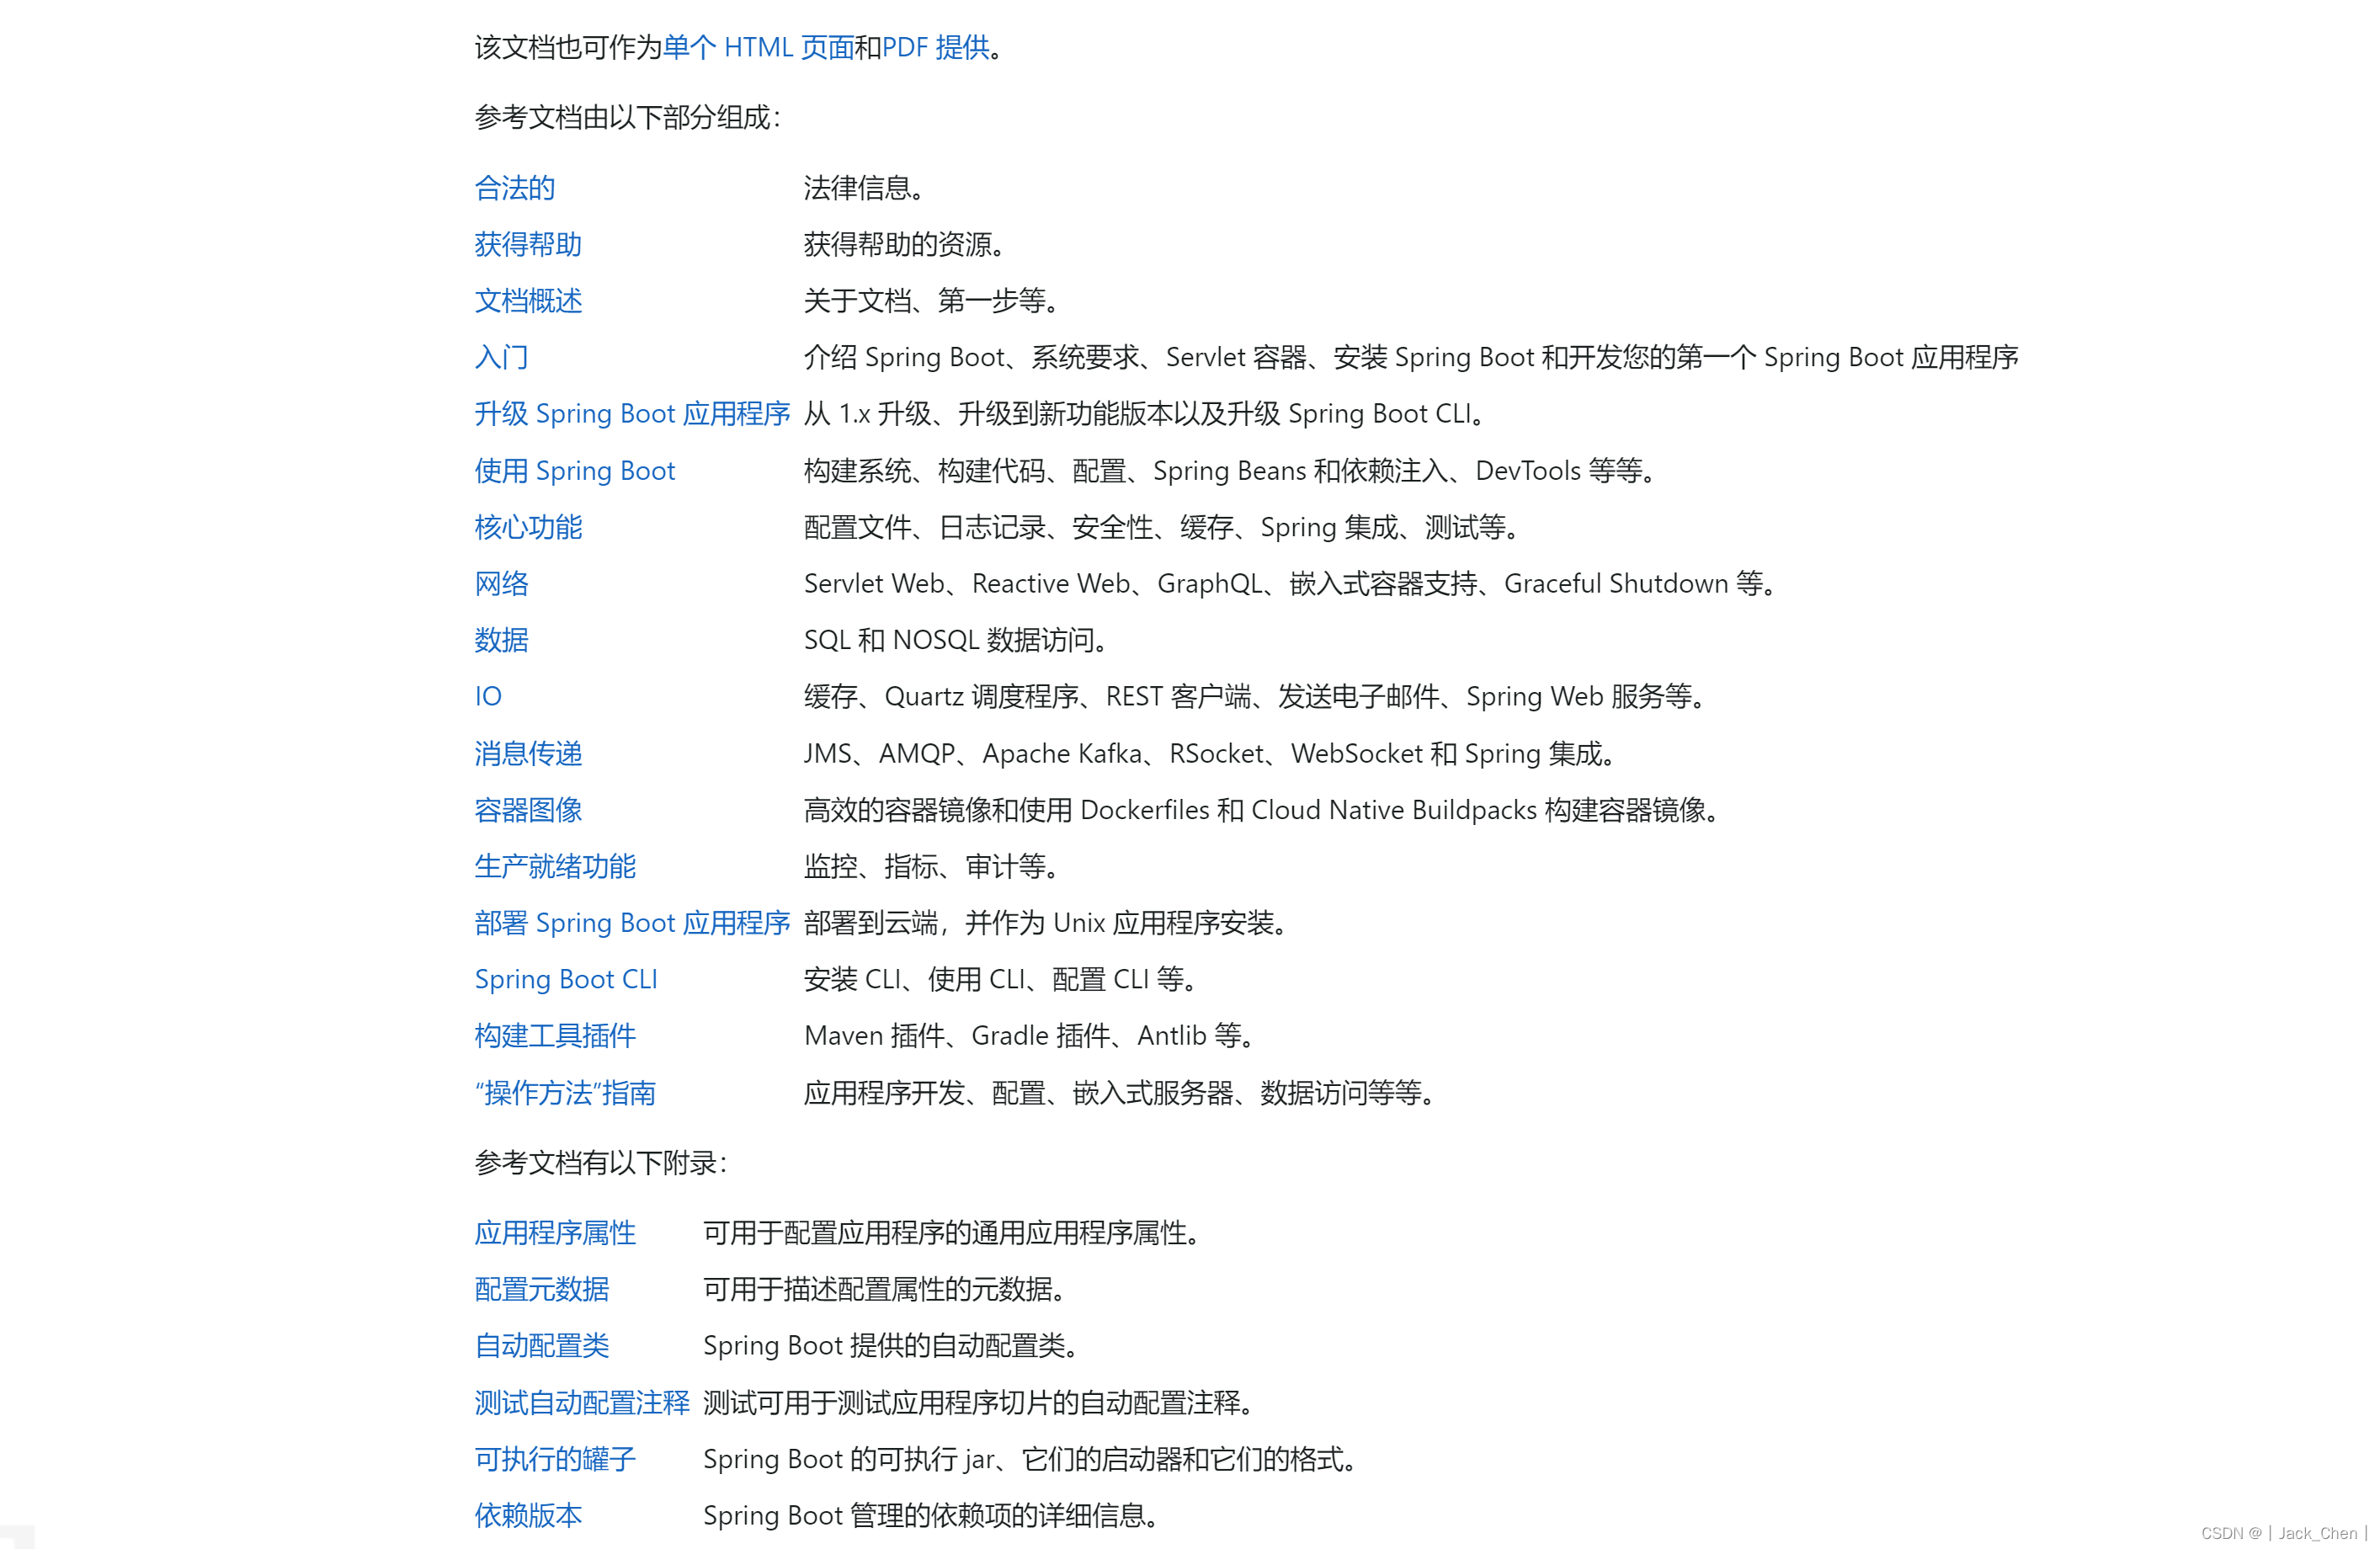
Spring Boot文档:https://docs.spring.io/spring-boot/docs/current/reference/html/
1.创建Maven工程
创建Maven工程springboot_demo,打包方式jar
2.引入依赖
spring-boot-starter-* : spring boot官方提供的启动器
*-spring-boot-starter: 第三方提供的简化开发的场景启动器
只要引入starter,某个场景的所有常规需要的依赖都将自动引入
SpringBoot所有支持的启动器:https://docs.spring.io/spring-boot/docs/current/reference/html/using-spring-boot.html#using-boot-starter
 <!--父工程,项目要继承SpringBoot的起步依赖spring-boot-starter-parent-->
 <!--提供dependency management依赖管理,引入以后在申明其它dependency的时候就不需要指定version-->
 <!-- 几乎声明了所有开发中常用的依赖的版本号,并且spring自动管理依赖版本 -->
<parent>
  <groupId>org.springframework.boot</groupId>
  <artifactId>spring-boot-starter-parent</artifactId>
  <version>2.3.4.RELEASE</version>
</parent>

<dependencies>
<!--web工程所需依赖包,SpringBoot要集成SpringMVC进行Controller的开发,所以项目要导入web的启动依赖-->
 <dependency>
   <groupId>org.springframework.boot</groupId>
   <artifactId>spring-boot-starter-web</artifactId>
 </dependency>
</dependencies>
引入spring-boot-starter-web后,会依赖传递开发时需要导入的jar包。

通常直接引入Spring Boot启动器,无需关注版本号,其自动管理选择依赖。当然可以修改默认版本号
1、查看spring-boot-dependencies里面规定当前依赖的版本用的key,如:`<mysql.version>8.02</mysql.version>`

2、在当前项目里面重写配置
    <properties>
        <mysql.version>5.1.47</mysql.version>
    </properties>
3.创建引导类
@SpringBootApplication:是三个注解的总和

@Configuration: 用于定义一个配置类

@EnableAutoConfiguration :Spring Boot会自动根据jar包的依赖来自动配置项目。

@ComponentScan: 告诉Spring哪个packages用注解标识的类会被spring自动扫描并且装入bean容器。
//@SpringBootApplication 标注SpringBoot的启动类,该注解具备多种功能
@SpringBootApplication
public class Application {
    public static void main(String[] args) {
    	//运行SpringBoot的启动类,参数为SpringBoot启动类的字节码对象
        SpringApplication.run(Application.class,args);
    }
}

直接执行这个引导类,项目就启动了。

4.创建Controller
//@RestController表示修饰该Controller所有的方法返回JSON格式
@RestController
@RequestMapping(value = "/hello")
public class HelloControler {

    @RequestMapping(value = "/test")
    public String test(){
        return  "Hello Spring Boot!";
    }
}
5.启动spring boot
spring boot启动后,默认tomcat端口8080,web应用的虚拟工程名称为空。

6.修改tomcat端口
各种配置都拥有默认值,默认配置最终都是映射到某个类上,即:配置文件的值最终会绑定每个类上,这个类会在容器中创建对象
自动配置项是按需加载:当引入了某个starter启动器后,自动配置才会开启
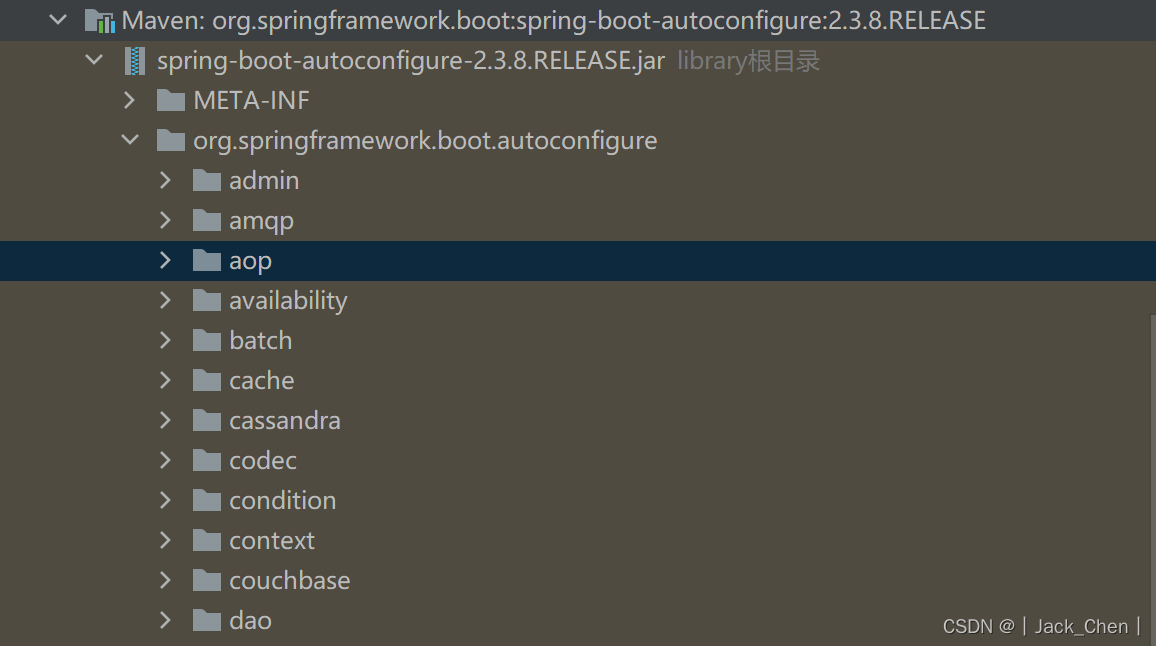
SpringBoot所有的自动配置功能都在 spring-boot-autoconfigure 包里面
additional-spring-configuration-metadata.json配置文件存在大量的默认配置,如项目端口默认8080。

spring.factories文件存在大量以Configuration为结尾的类名称,这些类就是存有自动配置信息的类,而SpringApplication在获取这些类名后再加载。

在src/main/resources下创建application.properties,添加配置以此覆盖默认配置
#修改tomcat端口号
server.port=8081

二、SpringBoot工程热部署
修改代码后不重启项目就能生效称之为热部署。
1.引入依赖
<!--热部署-->
<dependency>
  <groupId>org.springframework.boot</groupId>
  <artifactId>spring-boot-devtools</artifactId>
  <optional>true</optional>
</dependency>
2.配置项目启动加载方式

代码修改以后:执行
Ctrl+F9,使之生效

3.热部署不生效解决方案
三、SpringBoot单元测试
在Spring Boot中开启单元测试只需引入spring-boot-starter-test即可,其包含了一些主流的测试库。
1.添加依赖
<!--测试的起步依赖-->
<dependency>
	<groupId>org.springframework.boot</groupId>
	<artifactId>spring-boot-starter-test</artifactId>
	<scope>test</scope>
</dependency>
2.编写测试类
@RunWith(SpringRunner.class)//SpringRunner继承自SpringJUnit4ClassRunner
@SpringBootTest(classes = Application .class)//@SpringBootTest的属性指定的是引导类的字节码对象
public class JunitTest {

	@Autowired
	private UserMapper userMapper;

	@Test
	public void test() {
	List<User> users = userMapper.getAll();
	System.out.println(users);
	}
}
3.JUnit4注解
JUnit是标准的单元测试Java应用程序
JUnit4中包含了几个比较重要的注解:@BeforeClass、@AfterClass、@Before、@After、@Test
@BeforeClass和@AfterClass在每个类加载的开始和结束时运行,必须为静态方法

@Before和@After则在每个测试方法开始之前和结束之后运行
@RunWith(SpringRunner.class)
@SpringBootTest
public class ApplicationTest {

    @BeforeClass
    public static void beforeClassTest() {
        System.out.println("类执行前执行。。。");
    }

    @Before
    public void beforeTest() {
        System.out.println("方法执行前执行。。。");
    }

    @Test
    public void Test1() {
        System.out.println("执行Test1()。。。");
    }

    @Test
    public void Test2() {
        System.out.println("执行Test2()。。。");
    }

    @After
    public void afterTest() {
        System.out.println("方法执行后执行。。。");
    }

    @AfterClass
    public static void afterClassTest() {
        System.out.println("类执行后执行。。。");;
    }
}
类执行前执行。。。
方法执行前执行。。。
执行Test1()。。。
方法执行后执行。。。
方法执行前执行。。。
执行Test2()。。。
方法执行后执行。。。
类执行后执行。。。
4.Assert断言
assertEquals("message",A,B),判断A对象和B对象是否相等,这个判断在比较两个对象时调用了equals()方法。

assertSame("message",A,B),判断A对象与B对象是否相同,使用的是==操作符。

assertTrue("message",A),判断A条件是否为真。

assertFalse("message",A),判断A条件是否不为真。

assertNotNull("message",A),判断A对象是否不为null。

assertArrayEquals("message",A,B),判断A数组与B数组是否相等。
    @Test
    public void Test() {
        Assert.assertEquals(11,10+1);
        Assert.assertEquals("断言提示: 10!=11",10,11);
        Assert.assertTrue("断言提示: 2!=3",2==3);
    }
java.lang.AssertionError: 断言提示: 10!=11
预期:10
实际:11
四、Spring Boot基础配置
SpringBoot是基于约定的,很多配置都有默认值,但如果想使用自己的配置替换默认配置的话,就可以使用application.properties或application.yml(application.yaml)进行配置。
SpringBoot默认会从Resources目录下加载application.properties或application.yml(application.yaml)文件。
      <resource>
        <directory>${basedir}/src/main/resources</directory>
        <filtering>true</filtering>
        <includes>
          <include>**/application*.yml</include>
          <include>**/application*.yaml</include>
          <include>**/application*.properties</include>
        </includes>
      </resource>
1.全局配置文件
在src/main/resources目录下,Spring Boot提供了一个名为application.properties的全局配置文件,可对一些默认配置的配置值进行修改。
自定义属性值
user.name=lisi
user.age=20
属性间的引用
各个属性可以相互引用
user.name=lisi
user.age=20
user.quote=${user.name}---${user.age}
2.通过命令行设置属性值
使用命令java -jar xxx.jar –server.port=8081 来改变端口的值。命令等价于手动在application.properties中修改server.port属性的值为8081。
如果不想项目的配置被命令行修改,可以在入口文件的main方法中进行如下设置:
public static void main(String[] args) {
    SpringApplication app = new SpringApplication(Application.class);
    app.setAddCommandLineProperties(false);
    app.run(args);
}
3.yml配置文件及语法
YML文件格式是YAML (YAML Aint Markup Language)编写的文件格式,YAML是一种直观的能够被电脑识别的的数据数据序列化格式,并且容易被人类阅读,容易和脚本语言交互的,可以被支持YAML库的不同的编程语言程序导入,比如: C/C++, Ruby, Python, Java, Perl, C#, PHP等。YML文件是以数据为核心的,比传统的xml方式更加简洁。YML文件的扩展名可以使用.yml或者.yaml。
1.配置普通数据
#lisi之前有一个空格
name: lisi

# 单引号会转义,\n 作为字符串输出
name: 'lisi \n wangwu'

# 双引号不会转义,\n 作为换行符输出
name: "lisi \n wangwu"
2.配置对象数据
#在yml语法中,相同缩进代表同一个级别
person:
  name: zhangsan
  age: 20
  addr: cd

#行内对象配置
person: {name: zhangsan,age: 20,addr: cd}
3.配置Map数据
map:
  key1: value1
  key2: value2
4.配置数组(List、Set)数据
#普通字符串
nameList:
  - name1
  - name2
  - name3
  - name4

nameList: [name1,name2,name3,name4]

#元素是对象
userList:
  - name: zhangsan
    age: 20
    addr: cd
  - name: lisi
    age: 22
    addr: bj

userList: [{name: zhangsan,age: 20,addr: cd},{name: lisi,age: 22,addr: bj}]
示例对照
@Data
public class Person {

	private String userName;
	private Boolean boss;
	private Date birth;
	private Integer age;
	private Pet pet;
	private String[] interests;
	private List<String> animal;
	private Map<String, Object> score;
	private Set<Double> salarys;
	private Map<String, List<Pet>> allPets;
}

@Data
public class Pet {
	private String name;
	private Double weight;
}
yaml表示以上对象
person:
  userName: zhangsan
  boss: false
  birth: 2019/12/12 20:12:33
  age: 18
  pet:
    name: tomcat
    weight: 25
  interests: [篮球,游泳]
  interests:
  	- 篮球
    - 游泳
  animal: [老虎,狮子]
  animal:
    - 老虎
    - 狮子
  score: {english: 90,math:99}
  score:
    english:
      first: 30
      second: 40
    math: [131,140,148]
    chinese: {first: 128,second: 136}
  salarys: [1000,2000]
  salarys:
    - 1000
    - 2000
  allPets:
    sick:
      - {name: 老虎}
      - {name: 狮子,weight: 47}
      - name: 大象
      	weight: 230
    health: [{name:tomcat,weight: 47}]
    health:
      - {name: 大象,weight: 230}
4.配置文件与配置类的属性映射
1.使用注解@Value映射
通过@Value注解将配置文件中的值映射到一个Spring管理的Bean的字段上
user:
  name: lisi
  age: 20
Bean对象:
@Controller
public class TestController {

    @Value("${user.name}")
    private String name;

    @Value("${user.age}")
    private String age;

    @RequestMapping("/test")
    @ResponseBody
    public String test(){
        return "name:"+name+",age:"+age;
    }
}
2.使用注解@ConfigurationProperties映射
@Controller
@ConfigurationProperties(prefix = "user")
public class TestController {

    private String name;
    private Integer age;

    @RequestMapping("/test")
    @ResponseBody
    public String quick2(){
        return "name:"+name+",age:"+age;
    }

    public String getName() {
        return name;
    }

    public void setName(String name) {
        this.name = name;
    }

    public Integer getAge() {
        return age;
    }

    public void setAge(Integer age) {
        this.age = age;
    }
}
3.映射自定义配置文件
在src/main/resources目录下新建一个user.properties
user.name=lisi
user.age=20
@PropertySource("classpath:test.properties")指明了使用哪个配置文件。

在入口类使用@EnableConfigurationProperties({TestConfigBean.class})来启用该配置。
@Configuration
@ConfigurationProperties(prefix="user")
@PropertySource("classpath:user.properties")
@Component
public class TestConfigBean {
	private String name;
	private int age;
}
3.使用Environment对象
在src/main/resources下的application.properties 添加配置
#自定义属性值
red-property=读取配置文件信息
@RestController
public class TestController  {

    @Autowired
    private Environment environment;

    @RequestMapping(value = "/test")
    public String test(){
        return  "Hello Spring Boot!" +"------------"+ environment.getProperty("red-property");
    }
}
5.多环境配置
SpringBoot在启动加载配置文件时,如没有明确指定spring.profiles.active属性,默认是加载application.yml或application.properties文件。spring.profiles.active属性具有优先权,会始终会覆盖默认配置。
Profile用来针对不同的环境下使用不同的配置文件,多环境配置文件必须以application-{profile}.properties的格式命,其中{profile}为环境标识。
resource目录下有如下4个配置文件
application.properties : 默认配置
application-dev.properties:开发环境
application-test.properties:测试环境
application-prod.properties:生产环境
多环境切换
至于哪个具体的配置文件会被加载,需要在application.properties文件中通过spring.profiles.active属性来设置,其值对应{profile}值。
spring.profiles.active=dev
6.Banner
Spring Boot项目在启动的时候会有一个默认的启动图案:
  .   ____          _            __ _ _
 /\\ / ___'_ __ _ _(_)_ __  __ _ \ \ \ \
( ( )\___ | '_ | '_| | '_ \/ _` | \ \ \ \
 \\/  ___)| |_)| | | | | || (_| |  ) ) ) )
  '  |____| .__|_| |_|_| |_\__, | / / / /
 =========|_|==============|___/=/_/_/_/
 :: Spring Boot ::        (v2.3.8.RELEASE)
自定义banner
在src/main/resources目录下新建banner.txt文件,然后将自己的图案黏贴进去即可。
ASCII图案可通过网站http://www.network-science.de/ascii/一键生成
/   |   \   ____ |  | |  |   ____
/    ~    \_/ __ \|  | |  |  /  _ \
\    Y    /\  ___/|  |_|  |_(  <_> )
 \___|_  /  \___  >____/____/\____/
       \/       \/
关闭banner
public static void main(String[] args) {
    SpringApplication app = new SpringApplication(DemoApplication.class);
    app.setBannerMode(Mode.OFF);
    app.run(args);
}
7.开机启动
2种方式实现应用启动执行相应任务,分别实现ApplicationRunner或CommandLineRunner重新Run()方法,ApplicationRunner的优先级高于CommandLineRunner,可通过Order注解改变优先级
// @Order(2)
@Slf4j
@Component
public class BootApplicationRunner implements ApplicationRunner {

    @Override
    public void run(ApplicationArguments args) throws Exception {

        log.info("This is BootApplicationRunner...");
    }
}
// @Order(1)
@Slf4j
@Component
public class BootCommandLineRunner implements CommandLineRunner {

    @Override
    public void run(String... args) throws Exception {

        log.info("This is BootCommandLineRunner...");
    }
}
8.Jackson相关配置
Jackson相关注解配置
@Data
// 序列化时忽略一组属性
@JsonIgnoreProperties({ "address" , "name"})
public class User{

	// 序列化时使用uname
    @JsonProperty("uname")
    private String name;

    private int age;

	// 序列化时忽略
	@JsonIgnore
    private String address;

	// 序列化时格式化时间,默认Long类型时间戳
	@JsonFormat(pattern = "yyyy-MM-dd HH:mm:ss")
    private Date registerTime;
}
Jackson全局配置
@Configuration
public class JacksonConfig {

    @Bean
    public ObjectMapper getObjectMapper() {

        ObjectMapper mapper = new ObjectMapper();
        mapper.setSerializationInclusion(JsonInclude.Include.NON_NULL);
        mapper.setDateFormat(new SimpleDateFormat("yyyy-MM-dd HH:mm:ss"));

        return mapper;
    }
}
使用Jackson
    private final ObjectMapper mapper;

    @GetMapping("/test")
    public Imoocer test() throws Exception {

        User user= User.builder()
                .name("qinyi")
                .age(19)
                .address("shanghai")
                .registerTime(new Date())
                .build();

        String jsonUser= mapper.writeValueAsString(user);
        log.info("jsonUser: {}", jsonUser);

        return mapper.readValue(jsonUser, User.class);
    }
9.配置自动提示
当在yml文件中写一个对象对应的配置时,其并不会给与提示,需要添加一个依赖项。
 <dependency>
    <groupId>org.springframework.boot</groupId>
    <artifactId>spring-boot-configuration-processor</artifactId>
    <optional>true</optional>
 </dependency>


	 <build>
        <plugins>
            <plugin>
                <groupId>org.springframework.boot</groupId>
                <artifactId>spring-boot-maven-plugin</artifactId>
                <configuration>
                 <!-- 打包时排除该jar -->
                    <excludes>
                        <exclude>
                            <groupId>org.springframework.boot</groupId>
                            <artifactId>spring-boot-configuration-processor</artifactId>
                        </exclude>
                    </excludes>
                </configuration>
            </plugin>
        </plugins>
    </build>
版权声明:本文内容由互联网用户自发贡献,该文观点仅代表作者本人。本站仅提供信息存储空间服务,不拥有所有权,不承担相关法律责任。如发现本站有涉嫌侵权/违法违规的内容, 请发送邮件至 举报,一经查实,本站将立刻删除。
文章由极客之音整理,本文链接:https://www.bmabk.com/index.php/post/137032.html

