
Jenkins is an open source, Java-based automation server that offers an easy way to set up a continuous integration and continuous delivery (CI/CD) pipeline.
Continuous integration (CI) is a DevOps practice in which team members regularly commits their code changes to the version control repository, after which automated builds and tests are run. Continuous delivery (CD) is a series of practices where code changes are automatically built, tested and deployed to production.
This tutorial will walk you through the steps of installing Jenkins on a CentOS 7 system using the official Jenkins repository.
Prerequisites
Before continuing with this tutorial, make sure you are logged in as a user with sudo privileges.
Installing Jenkins
To install Jenkins on your CentOS system, follow the steps below:
- Jenkins is a Java application, so the first step is to install Java. Run the following command to install the OpenJDK 8 package:
“`
```console-bash sudo yum install java-1.8.0-openjdk-devel ``` ```“````console-bash curl --silent --location http://pkg.jenkins-ci.org/redhat-stable/jenkins.repo | sudo tee /etc/yum.repos.d/jenkins.repo ``` ```  And add the repository to your system with:“````console-bash sudo rpm --import https://jenkins-ci.org/redhat/jenkins-ci.org.key ``` ``` 3. Once the repository is enabled, install the latest stable version of Jenkins by typing:
“````console-bash sudo yum install jenkins ``` ``` After the installation process is completed, start the Jenkins service with:
“````console-bash sudo systemctl start jenkins ``` ```To check whether it started successfully run:
“````console-bash systemctl status jenkins ``` ```You should see something similar to this:
“````output> " data-lang="output>" style="box-sizing: inherit; border: 0px solid #dae1e7; font-family: Menlo, Monaco, Consolas, 'Liberation Mono', 'Courier New', monospace; font-size: 0.875rem; min-width: 0px; background-color: #f1f5f8; padding: 0px;">● jenkins.service - LSB: Jenkins Automation Server Loaded: loaded (/etc/rc.d/init.d/jenkins; bad; vendor preset: disabled) Active: active (running) since Fri 2018-11-02 13:37:46 CST; 34s ago Docs: man:systemd-sysv-generator(8) CGroup: /system.slice/jenkins.service └─12688 /etc/alternatives/java -Dcom.sun.akuma.Daemon=daemonized -Djava.awt.headless=true -DJENKINS_HOME=/var/lib/jenkins -jar /usr/lib/jenkins/jenkins.war --.● jenkins.service - LSB: Jenkins Automation Server ```Finally enable the Jenkins service to start on system boot. ```“````console-bash sudo systemctl enable jenkins ``` ```“````output jenkins.service is not a native service, redirecting to /sbin/chkconfig. Executing /sbin/chkconfig jenkins on ``` ``` [Adjust the Firewall](https://linuxize.com/post/how-to-install-jenkins-on-centos-7/#adjust-the-firewall) ——————————————————————————————————– If you are installing Jenkins on a remote CentOS server that is [protected by a firewall](https://linuxize.com/post/how-to-setup-a-firewall-with-firewalld-on-centos-7/) you need to port `8080`. Use the following commands to open the necessary port:
“````console-bash sudo firewall-cmd --permanent --zone=public --add-port=8080/tcp sudo firewall-cmd --reload ``` ``` “````url http://your_ip_or_domain:8080 ``` ```A screen similar to the following will appear, prompting you to enter the Administrator password that is created during the installation:
Use the following command to print the password on your terminal:
“`[root@Jenkins ~]# cat /var/lib/jenkins/secrets/initialAdminPassword 4665d7d605744391a1712026cc3e636e ```Copy the password from your terminal, paste it into the Administrator password field and click `Continue`.
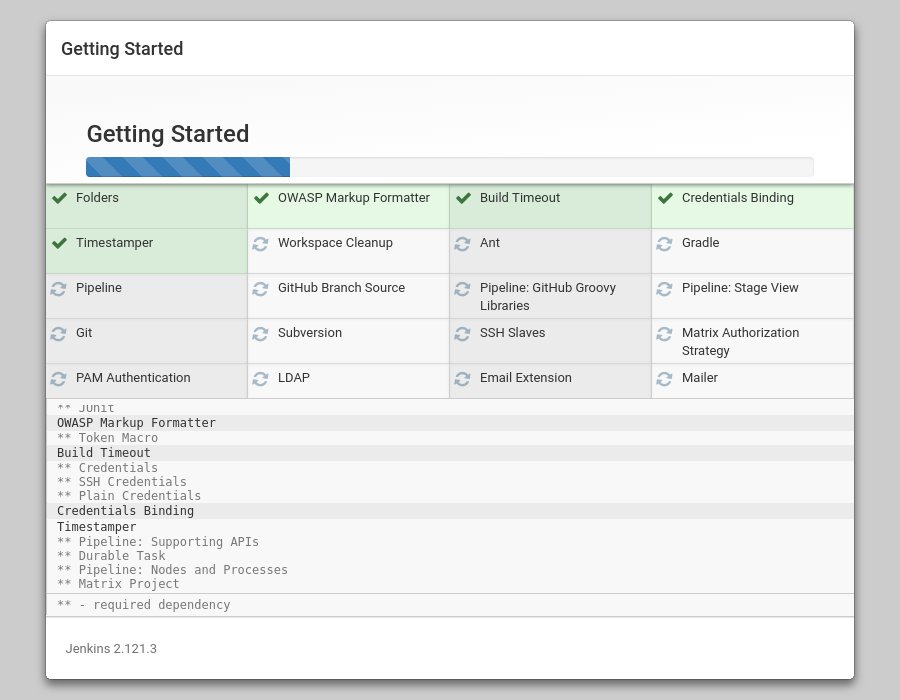
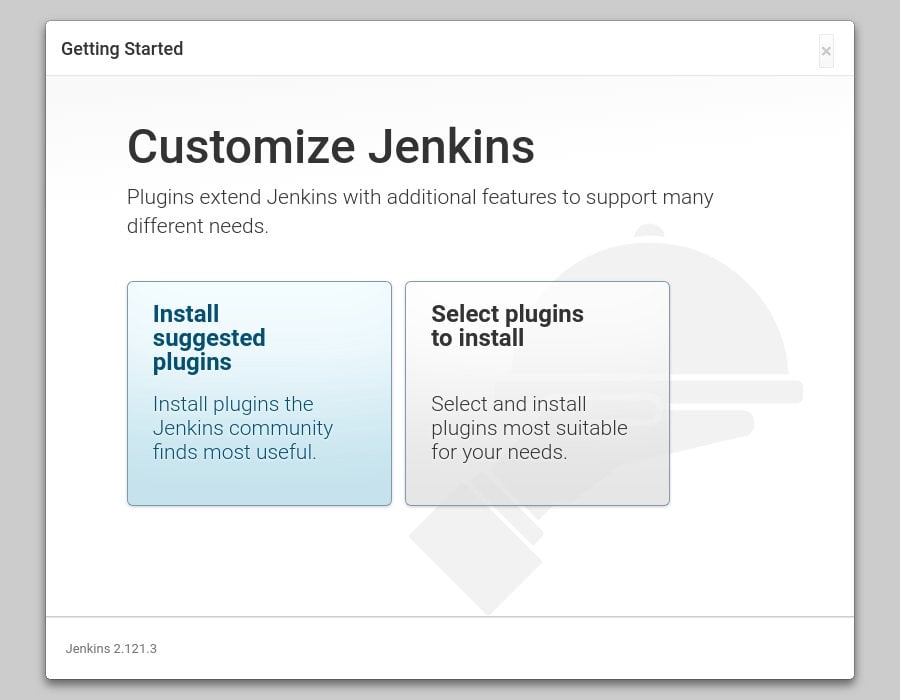On the next screen you will be asked whether you want to install the suggested plugins or to select specific plugins. Click on the `Install suggested plugins` box, and the installation process will start immediately.
Once the installation is complete, you will be prompted to set up the first administrative user. Fill out all required information and click `Save and Continue`.
On the next page you will be asked to set the URL for the Jenkins instance. The URL filed will be populated with an automatically generated URL.
To complete the setup confirm the URL by clicking on the `Save and Finish` button.
Finally, click on the `Start using Jenkins` button and you will be redirected to the Jenkins dashboard logged in as the admin user you have created in one of the previous steps.
If you’ve reached this point, you’ve successfully installed Jenkins on your CentOS system. [Conclusion](https://linuxize.com/post/how-to-install-jenkins-on-centos-7/#conclusion) ————————————————————————————– In this tutorial, you have learned how to install and complete the initial configuration of Jenkins on CentOS/RHEL based systems. You can now visit the official [Jenkins documentation](https://jenkins.io/doc/) page and start exploring Jenkins’s workflow and plug-in model. If you have any question, please leave a comment below.
版权声明:本文内容由互联网用户自发贡献,该文观点仅代表作者本人。本站仅提供信息存储空间服务,不拥有所有权,不承担相关法律责任。如发现本站有涉嫌侵权/违法违规的内容, 请发送邮件至 举报,一经查实,本站将立刻删除。
文章由极客之音整理,本文链接:https://www.bmabk.com/index.php/post/160471.html

