
Idea导入Spring源码
下载
下载gradle
因为Spring源码里没有使用Maven依赖,而是使用gradle依赖,所以我们需要在本地下载安装并配置gradle环境。注意,这里下载安装的gradle版本应与Spring源码中的gradle版本对应。这里推荐下载我的:
链接: https://pan.baidu.com/s/1YVww-x7Furqq3s0KcN27CQ 提取码: 6ai4
下载Spring源码
Spring源码中gradle版本应与自己本地下载的gradle保持一致!这里推荐下载我的:
链接: https://pan.baidu.com/s/186W8TluEc-uOVcKe8Fadbg 提取码: vw8m
安装
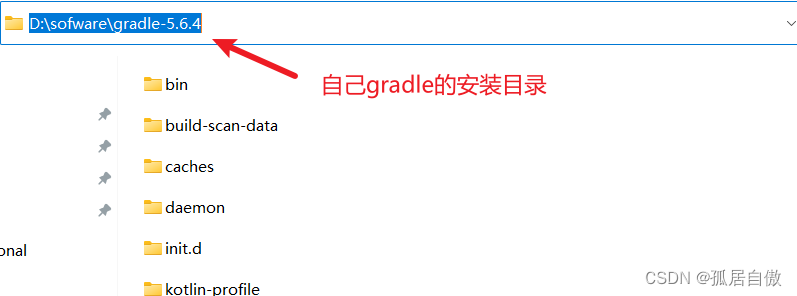
解压gradle
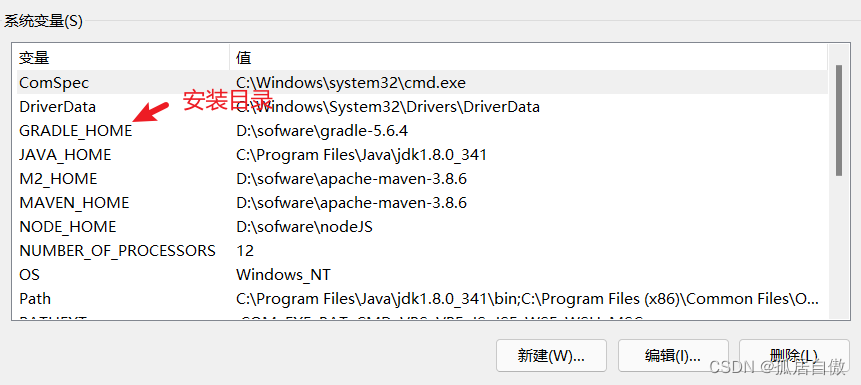
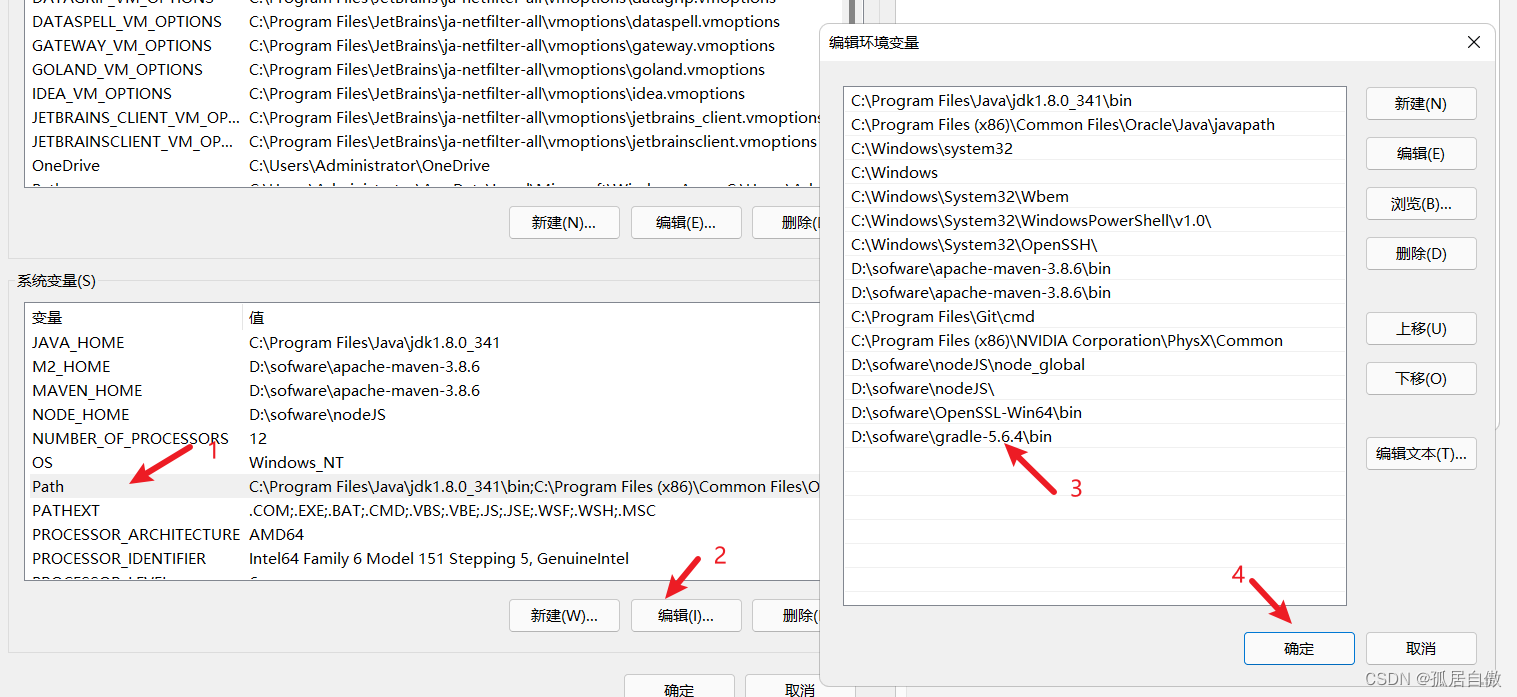
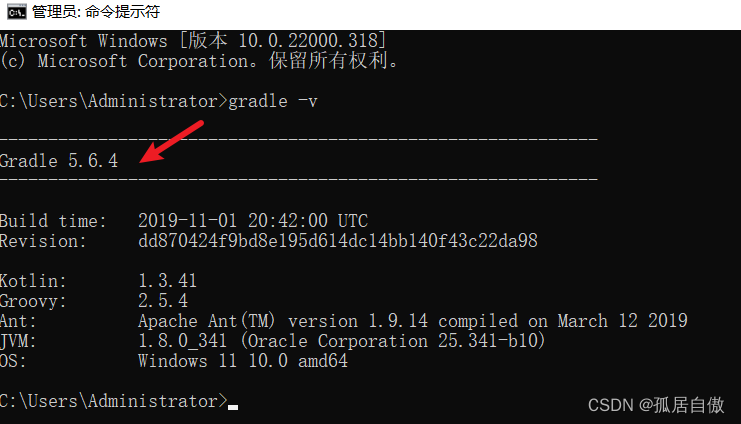
1)直接解压gradle到一个目录即完成安装。2)需要配置环境变量:GRADLE_HOME与Path。3)验证gradle是否安装成功:gradle -v
这里要注意:本地需要安装JDK8并配置环境变量!
解压Spring源码
-
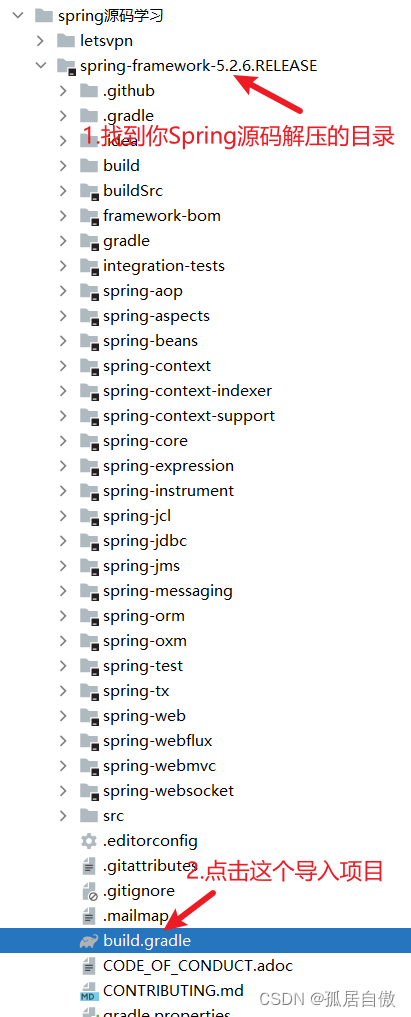
1)将下载下来的Spring源码压缩包解压到本地某个目录下; -
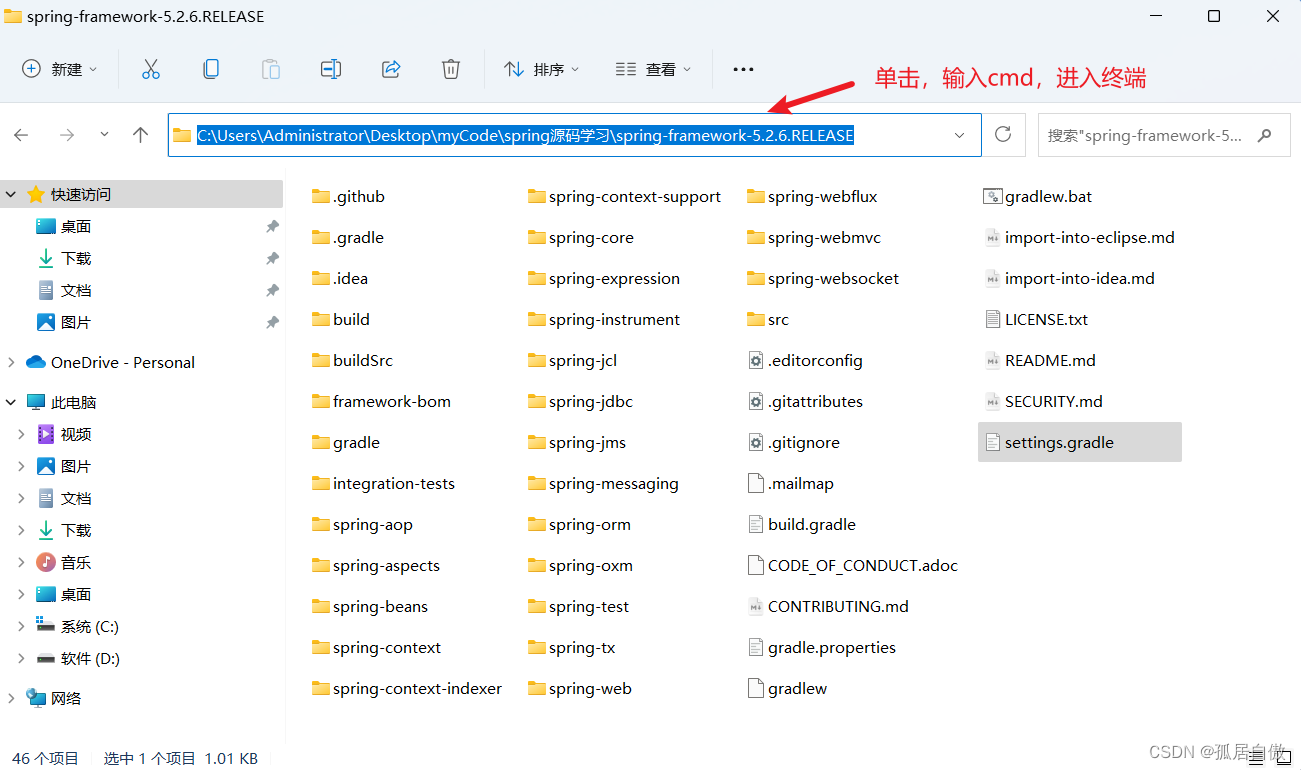
2)切换到自己解压的Spring源码目录下(这里是我的:C:\Users\Administrator\Desktop\myCode\spring源码学习\spring-framework-5.2.6.RELEASE),在目录上单击输入cmd进入终端,执行gradlew :spring-oxm:compileTestJava 命令; -
3)执行gradlew :spring-oxm:compileTestJava可能报错,这里下图有解决方案;
–

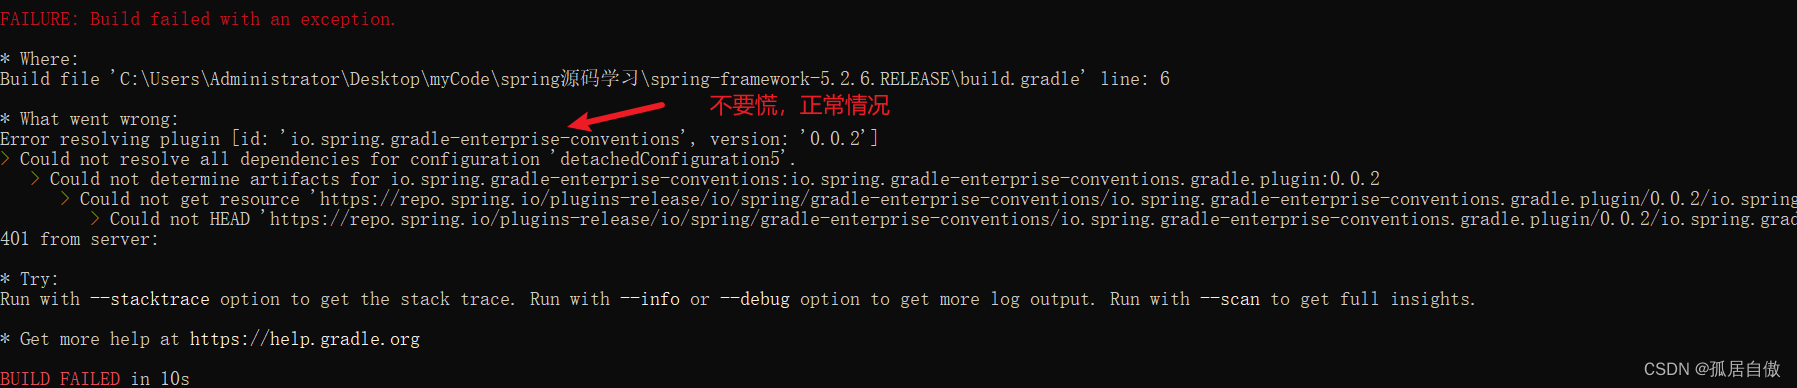
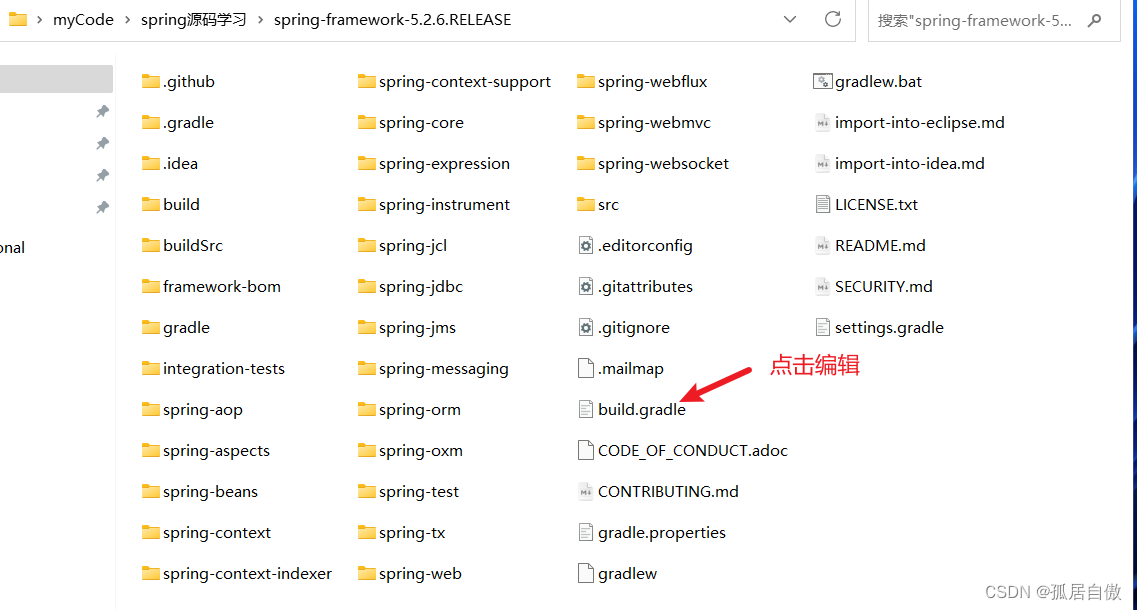
解决方案:在Spring源码中找到build.gradle文件
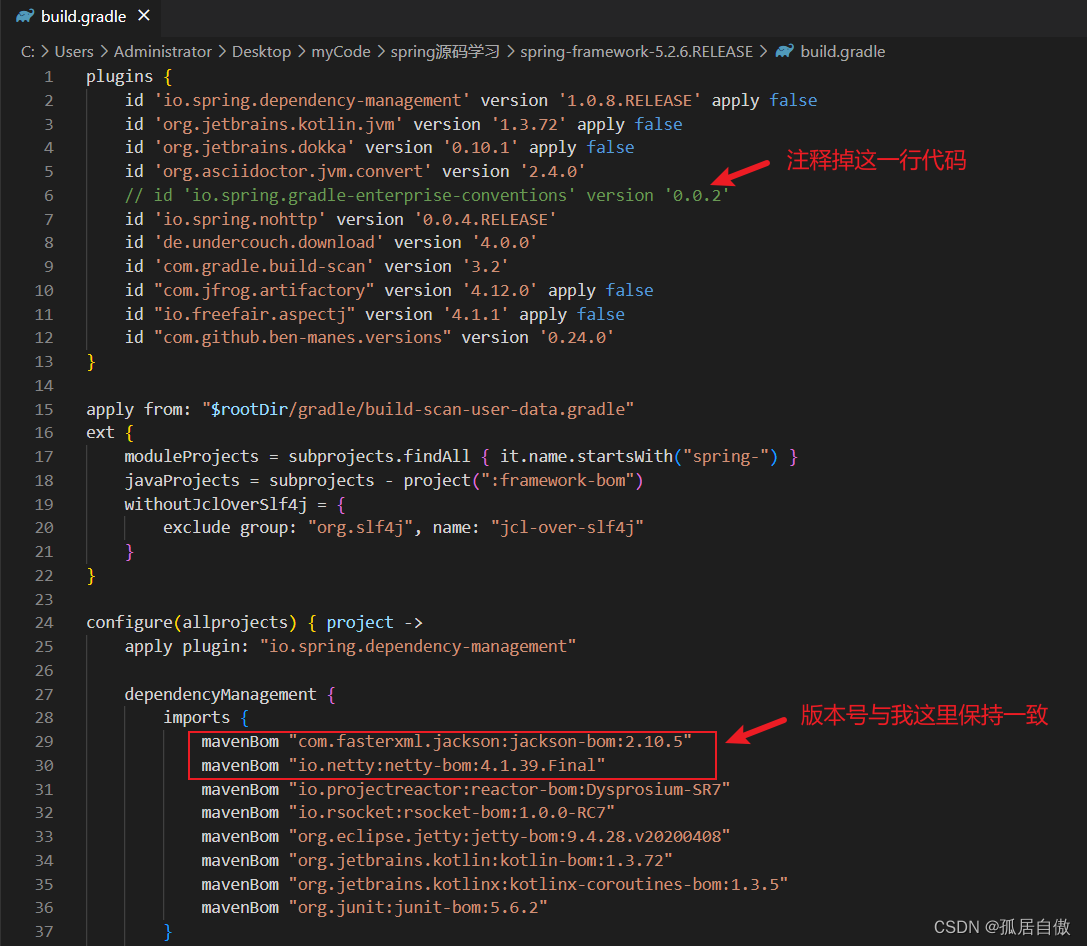
## 注释代码 id 'io.spring.gradle-enterprise-conventions' version '0.0.2' ## 修改代码版本号 mavenBom "com.fasterxml.jackson:jackson-bom:2.10.5" mavenBom "io.netty:netty-bom:4.1.39.Final" -
4)在Spring源码中,找到settings.gradle 文件,添加阿里镜像,下载依赖会快很多!
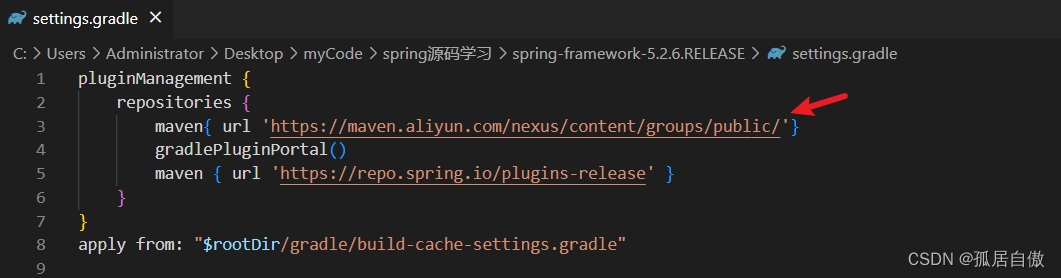
## 添加代码 maven{ url 'https://maven.aliyun.com/nexus/content/groups/public/'} -
5)在Spring源码中,找到build.gradle文件,添加如下代码(保证gradle能正常在idea中被构建!):
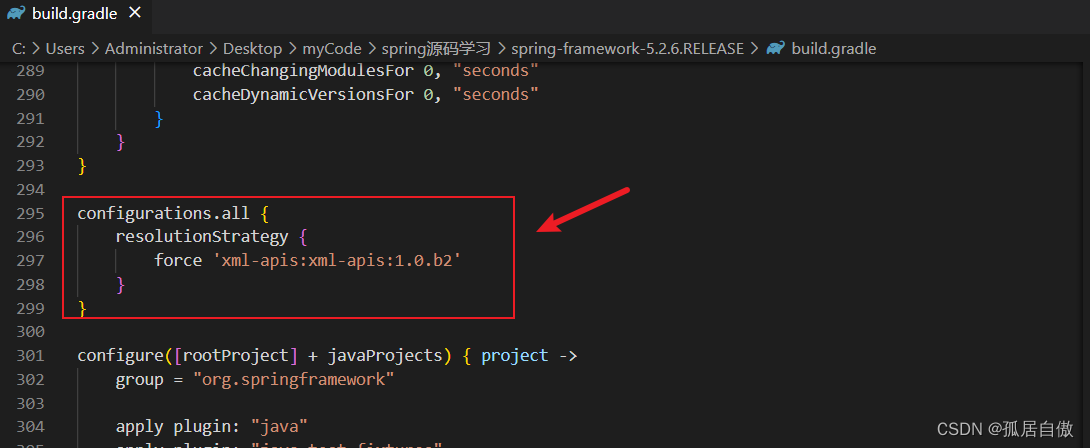
## 如果idea导入项目依赖有问题
## 报POM relocation to an other version number is not fully supported in Gradle : xml-apis#xml-apis...问题,则添加如下代码即可解决
configurations.all {
	resolutionStrategy {
		force 'xml-apis:xml-apis:1.0.b2'
	}
}
导入Spring源码
从本地导入项目到idea中
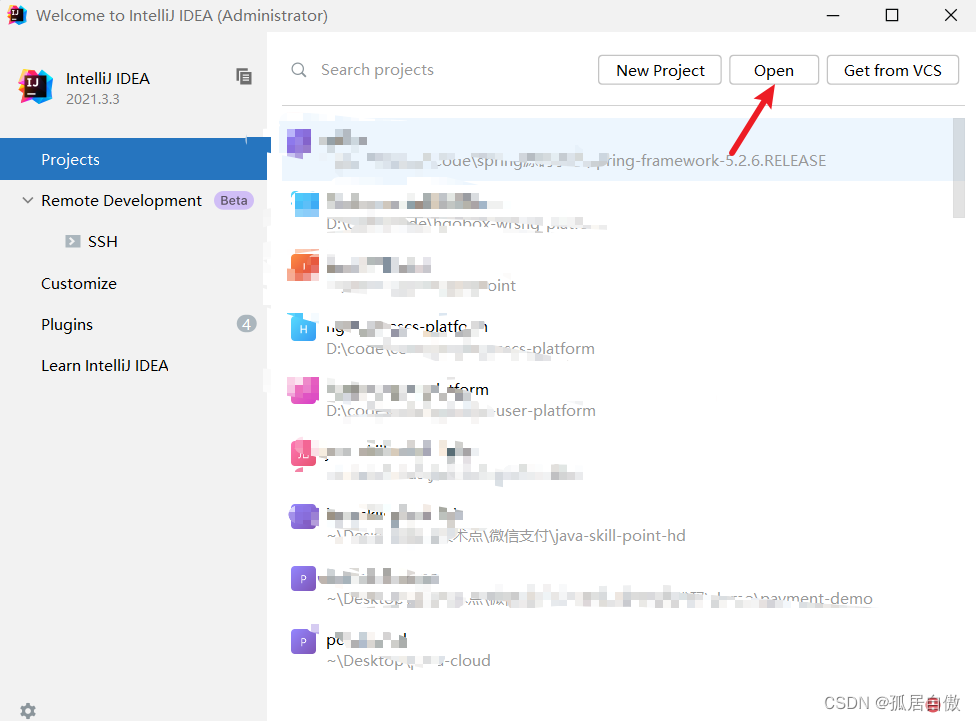
以工程的形式导入
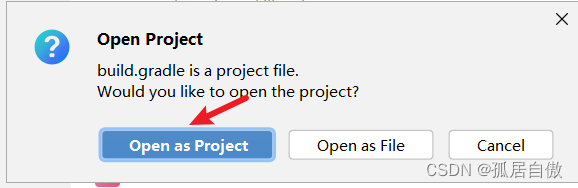
然后等待项目加载依赖即可!
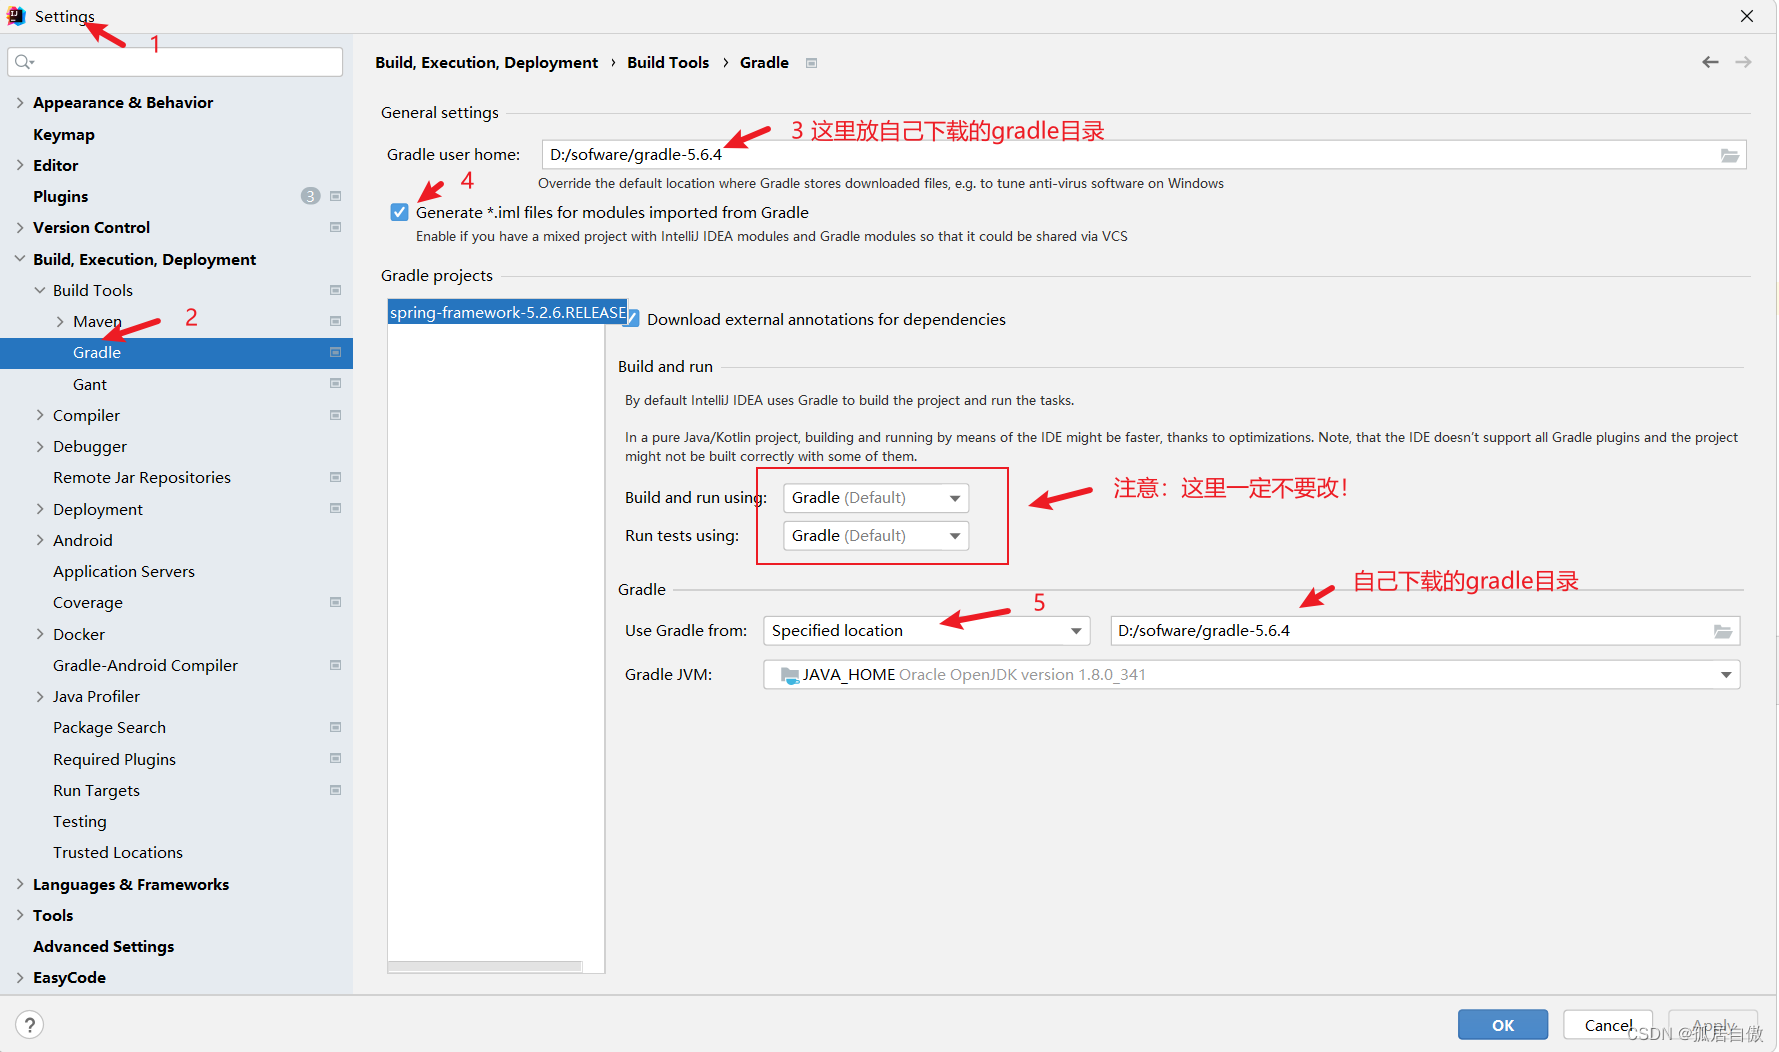
修改idea配置
修改gradle
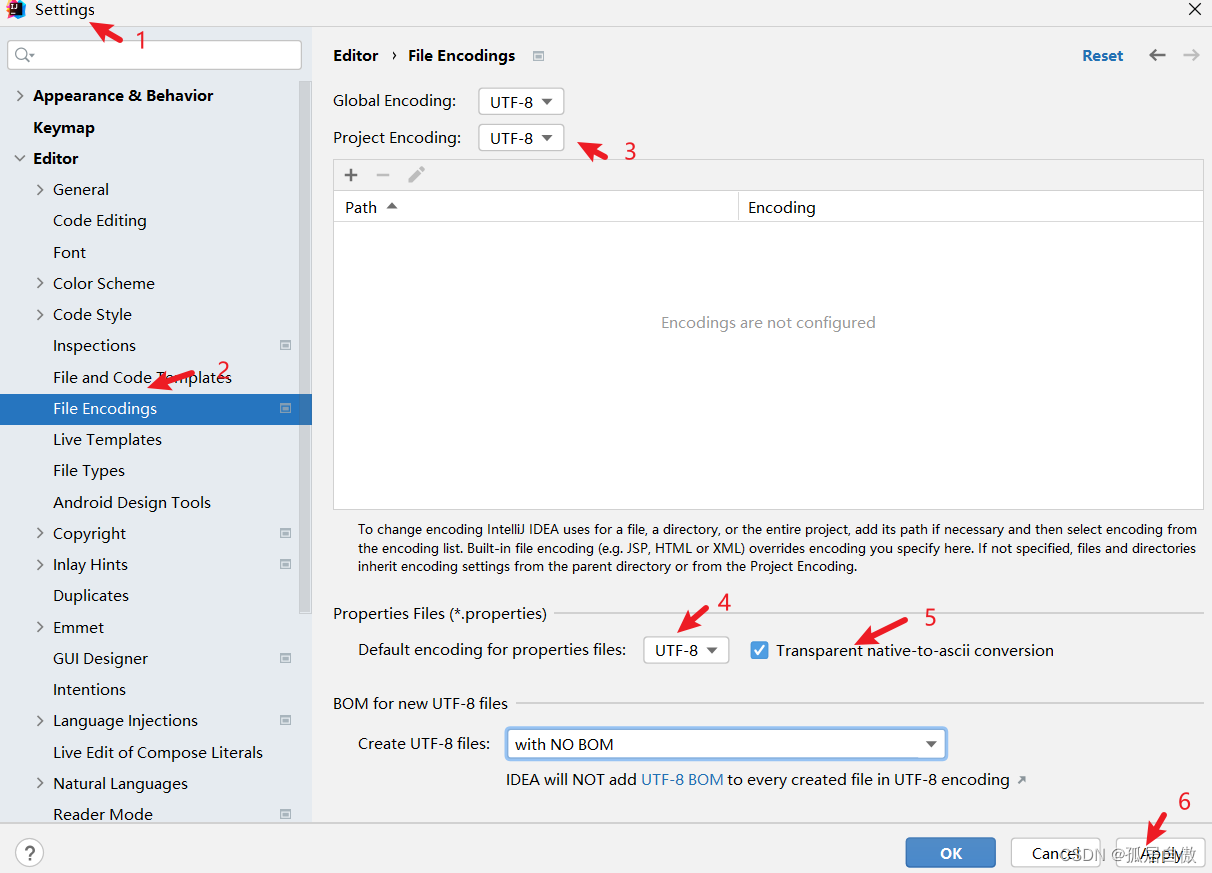
修改编码格式
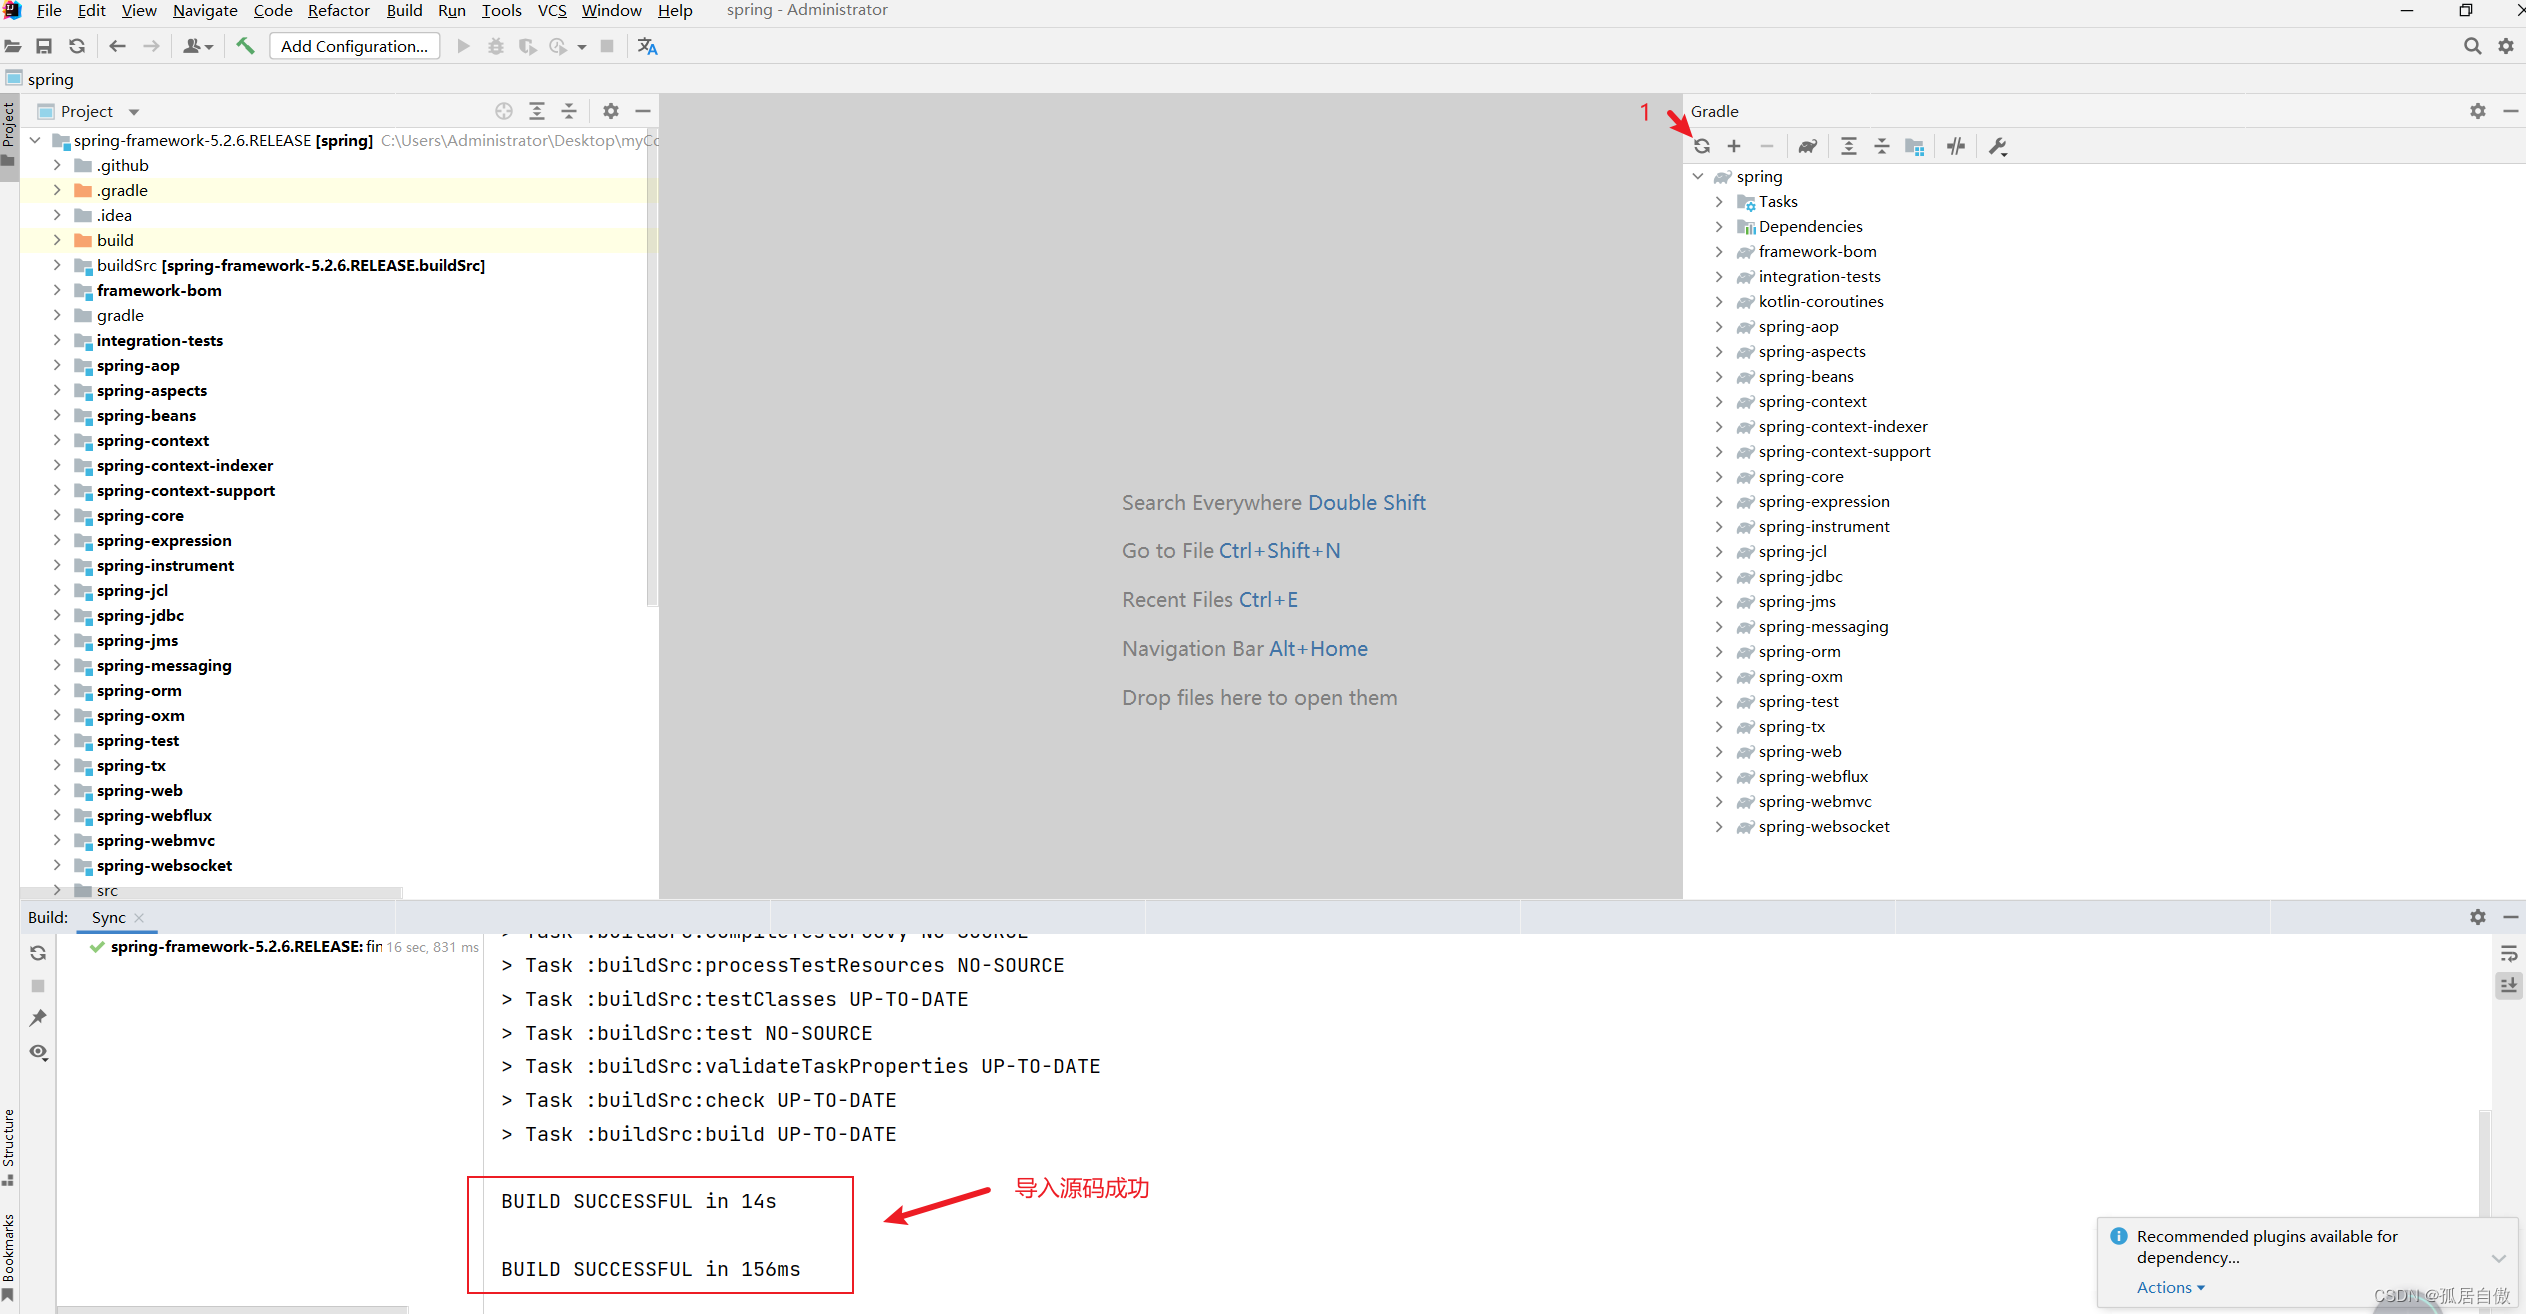
重新加载依赖
创建测试项目
前置工作
验证Spring源码环境是否正常
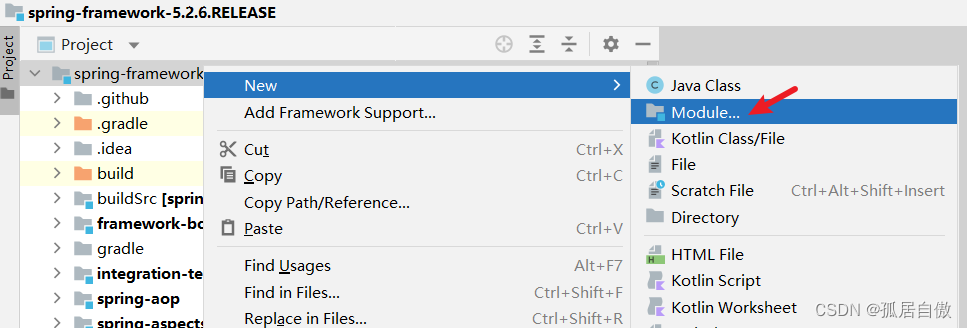
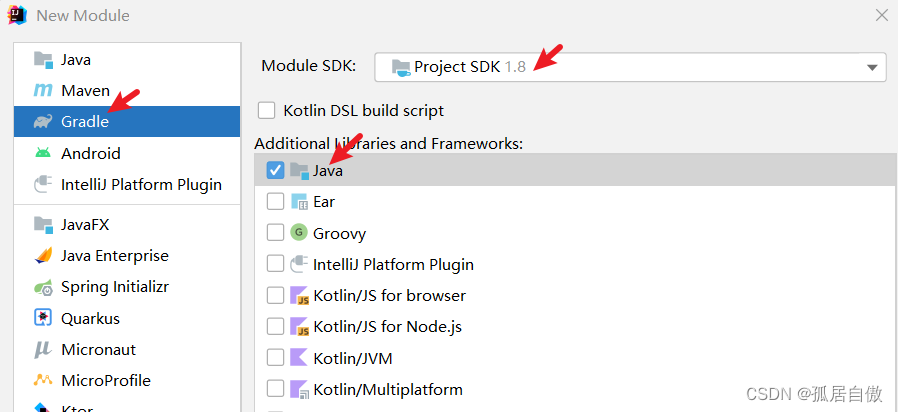
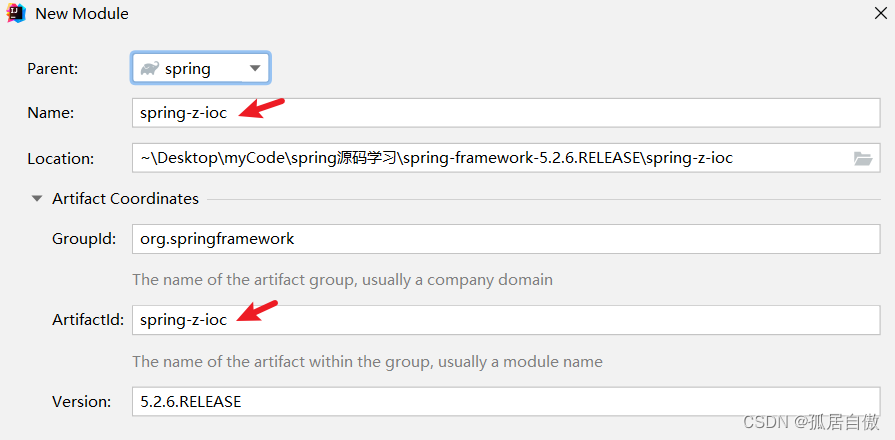
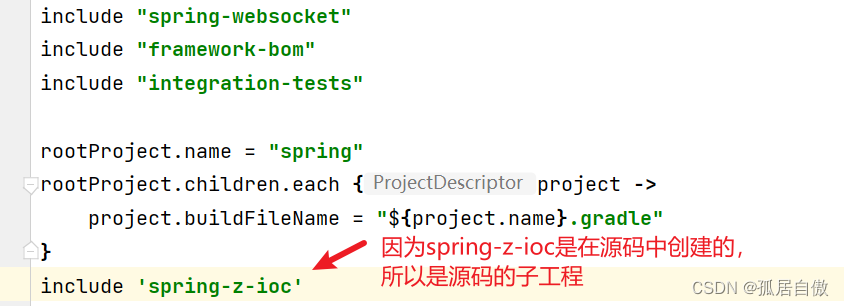
在源码项目中新建一个spring-z-ioc模块(以module的形式创建), 见下图:

创建spring-z-ioc成功后,等idea加载完成:
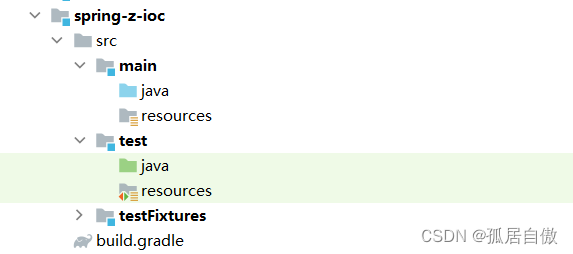
创建spring-z-ioc成功后,等idea加载完成:
Spring源码中的settings.gradle文件多了一个子引用
在spring-z-ioc的build.gradle文件中添加以下代码(重点):
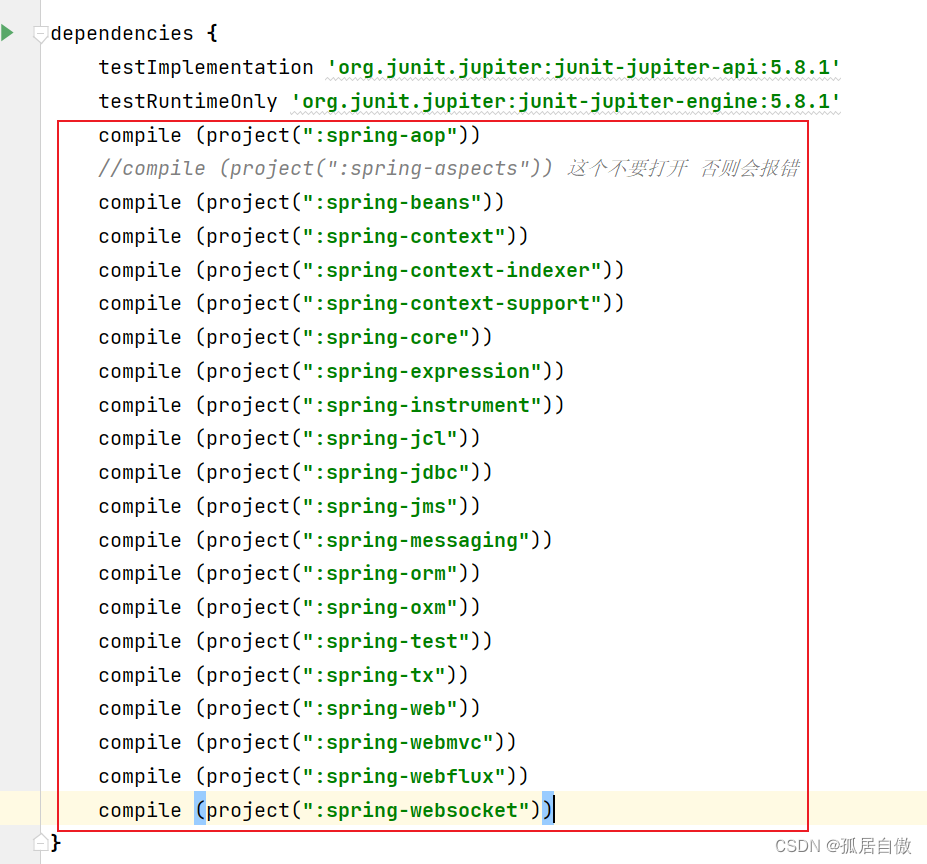
## 添加代码
compile (project(":spring-aop"))
//compile (project(":spring-aspects")) // 这个不要打开 否则会报错
compile (project(":spring-beans"))
compile (project(":spring-context"))
compile (project(":spring-context-indexer"))
compile (project(":spring-context-support"))
compile (project(":spring-core"))
compile (project(":spring-expression"))
compile (project(":spring-instrument"))
compile (project(":spring-jcl"))
compile (project(":spring-jdbc"))
compile (project(":spring-jms"))
compile (project(":spring-messaging"))
compile (project(":spring-orm"))
compile (project(":spring-oxm"))
compile (project(":spring-test"))
compile (project(":spring-tx"))
compile (project(":spring-web"))
compile (project(":spring-webmvc"))
compile (project(":spring-webflux"))
compile (project(":spring-websocket"))
注:Spring-aspect工程里面的类不要去打开,打开后某些类可能会报错,重启一下idea即可恢复正常;
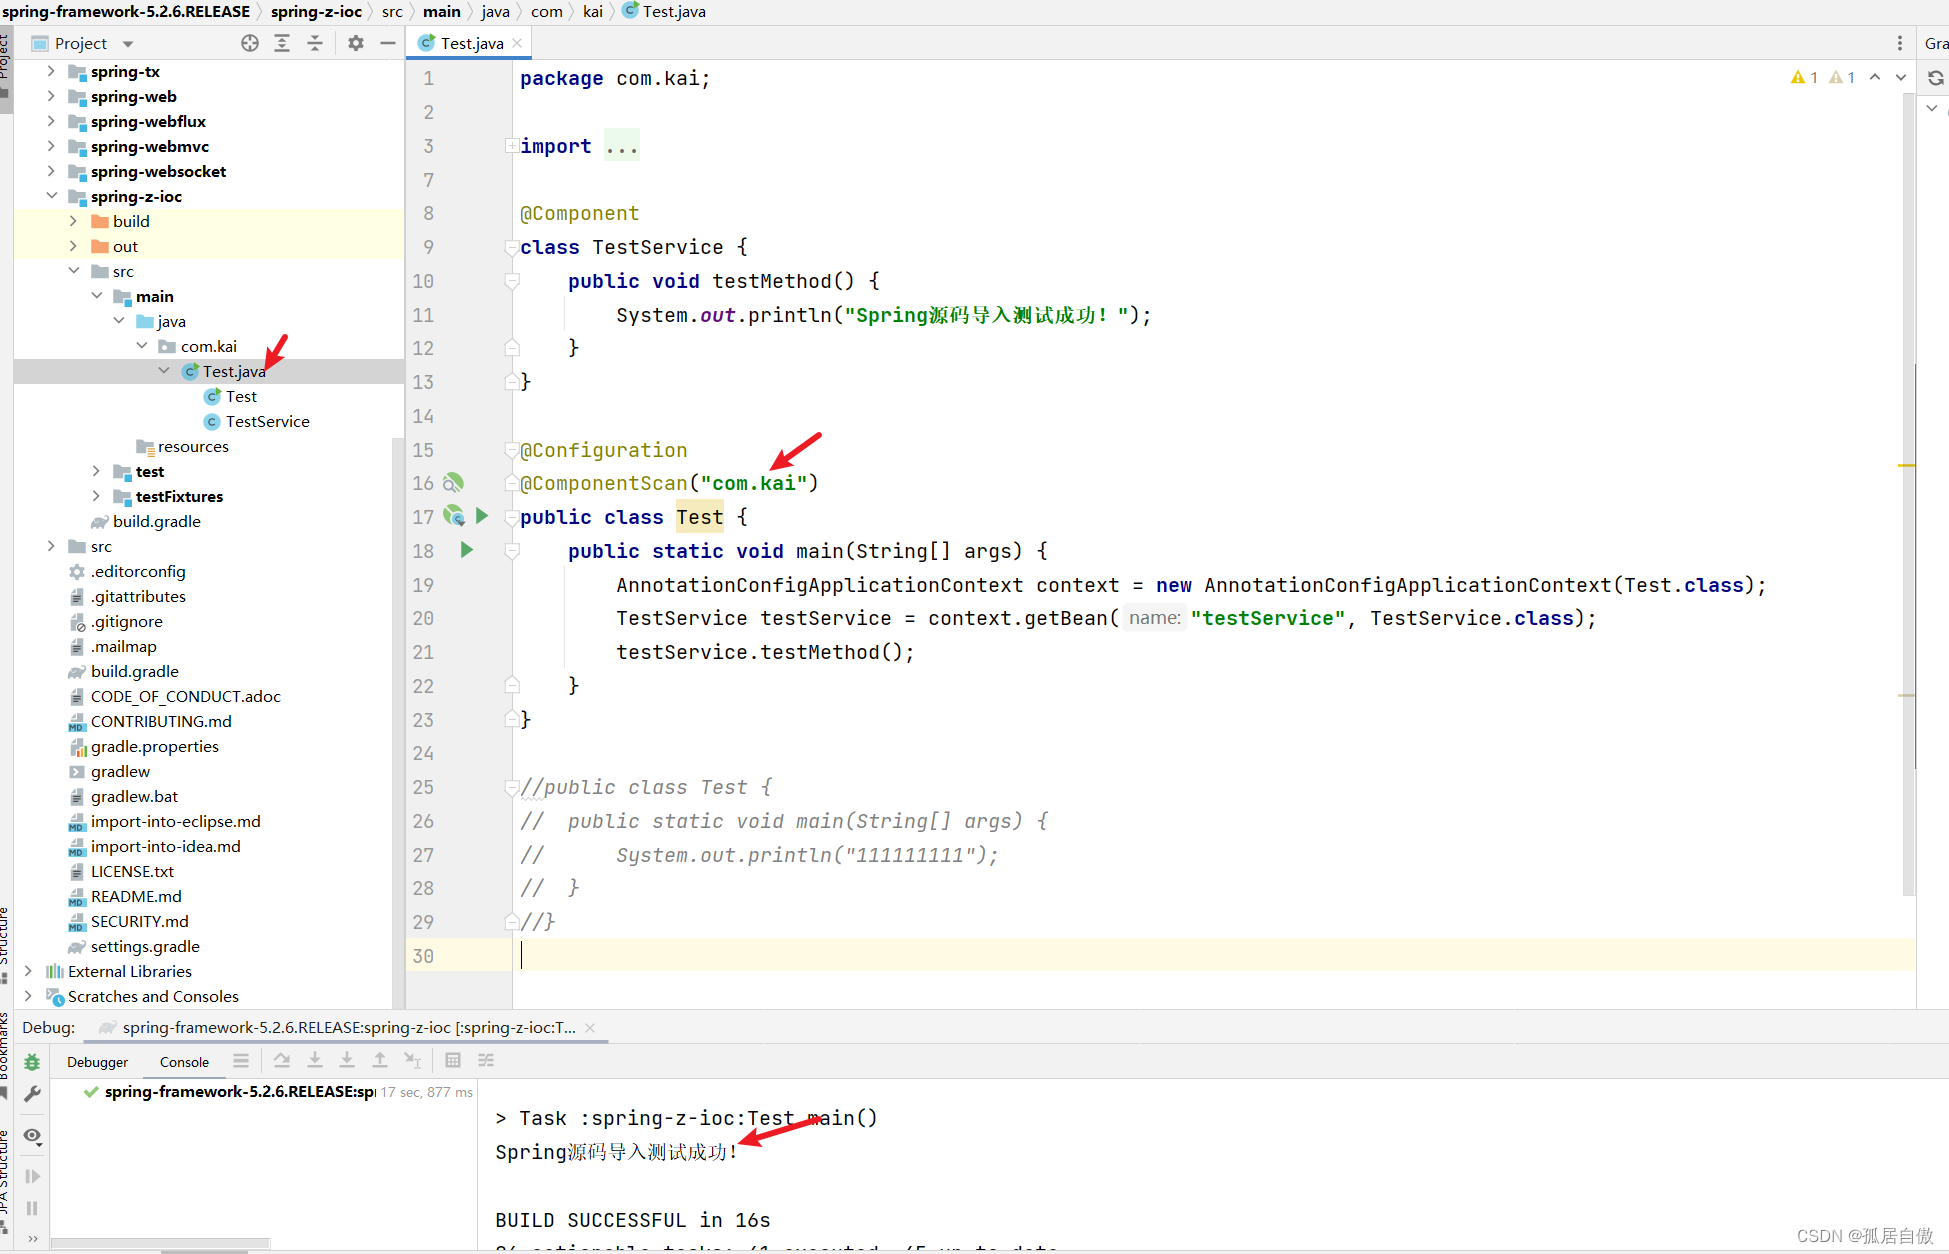
代码测试
package com.kai;

import org.springframework.context.annotation.AnnotationConfigApplicationContext;
import org.springframework.context.annotation.ComponentScan;
import org.springframework.context.annotation.Configuration;
import org.springframework.stereotype.Component;

@Component
class TestService {
	public void testMethod() {
		System.out.println("Spring源码导入测试成功!");
	}
}

@Configuration
@ComponentScan("com.kai")
public class Test {
	public static void main(String[] args) {
		AnnotationConfigApplicationContext context = new AnnotationConfigApplicationContext(Test.class);
		TestService testService = context.getBean("testService", TestService.class);
		testService.testMethod();
	}
}

//public class Test {
//	public static void main(String[] args) {
//		System.out.println("111111111");
//	}
//}
解决乱码问题
点击 IDEA 顶部菜单栏中的 Help点击 Edit Custom VM Options追加 -Dfile.encoding=UTF-8 到文档末尾重启 IDEA 即可
完结撒花!愿天下的每一位程序员少走弯路,向着朝阳前行!
版权声明:本文内容由互联网用户自发贡献,该文观点仅代表作者本人。本站仅提供信息存储空间服务,不拥有所有权,不承担相关法律责任。如发现本站有涉嫌侵权/违法违规的内容, 请发送邮件至 举报,一经查实,本站将立刻删除。
文章由极客之音整理,本文链接:https://www.bmabk.com/index.php/post/234896.html

